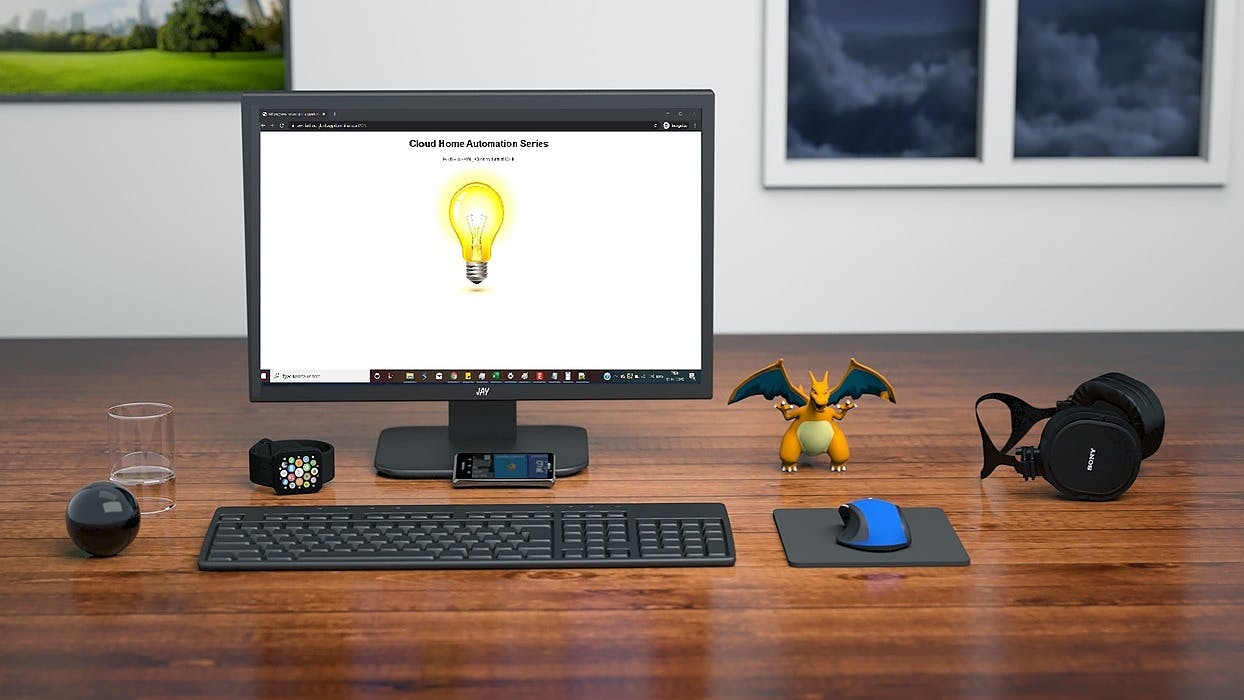
Welcome to SIMPLE LEARNING , In the third part, . Before starting, let's do a recap, in we have connected the ESP32 MCU with AWS and able to publish Messages to IoT Core and in we have uploaded another code which interacts with Things Shadow to control ESP32 inbuilt led using MQTT client. Everything has been covered from scratch you won't face any difficulty understanding In case of any clarification, . Feel free to explore them with ease, skip to the one which is relevant to you. AWS Cloud Home Automation Zero to Hero Series. we are going to create a web-endpoint that will trigger remote execution in ESP32 by securely switching ON/OFF the ESP32 inbuilt led from a website hosted in Node-RED Part 1, Part 2 The following series split into four parts (refer below) with very simple and clear instructions to provision a home automation system to control house appliances through the web. . drop me a note on LinkedIn - Connect your device (ESP32) to AWS cloud. Part I - Use Device Shadow Service (AWS IoT) to control ESP32 inbuilt led using MQTT client. Part II - Create a secure web client hosted in to control ESP32 inbuilt led. Part III Node-RED - The Real Deal: Create an automation system to make your light bulb smart using AWS and ESP32. [Coming Soon] Part IV is a flow-based development tool for visual programming developed originally by IBM for wiring together hardware devices, APIs and online services as part of the Internet of Things. ? Because we can securely store the certificates and private key to interact with AWS MQTT broker and it's easy to build a web client application to communicate with AWS IoT Core. On the contrary, it would be tedious we have implemented these components on our own. Node-RED Why are we using Node-RED : Prerequisites It's the continuation of the following series. Hence, we need to make sure we have followed all the steps correctly and able to achieve desirable output in the last two parts. We are going to re-use the Arduino code used in Part 2. Hence, plug the ESP32 and it will work like a charm, no upload required. This tutorial mostly covers hands-on, prior knowledge of AWS IoT is an advantage. to check AWS Official IoT Documentation. Click here Either we need a free Tier AWS account or IBM Cloud to host the application over web. Node-RED : Learning Objectives We will create a Web Client application hosted either in AWS or IBM cloud, which subscribes to AWS MQTT broker. Thus, we can send our interaction to ESP32 to turn ON/OFF the led via the broker. So let's see something happen now . At first, we will host the either in AWS or IBM Cloud. or Node-RED Click here to follow the steps for AWS Click here to follow the step for IBM cloud (Follow Step 1 to Step 5 only ) A few things to remember, if you have hosted your instance on , though it is a free tier instance, switch it off when you aren't using it. If you perform a stop and start, the public IPv4 Public IP of the machine will change. For , deployment would need some dedication, but IBM cloud doesn't require Credit Card to avail its Lite plan, the hosted app uses SSL unlike AWS, Lite plan services deleted after 30 days of inactivity and it's always great to learn something new to stay curious 😎. Node-RED AWS IBM cloud Node-RED In the making: Flow Once we login to Node-RED, in the sidebar we can see Action Symbol which we will use to make the entire workflow as shown below. We are trying to create two HTTP(s) endpoints (ON/OFF signal) which send the request to AWS MQTT and from AWS MQTT to ESP32 and vice-versa. To achieve this flow, we will use a predefined flow and import it in the Node-RED. to download the flows.json (Hit and keep it in your local machine) . Next, click on the menu button (three parallel horizontal lines) in the top right corner and select Import and pick the jsons.flow file. After that, a new tab (Web-client Flow) will load the schematic. Click here Save as Now, we will make a few minor changes, after that the entire flow will be up and running. First, we will pick each shadow topic and replace with the actual thing name we gave before (e.g. ESP32), refer to the the , under topic we need to make this change, for all the shadow topics (four topics) as shown below and click Done. {thingname} . Part I - Connect your device (ESP32) to AWS cloud Double click shadow topic block (check which start with $aws) Now, double click any one Shadow topic and we will change the configuration details of the AWS_Broker. Click the Edit button ✎ beside the AWS_Broker as shown below. Under connection, change the Server Address with the AWS IoT Endpoint address you provided previously, if you don't remember, to go to AWS IoT Main Dashboard, make sure region selected as N. Virginia, go to (Second last option in the Sidebar) & under Custom endpoint, you will find the Endpoint (Server_Address). After that, we will update the Certificates and Private key, beside TLS Configuration there is an Edit Button ✎ click that to proceed further. Click Here Settings Here, we will upload the certificates and private key which we have created in Part 1 of the series, refer to the In Certificate upload, the and the rest are self-explanatory. to copy or download the CA certificate. Once done, click Update → Update → Done Thus, we have completed the Node-RED configuration. Next, we will do the testing. . Part I - Connect your device (ESP32) to AWS cloud Thing Certificate Click here . Note: We don't need to repeat it for other Shadow Topics as the AWS-Broker configuration tied with all Shadow Topics, thus it is a one time change. Testing So in the final check, we will deploy our workflow on the internet. Click on the Top Right corner. Once, deployed you be able to see that the shadow topics are shown connected. Now plug in the ESP32 with a USB cable wait for some time for connection establishment (Here we are using the same Arduino code we have uploaded in Part 2). Now we are going to test the web endpoints, hit your Node-RED primary URL followed by , AWS (e.g. ) and IBM Cloud (e.g. ). It will load a website, click on the light bulb to turn ON/OFF the inbuilt LED. If you have come so far, tadaa! You did it finally 💪. deploy /OFF http://52.90.186.136:1880/OFF https://aws-iot.eu-gb.cf.appdomain.cloud/OFF Note: The following web endpoints (ON/OFF) is available on the internet and accessible from anywhere. . In the next part, we will exercise our final objective to create an automation system to make your light bulb smart using AWS and ESP32. Congratulations on completing the 3rd part :)