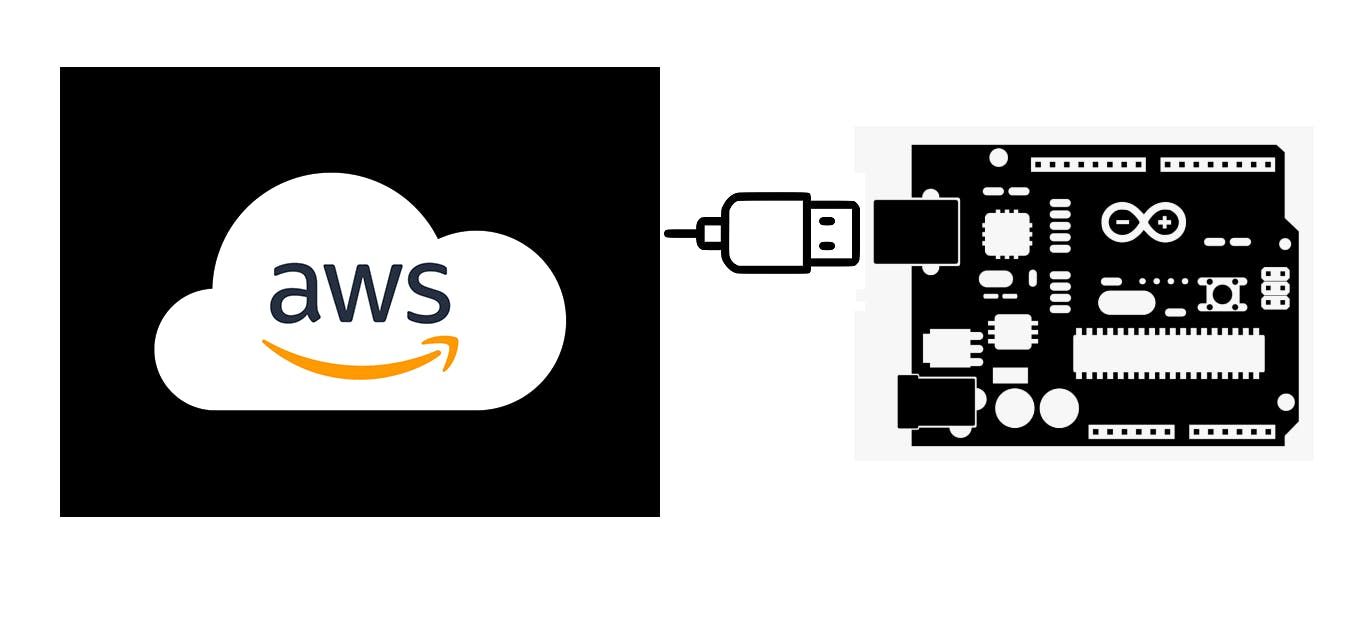
Welcome to , , where the readership, essentially Embedded System Engineer & Cloud Engineer will able to learn to create Automated IoT Solutions using (Hardware), (MQTT & Integration assistance) & (Code). The entire series mainly focuses on the Hardware integration with AWS Cloud to make a system of interrelated computing devices. Everything covered from scratch you won't face any difficulty understanding In case of any clarification, . Feel free to explore them with ease, skip to the one which is relevant to you. SIMPLE LEARNING AWS Cloud Home Automation Zero to Hero Series ESP32 Module AWS IoT portfolio services Arduino sketch The following series split into four parts (refer below) with very simple and clear instructions to provision a home automation system to control house appliances through the web. . drop me a note on LinkedIn - Connect your device (ESP32) to AWS cloud. Part I - Use Device Shadow Service (AWS IoT) to control ESP32 inbuilt led using MQTT client. Part II - Create a secure web client hosted in Node-RED to control ESP32 inbuilt led. Part III - The Real Deal: Create an automated system to make the light bulb connected to the web using AWS, an ESP32 board and a relay module. Part IV We are going to use which is a , with inbuilt Wi-Fi module, thus acts as a & we can create wonders with the conjunction of sensors & modules if used in . ESP32 MCU low-cost & low-power device Cloud Communication Module (CCM) ESP32 Security of connected devices is of predominant concern. The widely used Transport Layer Security (TLS) version 1.2 is the de-facto standard used on the web for secure connections including banking and financial institute. There are very few micro-controllers that supports TLS 1.2 and ESP32 is one of them. Good news is that AWS IoT Core maintains TLS 1.2 and above, thus making the security robust . : Prerequisites Arduino IDE ( ). arduino.cc/en/main/software ESP32 Board (Easily available at / or neighborhood Robotics store), they cost around 6$ or 350-450 INR. Amazon.com Amazon.in /Aliexpress AWS Free-Tier Account. (Services used here will cover up in free tier limit). Choose the N. Virginia Region only throughout the series. This tutorial mostly covers hands-on, prior knowledge of AWS IoT is an advantage. to check AWS Official IoT Documentation. Click here : Learning Objectives Install Arduino core for the ESP32. [Assuming Arduino IDE preinstalled] Install AWS ESP32 Hornbill Library which binds ESP32 with AWS Core. In AWS Console, will create a Device thing (for ESP32), Certificates & Private Key (for Authentication) & Policy (for Authorization). Upload the Certificates & Arduino sketch in ESP32 to send dummy Temperature & Humidity sensor data to AWS MQTT Broker. : Create to set a notification whenever temperature crosses the threshold. Bonus Challenge IoT rule So let's see something happen now . Kindly look for the step-by-step screenshots to follow the instructions vividly, kept it separate to make the document minimalistic. 1. Install Arduino core for the ESP32 To Install the , . Too lazy to be redirected to a new tab, follow the below steps (Easy Hack). If you have already installed manually (ESP32 Essential Libraries & Board configuration) you can skip to the next part. espressif/arduino-esp32 core click here for step-by-step instructions Arduino core for the ESP32 Open Arduino Software (IDE), installed on your local system. Go to File in the toolbar and select Preferences. Next, enter https://dl.espressif.com/dl/package_esp32_index.json into the “Additional Board Manager URLs” field as shown in the figure below. Now select Boards Manager in the toolbar. Go to Tools > Board > Boards Manager. Here Search for ESP32 and press install button for the “ESP32 by Espressif System”. After that, you will able to see a progress bar below (It may take a few seconds to several minutes depending on internet speed). Once installation completed you be able to see installed next to Espressif System. 2. Install Hornbill Library to Connect ESP32 with AWS In this part, we will install the Hornbill AWS library which integrates the micro-controller, ESP32 with AWS Cloud, securely and anchored the communication channel with TLS 1.2. to download the AWS_IOT Hornbill library. Exact the & go-to copy and paste it to Click here Hornbill-Examples-master.zip Hornbill-Examples-master\arduino-esp32, AWS_IOT C:\Users\{Your User Name}\Documents\Arduino\libraries. 3. AWS Integration 3.1 Create AWS IoT Policy . Click-here to refer the step-by-step screenshots to create AWS IoT Policy to go to AWS IoT Console we will select Policies under the option from the Sidebar and click [Top Right Corner]. In the next step, we will give a name to this policy (e.g. ESP32Policy), under copy-paste the following; under put under mark and click to provision the policy. In short, we are trying to create an AWS policy which will provide limited access to ESP32 to AWS resources. Click Here Secure Create Action iot:Publish, iot:Connect, iot:Subscribe, iot:Receive, Resource ARN * , Effect allow Create 3.2 Register the ESP32 Thing Click-here to refer the step-by-step screenshots to register the Thing. Lastly, we will select under the option from the Sidebar and click [Top Right Corner] and follow the below steps. Things Manage Create Next, select . Create a single Thing In the next step, give a for Example; ESP32 and keep everything Default & click . name next In the Next step, Select Create Certificate. In the final step, we will download the Thing Certificate and the Private Key and keep it safe as we need it in the next section (No need to download the Public Key), select activate and click ( ) and select the policy (ESP32Policy) created in the previous section. Thus, we are done provisioning the digital representation of ESP32 board in AWS. Next, we will do the hardware integration. Attach a policy Note: Don't press Done or else you need to repeat the step 4. Hardware Integration 4.1 Certificates and Private Key Enrollment Click here to refer the step-by-step screenshots to enrol the Certificates and the Private Key. Here comes the fun part where we can see our real progress, firstly we will register the certificates and private key to our AWS_IOT library. Go to the following directory, , open the file in an editor (Notepad++). Here we need to attach the and which we have downloaded in the previous section along with the to copy or download the CA certificate Now the tricky part, as we can see the blank spaces, represented with multiple:x, here we will inscribe the certificates and the private key. In we will set the CA certificate, in we will set the private key and we will set the Thing Certificate. C:\Users\YourUsername\Documents\Arduino\libraries\AWS_IOT\src aws_iot_certficates.c Thing Certificate Private Key CA certificate, click here . aws_root_ca_pem[] private_pem_key[] certificate_pem_crt[] 4.2 Arduino Code in ESP32 Click here to refer the step-by-step screenshots to upload the Arduino Code in ESP32 Board and test the incoming messages in AWS MQTT Client. Next, we will work on the Arduino IDE and upload the Arduino code in the ESP32 Board. Make sure, you have after following the instructions in the beginning & Plug your ESP32 board to your Desktop/Laptop using a USB cable. In the code, we are going to send dummy Humidity and Temperature data, replicating a DHT11/22 Sensor to Topic restarted the Arduino IDE ESP32/DHT11. to and open it using Arduino IDE. Click here download Arduino Code (Ino file) Select Tools (from the Toolbar) and choose the following options; for select for select for select Though I will suggest check COM Port No. from device manager → as it varies). Board ESP32 Dev Module, Upload Speed 115200 & Port COM3 ( Ports (COM & LPT) In the code, you need to add your Wifi Name & Password and Host_Address which you will find in AWS IoT Core main dashboard ( to go to AWS IoT Main Dashboard), go to (Second last option in the Sidebar) & under Custom endpoint, you will find the Endpoint (Host_Address) copy this and add this as the HOST_ADDRESS[] in the code. Click Here Settings Click Upload (Look for the at the Top) in Arduino IDE to start the code transfer to ESP32. in ESP32 until the code gets uploaded completely (You will able to see a message "Done Uploading" below, once done). right arrow Hold the Boot Button Open the from , a separate console will open. Select below. If you can see the publish messages you are almost done. Serial Monitor Tools 115200 baud : Check the messages coming to AWS, to go to AWS IoT Console, Region: N. Virginia. Choose Test from the Sidebar it will connect the MQTT client. Under Subscription topic, put and keep everything default and Click and after that, you be able to see all the published messages coming from your ESP32. Final mission Click Here ESP32/DHT11 Subscribe to topic Voila! You did the integration successfully :) Bonus (Optional): Create IoT rule to set a notification whenever temperature crosses the threshold ? Complete this bonus section. Refer the following for more details. If you find any difficulties. Connect me @ Document https://linkedin.com/in/dasgourav In the next part, we will turn ON/OFF the inbuilt led of ESP32 using AWS Device Shadow.Hope to see you again :) Kindly Share & Comment only if you find it useful and help me on my mission to educate and familiarize people in the world of digitization 💪 #This is a Free tutorial and all my upcoming tutorials will be free and accessible from Public forums# Appreciate if you drop me a note on LinkedIn & share your opinion. Don't worry, I don't bite 👻 so don't shy away 🏃🏻♀️ 🏃🏻. Your feedback will help me to come up with more awesome contents on the internet.