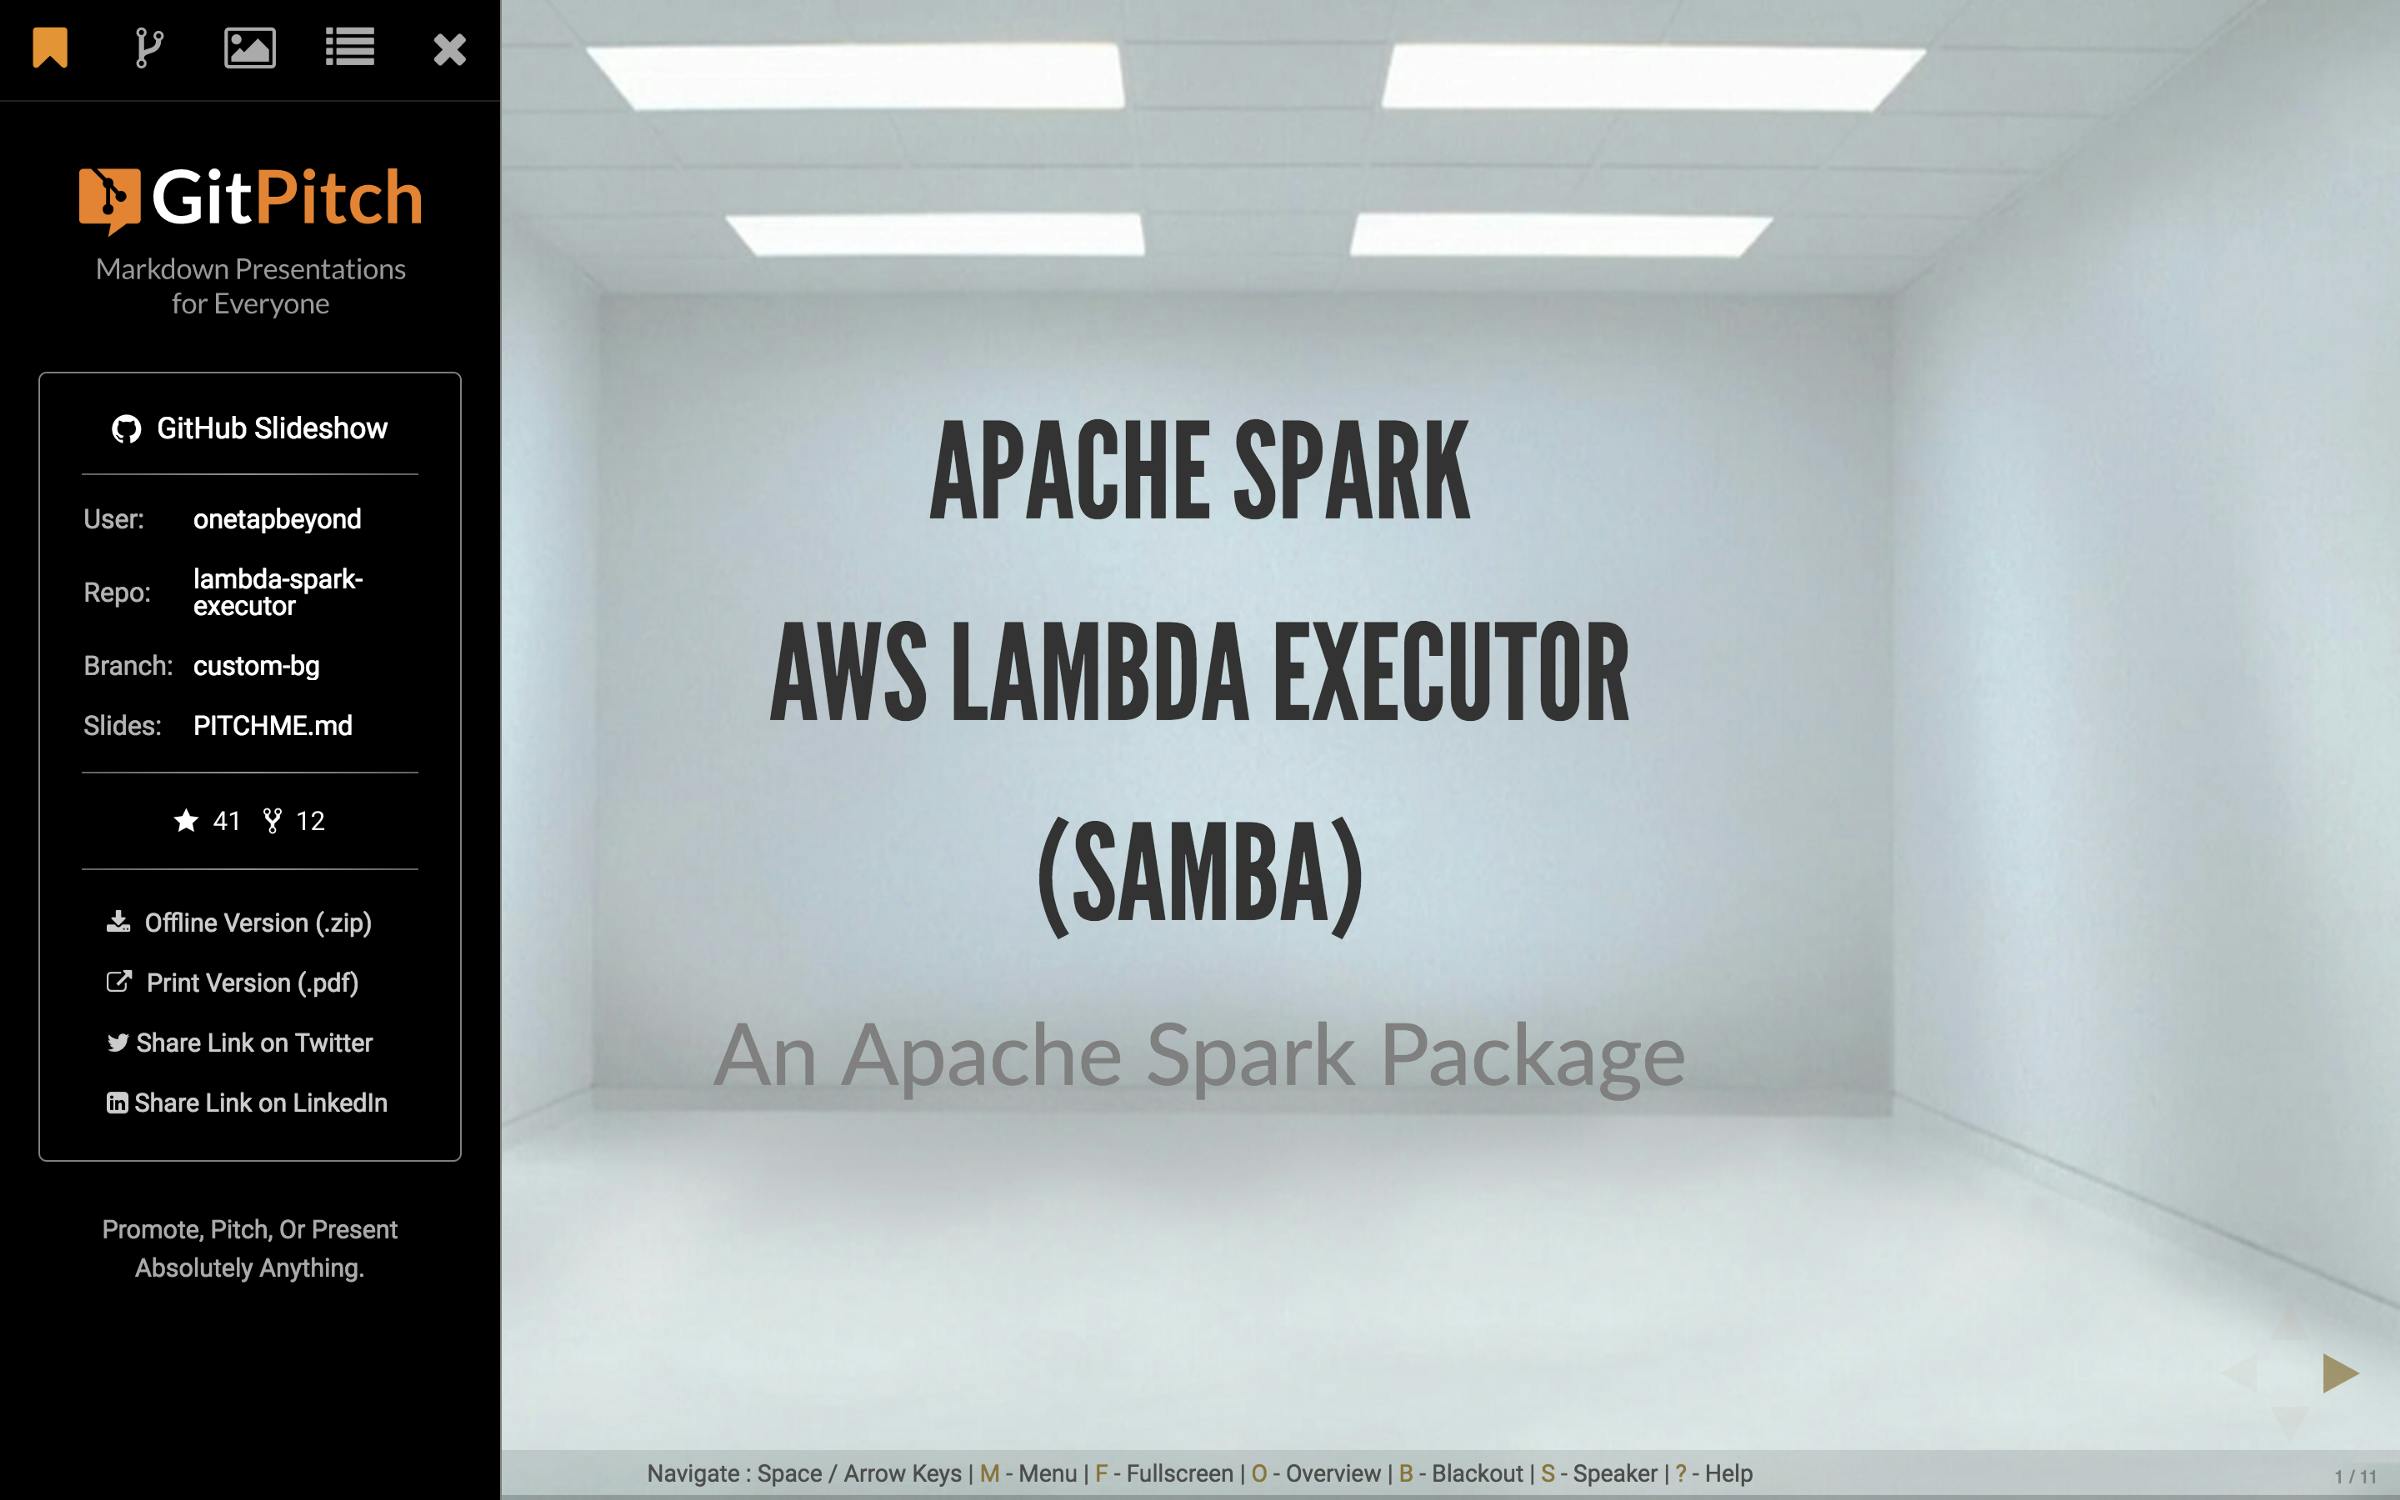
Today I’ve invited Chuck Norris to join me to share an amazing (true) story using . Sadly, he declined this invite! Despite this minor setback, I am still going to tell you a tale about the legendary Mr. Norris as an excuse to walk you through building your first truly eye-catching GitPitch presentation. GitPitch In just a few lines of Markdown and a single you are going to be able to share a presentation with the world that looks just like this one: git-commit Getting Started The only thing you need to follow along with this short tutorial is an account on GitHub, GitLab, Bitbucket, Gitea, or Gogs and a single git repository. The Power Of Words The first step when creating a GitPitch presentation is to fire up your favorite text editor and open a new file called . This file should be created within the root directory of your git repository. PITCHME.md GitPitch introduces as a new convention, similar to how popular Git services use the convention for regular project doc. PITCHME.md README.md Into this file we will add Mr. Norris’s story as our presentation content using plain Markdown: PITCHME.md One day a cobra bit Chuck Norris’s leg. --- After five days of excruciating pain, the cobra died. As you can see, we recount a somewhat sad story. For the snake at least. What you see here is plain Markdown. Simple, right? The only bit that might surprise you are the 3-dashes that appear between the two lines of text. This is called a GitPitch . Delimiters tell GitPitch that you want to break the content across consecutive slides in your presentation slideshow. slide delimiter If we saved our file right now, committed and pushed it to our repo we could immediately open and enjoy a very simple 2-slide presentation online. But we can do a whole lot better with just a little more effort. PITCHME.md Pictures Worth A Thousand Words Using images can greatly enhance just about any presentation. For this reason, GitPitch makes it incredibly simple to add some to your slideshows. visual-oomph If you are still following along, update your to look as follows: PITCHME.md ---?image=https://gitpitch.com/chuck-norris-approved.jpg --- > One day a cobra bit Chuck Norris's leg. --- > After five days of excruciating pain, the cobra died. ---?image=https://gitpitch.com/chuck-norris-thumbs-up.gif In this Markdown I’ve added a new slide at the start of the presentation that uses special syntax on the opening slide delimiter. This tells GitPitch to insert a background splash image that fills the entire slide. ?image= The character added before the text on each slide is simply a standard way of quoting text in Markdown. > I’ve also added a new slide at the end which is going to display an animated gif background. When we finally get to see our presentation live, this slide will give us what we have all been secretly craving, Chuck Norris’s approval ;) Chuck Norris’s Approval Goes Live Would you believe it if I told you we were already done creating our eye-catching GitPitch presentation? Yep, it’s true. It’s time to push our new files to our Git repo which should look something like this if you’re working at the command line: > git add -A> git commit -m "Chuck Norris counted to infinity. Twice."> git push Now that all of our GitPitch presentation files are part of our repo we can immediately open our new presentation online using . You can open my version of this presentation here: GitPitch.com _A GitPitch presentation that Chuck Norris would approve of ;)_gitpitch.com [ GitPitch ] gitpitch/chuck-norris-approved/master Simply substitute your Git username and repository name on that URL to view, share, and present your own version of the presentation. Caveat ! Emptor Buyer beware. I feel compelled to publish this warning because if you open of this presentation you may notice that it looks a little bit different from your own. The reason for this is simple, I cheated ;) my version GitPitch provides a wide range of customizations that lets you satisfy your needs. This is a topic I will cover extensively in future posts but for now let me just direct you to the as the best source of documentation for how to get going with your own customizations. inner-creative GitPitch Wiki Unleash The Magic But before I wrap up I think it’s only fair that I show you how you can too! Most GitPitch customizations are activated using a file. This file needs to live alongside your file in the root directory of your Git repo. It is a very simple, yet powerful property file that unleashes some GitPitch . cheat PITCHME.yaml PITCHME.md magic Go ahead and add, then push the following file to your own repo: PITCHME.yaml theme: blacklogo: https://gitpitch.com/texas-rangers.png After you’ve pushed these changes reload your presentation in your browser and see how it has been transformed. It may take a short while for GitPitch to pick up your latest changes. See the GitPitch for details. caching policy That’s A Wrap That wraps things up for this short tutorial. I hope you followed along and enjoyed creating your very own GitPitch presentation. Had Chuck Norris partaken today I have no doubt he would have given us thumbs-up for our efforts. Follow me right here on Medium or on Twitter for more news, tips and amazing creations from the GitPitch community. @gitpitch