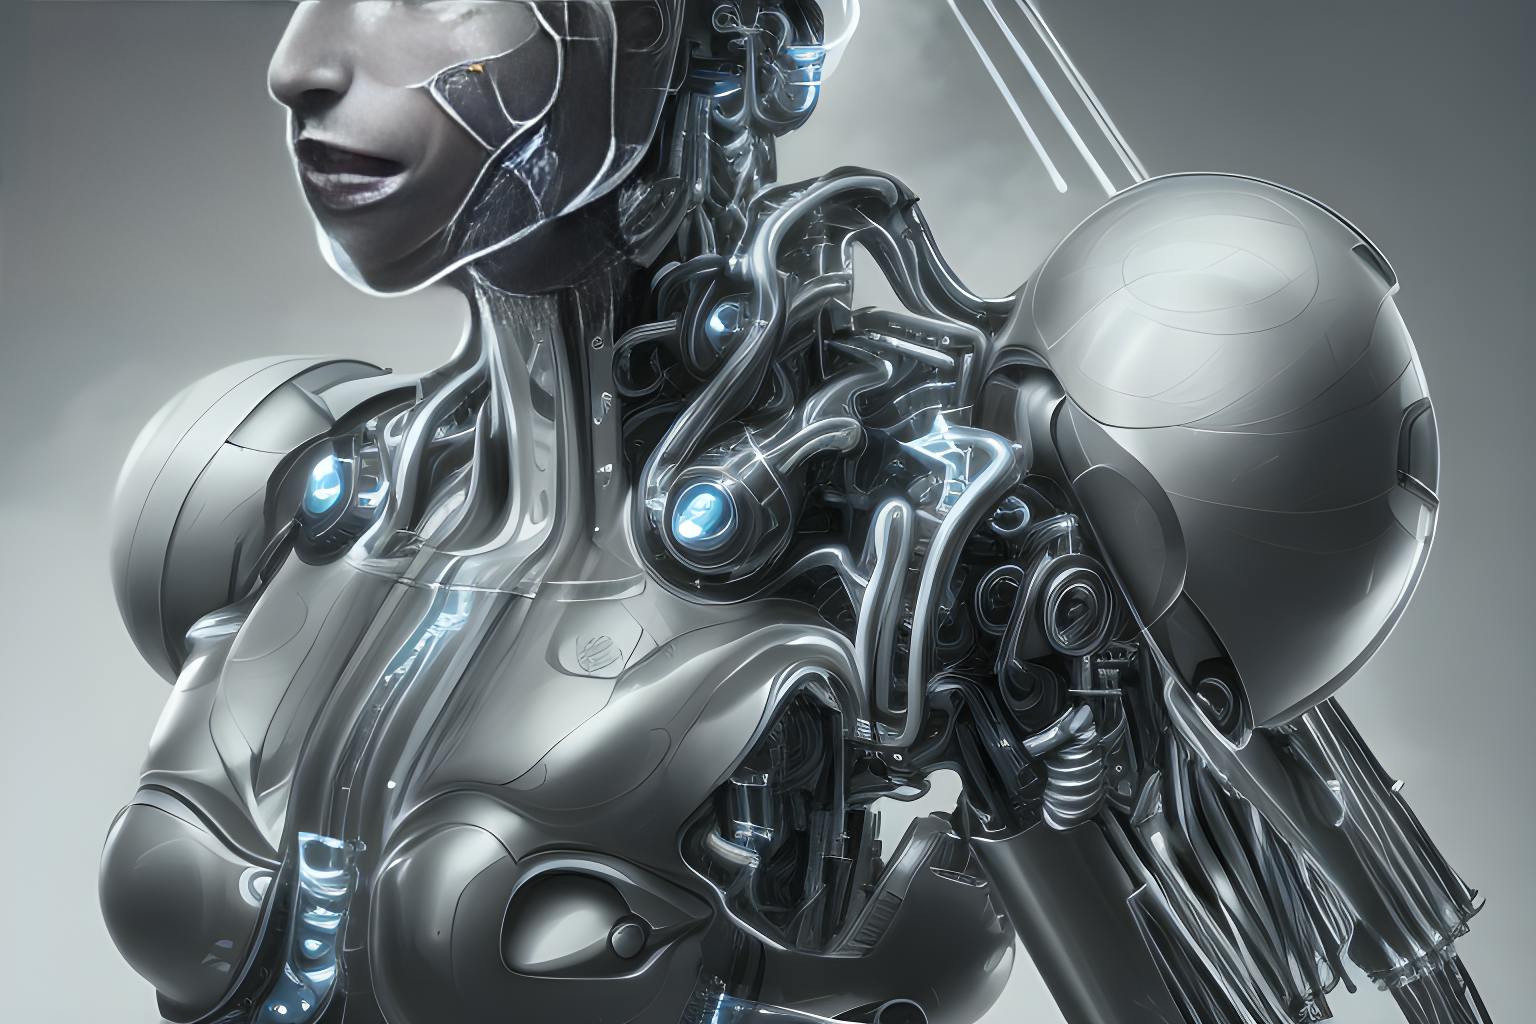
This article is part of a serie about how to spy and feed your pet with Raspberry Pi, don’t miss the first steps ! where I describe how to set up a Raspberry Pi and a camera stream server! Spy your pet with a Raspberry Pi Camera Server where you will learn how to configure everything for remote control. How to access your Raspberry Pi Camera from anywhere where we set a servo motor to trigger a food dispenser. Build a connected food dispenser with Raspberry Pi In the previous articles, we have learned how to build a camera server and a food dispenser. Now is the time to add the final touch to our connected cage. One to turn off the camera when we’re at home, another to trigger manually the food dispenser. Buttons at the front of course ! Requirements The first and third tutorials should have been completed (access from the internet is optional) If you are a beginner, I strongly advise you to take an hour or two and learn from . It will make all really easier to understand. CamJam Of course, the Raspberry Pi and a configured Wifi Dongle . This will help you a lot going through the Raspberry PI electronic pin system and plug-in everything. A raspberry Pi breadboard Buttons of your choice. However be careful, for the camera we need a and for the food dispenser a . switch momentary At least resistors, and 3 (100 or 220 ohm) 3 (470 ohm) resistors Wires and for prototyping. you can also go for . Male/Male Male/Female the complete gear (Optional) For final building and not just prototyping : A , a soldering iron and some pewter solder. perma-proto Precautions Never manipulate wires when having the Pi turned on, this is still dangerous for you and can also break the Pi forever. Beware of short-circuit, double check your theorical plugs. Although it happened to me a lot of times, there is still a risk for your Pi. Never forget resistors. I have burned a couple leds by not putting resistors, but more importantly, it can burn the Pi too. Be consistent with wire color, red for power, black for ground, orange for output, green for input, etc. This will definitely help a lot. Pre-requisite knowledge Electricity basics If you’re interested in going deeper in understanding what I am going to do, I recommend you going through a quick overview of . I have been learning so much during this project but feel free to give me feedback on things I could improve on my setup ! electricity base concepts Disclaimer : Raspberry Pi Voltage : All Raspberry Pi BCM pins are 3.3V logic pins. Never source or sink more than 16 mA on a output pin. The maximum intensity you can source from all the GPIO outputs simultaneously is ~50 mA Leds They only works when wired correctly. The negative lead (Cathode) is the shorter lead. From the manufacturer specifications we have : Voltage : 1.8–2.2V (Basic Red,Green,Yellow), 2.4–2.7V (White,Blue) Max current : 20mA Suggested using current : 16–18mA | Resistors Resistors are a way of limiting the amount of electricity going through a circuit. As you can see, the Pi pins can deliver up to 50mA when our tiny leds can handle 20mA at best. You can the exact resistor necessary (which is around 60 ohm) but since there is a limited list of available resistors, 220 ohm is still a good choice. However, you can definitely go for 100 ohm ! calculate Let’s build the camera button ! Couldn’t get enough wires.. bye bye consistency 😆 How does a breadboard works ? The breadboard is an awesome prototyping and testing tool ! You just have to wire up your components on it, or directly plug them. The magic behind the bread board is quite simple. On the edges, where you can see the red and blues lines, all dots are connected vertically . When a signal enters a dot, it is spread in the entire line. This is basically where we are going to put our Pi which will empower everything and to close the circuit. (I have highlighted the top + in green) 3V pin Ground pin On the center of the breadboard, it’s the opposite. Everything is connected horizontally and divided in two parts seperated by the middle space. Example : you put a 3V generator + in J30 (highlighted in blue), the signal will flow in F G H I 30 but NOT in A B C D E since it is on the other side of the middle space. The Pull-Up resistor principle So what is it that we need ? First of all, we need to plug a button on our circuit and be able to tell if it’s “On” or “Off”. If we detect that the button is “On”, we launch the camera server and we light the led of the button. If it’s off, we turn off the server and the led. No need to have a camera running all day if you’re home right ? Raspberry Pi GPIO Pins have two distinct modes. , which is used to detect incoming signal IN , which can be use to send a 3.3V signal through the pin OUT Perfect ! We will use a pin on IN mode to listen to our button state, and a pin on OUT mode to light our button led ! To be able to listen to a button state, we need to build what is called a “pull-up resistor”. I strongly recommend doing this tutorial (PDF download). Let’s analyse the electric flow on the following scheme. from CamJam Because I have purchased led buttons, there are four pins. 2 pins to make the switch (big), 2 pins to empower a led (small). If you don’t buy led buttons, you can get rid of steps 4 and 4bis. Red : 3V | Black : Ground | Green : BCM 9| Orange : BCM 23 The connects the 3V pin to the breadboard vertical line. 1 : red wire The power flows inside the 470 ohm resistor. 2 : The power flows back to the raspberry Pi through the The Pi is able to detect that power, returning “true” when analysed by code. 3 (button off) : green wire. The power flows into the button and resulting in too few power going back in the . Returning “false” when tested by code. 3Bis (button on) : then goes to ground, green wire So basically, it returns , and . I know, I know… quite misleading at first right ? “false” when pressed “true” when off we send a signal into the This will go through a 100 or 220 ohm resistor and light the button led. 4 (code detects button on) : orange wire. we cut the signal from the and shut down the button led by doing so. 4bis (code detects button off) : orange wire Are we good with the algorithm ? Perfect ! Create the camera button script Just like in we are going to use Python and Rpi.GPIO library to create our script. Move on to your Pi and do the following : Build a connected food dispenser with Raspberry Pi , # If you have followed previous tutorialcd /var/www/html/pet-feeder # Create the file with execution rightstouch camera_button.pychmod +x camera_button.py Now edit that file with the editor of your choice, and let’s begin scripting by importing our awesome GPIO library ! ##!/usr/bin/env pythonimport RPi.GPIO as GPIO # set the mode to BCM to match BCM number and not physical slotsGPIO.setmode(GPIO.BCM) Then, let’s put in some variable the BCM pins we are using in our previous scheme. CAMERA_BTN_LED_OUTPUT = 23CAMERA_BTN_INPUT = 9 Now we need to be able to constantly listen for the buttons state and acvtivate code when it changes. To do this, we are going to use an infinite loop. Of course, to get out of that loop, we add a Keyboard listener, so we can stop the script by holding CTRL + C a few seconds. try:while True:if GPIO.input(CAMERA_BTN_INPUT) == False:print("CAMERA Pressed - button led ON")GPIO.output(CAMERA_BTN_LED_OUTPUT, GPIO.HIGH)# START the camera serverelseprint("CAMERA OFF - button led OFF")GPIO.output(CAMERA_BTN_LED_OUTPUT, GPIO.HIGH)# STOP the camera serverexcept KeyboardInterrupt:print 'interrupted!'GPIO.cleanup() How to start or stop the camera server ? Remember when we were ? We were using Motion as the stream server. Remember how it was so simple to enable or disable the server ? How can we use this command in our script ? Easy ! let’s import the library. Spying our pet with a Raspberry Pi Camera Server sudo service motion (start | stop). os # at the top of the scriptimport os And then use the library to launch our command line ! command = 'sudo service motion stop'p = os.system(command) Script summary Let’s test it ! # in your script folderpython camera_button.py Everything should be working for you too ! Let’s build the food dispenser button ! Feed Green wire : BCM 25 | Feed Orange wire : BCM 22 Note that you can find the entire scheme on . Fritzing You want to hear the best part ? No additional difficulty here ! It’s just the same as before. As you can see we added to the scheme a second pull-up resistor. However there is also a yellow led because I thought it was a good idea to add a led on the food dispenser. When you will trigger the feeding remotely, you will see a little led lightening up ! , since we will have two leds in series (one inside the button and one on the food dispenser), the 3.3V pin will be just enough. The resistor here is optional Create the food dispenser button script First things first, let’s change the script name since we are going to handle the camera and the dispenser. # in your script foldermv camera_button.py buttons_action.py Now, open the file and let’s add our new BCM number variables FEED_BTN_LED_OUTPUT = 22FEED_BTN_INPUT = 25 # Set INPUT to analyse incoming signalGPIO.setup(FEED_BTN_INPUT, GPIO.IN)# Set OUPUT as a conditional 3V power pinGPIO.setup(FEED_BTN_LED_OUTPUT, GPIO.OUT) And now what ? look at this ! We only have to add an if/else statement in our code to handle everything. try:while True:# ... if/else camera code ... # our brand new feed button listener if GPIO.input(FEED\_BTN\_INPUT) == False: print("FEED Pressed - button led ON") GPIO.output(CAMERA\_BTN\_LED\_OUTPUT, GPIO.HIGH) # Launch the feed script else print("FEED OFF - button led OFF") GPIO.output(FEED\_BTN\_LED\_OUTPUT, GPIO.LOW) except KeyboardInterrupt:print 'interrupted!'GPIO.cleanup() Ok but how do we launch the feed script ? We use the library, just like before ! os # Please find the detail of feed.py on the previous tutorial.command = 'python /var/www/html/pet-feeder/feed.py'p = os.system(command) Script summary Now test it ! python buttons_action.py Our script is ready ! But we are not quite down yet. We have to tackle two problems : Make our script executed in a context for the “sudo” command to work root Make our script runned at Raspberry Pi boot so we don’t have to relaunch it every time. Create a bootable DAEMON script The proper way to do this is using an “init script”. These are stored in the /etc/init.d/ folder of your Pi. To help you build it from scratch, there is a template file called “skeleton” inside that folder. Let’s copy paste it and create our own script. # Let's create the scriptcd /etc/init.dcp skeleton petfeederbuttonssudo chmod +x petfeederbuttons # Now, let's edit the filesudo vi petfeederbuttons Now, for this tutorial to stay short and accessible, I’m not going to enter in the details of every line in the file. All you need to know is that we have to declare our script information in the INFO header. Then, we have to define the script location and the base commands : ! start, stop, restart Great ! Now you should be able to execute these commands : sudo service petfeederbuttons startsudo service petfeederbuttons stop Final steps ! Add the script for automatic boot launch : # This creates a link to raspbian list of boot commandssudo update-rc.d petfeederbuttons defaults Reboot your Pi and test your buttons directly to see the result ! Comptatibility between daemon listener and the feeding script. The extra led for the food dispenser works fine when pressing the button, but doesn’t work when I run feed.py. Why ??? Our daemon is running the button listener script which is waiting for the feed button to be pressed in order to trigger feed.py. However, when the button is not pressed, the daemon is constantly setting the GPIO output to LOW elseprint("FEED OFF - button led OFF")GPIO.output(FEED_BTN_LED_OUTPUT, GPIO.LOW) Which means turning off the power. So what does happen when we run our feed.py manually or through our browser ? Our extra led will not be lightened since the daemon👺 is going to re-turn it off in a fraction of a second. There are two possible solutions here : Take another BCM pin to control only the led and use that pin in your feed.py (and NOT on buttons.py). This means enabling the led only for feed.py. Force the daemon to stop when feed.py is triggered Choose the solution your prefer ! For me, I took the second one (the hard path if you want my opinion). Here is the solution, on your feed.py script. import subprocess # add this just before manipulating GPIO's subprocess.Popen(['sudo /etc/init.d/petfeederbuttons stop'], shell=True, stdout=FNULL, stderr=subprocess.STDOUT) # add this before cleaning up subprocess.Popen(['sudo /etc/init.d/petfeederbuttons start'], shell=True, stdout=FNULL, stderr=subprocess.STDOUT) However, our Apache server is running under the linux user “www-data”. And the command sudo on our daemon requires root privileges. So what now ? # let's give the rights to Apache to run start/stop commands on our daemonsudo visudo # Add this line under the root linewww-data ALL=(root) NOPASSWD: /etc/init.d/mochibuttons Voila ! Now you have your prototype !! You just have to remove this from the breadboard and make it real using a perma-proto ! Next steps What’s next now ? It only depends on your imagination ! I personally decided to create a react-native application and use the URLS from the to remotely control from my smartphone the camera and the food dispenser ! Take a look ! second tutorial Tell me in the comments if you want me to do a last tutorial about my react-native app ! Thanks to all of you for reading this article series !