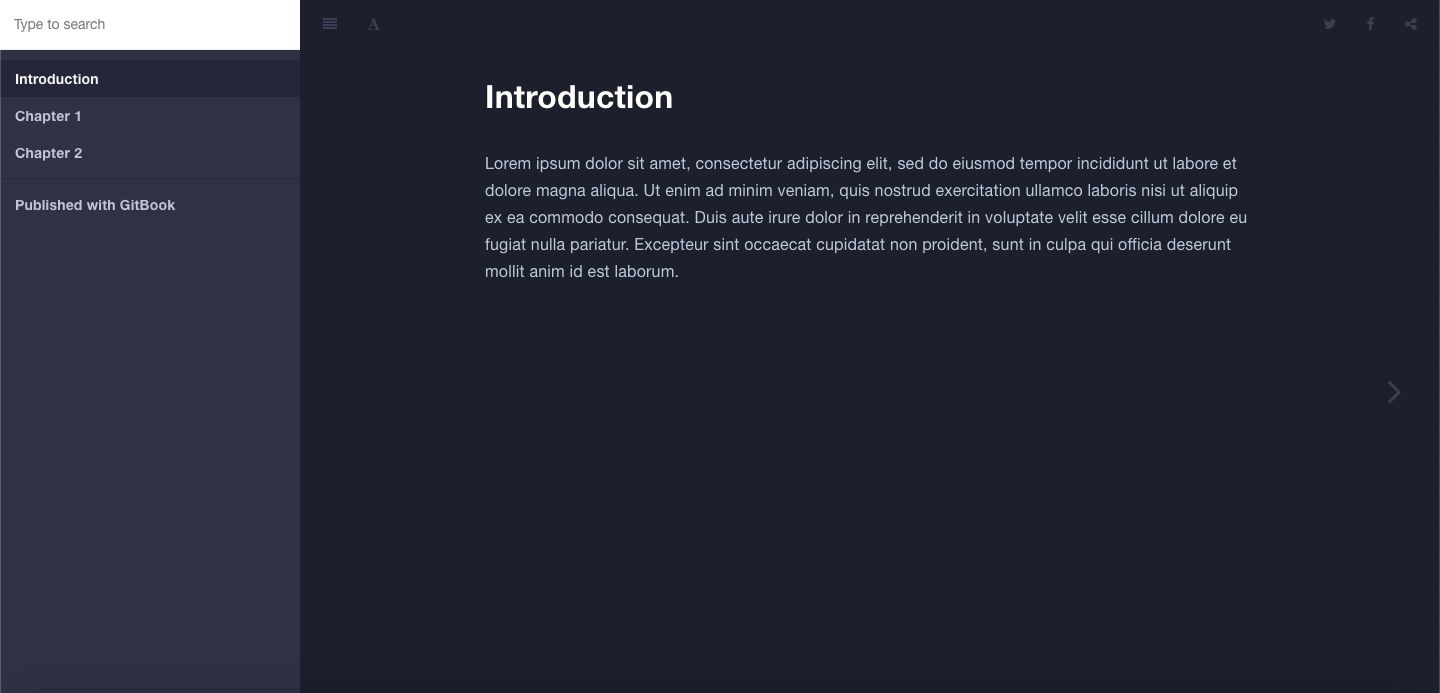
Publishing a book or documentation online has never been easier than it is today. Many services offer you incredible possibilities for publishing beautiful docs with custom domains. The only caveat is that often you need to pay for full features and probably need to use some web-based Markdown editor, which may complicate your life, rather than make it simpler. The good news is that you don't need to pay anything to publish visually appealing documentation online. You don't even need to change your favorite Markdown editor or have a custom domain. All you need is a GitHub account, a text editor of your choice, and a command prompt. In this post, I will show you how to publish your book or documentation on GitHub Pages in less than ten minutes. Getting Gitbook CLI Gitbook is an open-source project that helps thousands of developers, researchers, and journalists build beautiful documentation that support sections, nesting, code rendering, as well as multiple formats. While the main efforts of Gitbook developers are now focused on the platform (which is not completely free), the legacy tool called is still around and can be used to build static HTML files to render in a browser. Gitbook.com gitbook-cli To install the tool, you need , so make sure that you install Node.js ( will install together) if you haven't done so in the past. npm npm Install gitbook-cli. $ sudo npm install -g gitbook-cli Create Book Skeleton Create an empty directory where your docs or book will live. $ mkdir sample-book $ sample-book/ cd Use the command to create sample files needed to compile a book. gitbook init $ gitbook init If you inspect the and files that were just created, you will see that they have no content except for headers and a table of contents in the file. README.md SUMMARY.md SUMMARY.md This is the file. SUMMARY.md # Summary * [Introduction](README.md) And this is the file. README.md # Introduction By default, adds an "Introduction" header to the file and it will be the first page in your book. Make sure you add some text below the header. gitbook README.md Add Sections to Your Book Add more sections to your book building on top of the project skeleton. In the same folder, create two files: and . chapter1.md chapter2.md Add headers and optional content to each file and save them. For example, your file can have the following structure: chapter1.md Lorem ipsum dolor sit amet, consectetur adipiscing elit, sed do eiusmod tempor incididunt ut labore et dolore magna aliqua. Ut enim ad minim veniam, quis nostrud exercitation ullamco laboris nisi ut aliquip ex ea commodo consequat. Duis aute irure dolor in reprehenderit in voluptate velit esse cillum dolore eu fugiat nulla pariatur. Excepteur sint occaecat cupidatat non proident, sunt in culpa qui officia deserunt mollit anim id est laborum. # Chapter 1 Edit the file by adding your newly created chapters to the list of contents. Save the file. SUMMARY.md # Summary * [Introduction](README.md) * [Chapter ](chapter1.md) * [Chapter ](chapter2.md) 1 2 Build Your Book Now, build the book as follows: $ gitbook build You should see the following output: info: 7 plugins are installed info: 6 explicitly listed info: loading plugin ... OK info: loading plugin ... OK info: loading plugin ... OK info: loading plugin ... OK info: loading plugin ... OK info: loading plugin ... OK info: found 3 pages info: found 0 asset files info: >> generation finished with success 2.6s ! "highlight" "search" "lunr" "sharing" "fontsettings" "theme-default" in And done! The HTML files from your book are in the folder that created in the current directory. _book gitbook Publish Your Book to GitHub Pages Go to your GitHub account and create an empty repository. Do not tick the option to create a README file (we already have one, remember?). Go back to your terminal. Assuming that you are still in the folder, repeat the following steps (put repository URL when adding origin): sample-book your $ git init $ cp -R _book/* . $ git clean -fx _book $ git add . $ git commit -m $ git branch -M main $ git remote add origin https://github.com/your-user-name/sample-gitbook.git $ git push -u origin main "first commit" Go back to your sample book repository on GitHub, click and scroll down to the part. Settings GitHub Pages In , select the branch, folder, and click . Source main /root Save You will see the message " ." It may take a couple of minutes for GitHub to build your site. Your site is ready to be published at https://your-user-name.github.io/sample-book/ Once it finishes, your book is available at the link! Check it out . here Congrats! You have just published your book on GitHub Pages! What's Next Experiment with sections and nesting. Just edit the list in the file to have nested sections. SUMMARY.md Explore different color themes (you need to click the icon in the upper-left) and fonts. A Finally, add some real content!