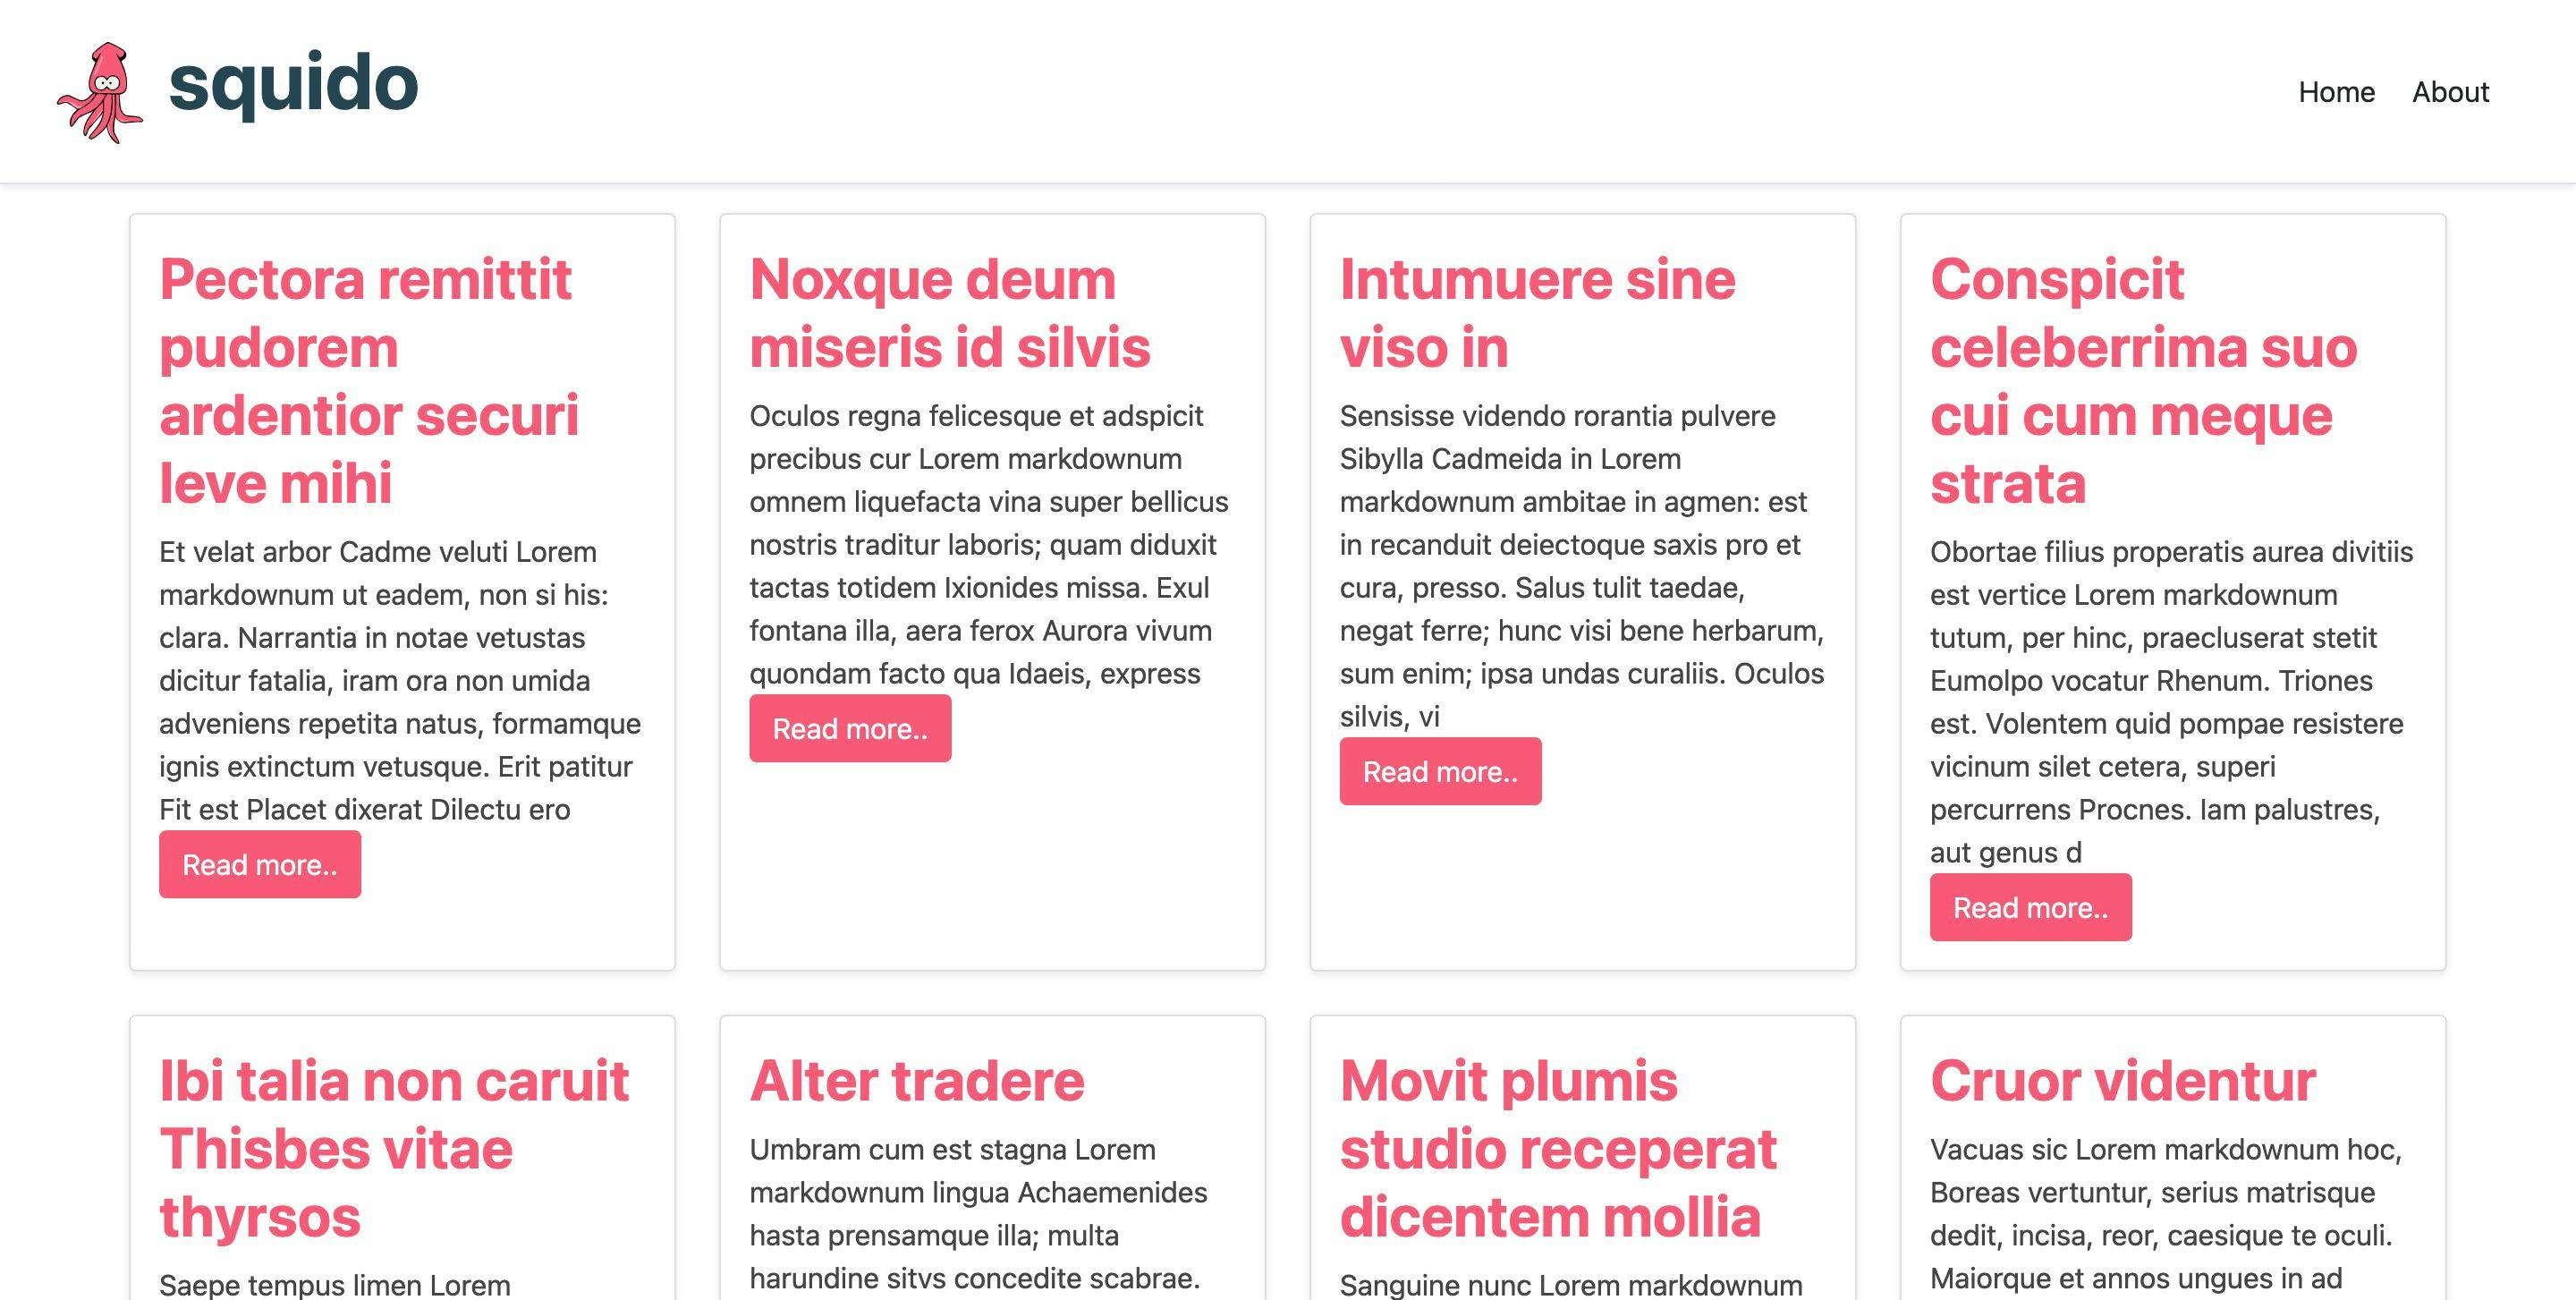
You can find this project on Github here . Ever wondered what powers this beautiful blog? It's a static site generator (SSG) called , which is super simple to get started with. Eleventy But the main reason for me to use Eleventy (11ty) is that it's so blazing fast and customizable. Yes I've tried some others like , but somehow 11ty was so much easier for me (opinion yes 🤫) jekyll Let's dive into creating a simple blog with Eleventy! 🔥 Setting up the project Like other articles like about setting up node.js, we start by creating a basic folder structure. this one mkdir blog blog cd This will create a directory called blog and change our directory into it. npm install This will install a basic node application. npm install --save-dev @11ty/eleventy This will add Eleventy to our package, according to their docs a local installation is preferred over a global one. That's it; We can now start working on adding some pages. Adding a homepage to Eleventy Of course, every website/blog needs a homepage, so let's start with opening the project in your favorite editor. First, we will add a file in our root called index.njk njk is short for which is a templating language Nunjucks --- layout: layouts/home.njk --- <h1>Latest posts will come here</h1> As you can see, it's a mix between Markdown and Layout. We define a layout for this file up top layouts/home.njk which we will create in a bit. Now let's create out layout structure Create a folder called _includes in that we create another folder layouts First we create our base layout, create a file called base.njk <!DOCTYPE html> < = > html lang "en" < > head < = /> meta charset "utf-8" < = = /> meta name "viewport" content "width=device-width, initial-scale=1.0" < > title </ > title < = = /> meta name "Description" content "" < = = /> link rel "stylesheet" href "/css/index.css" </ > head < > body < > main </ > main </ > body </ > html And our home.njk file --- layout: layouts/base.njk templateClass: tmpl-home --- {{ content | safe }} Running Eleventy local To see what we create so far run the following command in your terminal npx eleventy --serve The open up to see what we got! http://localhost:8080 Nothing fancy, but it should show an H1 with the text Latest posts will come here. Adding blog functionality to Eleventy A blog wouldn't be much without actual blog posts, so let's dive into creating some blog posts. Start by creating a new folder in your root called posts we will then add 5 Markdown files. --- title: Post number 1 description: Whatever you want to say date: 2020-04-17 tags: - posts Yes! I agree layout: layouts/post.njk --- # Lorem ipsum dolar si amet!? Follow through these until you have 5, let's call them post-one.md. The important part here is the tags option, we can have multiple tags, but in this case we set one being posts this will become our collection! Also we mention a new layout here so lets create _includes/layouts/post.njk --- layout: layouts/base.njk templateClass: tmpl-post --- <p><a href="{{ '/' | url }}">Back home</a></p> <hr /> <h1> </h1> {{ title }} {{ content | safe }} Nothing fancy, we extend the base template again and add an essential back to home button. Then we show the Title of this blog post and the content. No, let's go back to our index.njk file and change it to the following: --- layout: layouts/home.njk --- <h1>Latest posts</h1> {% set postslist = collections.posts %} {% include "postslist.njk" %} Like mentioned in the post files we included a tag called posts and here we are getting those collections called posts! You can also use collections.all to get ALL collections. Now let's make the actual postlist.njk < > ul {%- post postslist -%} for in < > li < = a href " {{ post.url }} "> {{ post.url }} </ > a </ > li {%- -%} endfor </ > ul Here we loop through our postlist and make a url to that specific post. Now run the following command again: npx eleventy --serve Yes! We now have our working blog, Let's work from here and make it more awesome! You can find this project on Github here .