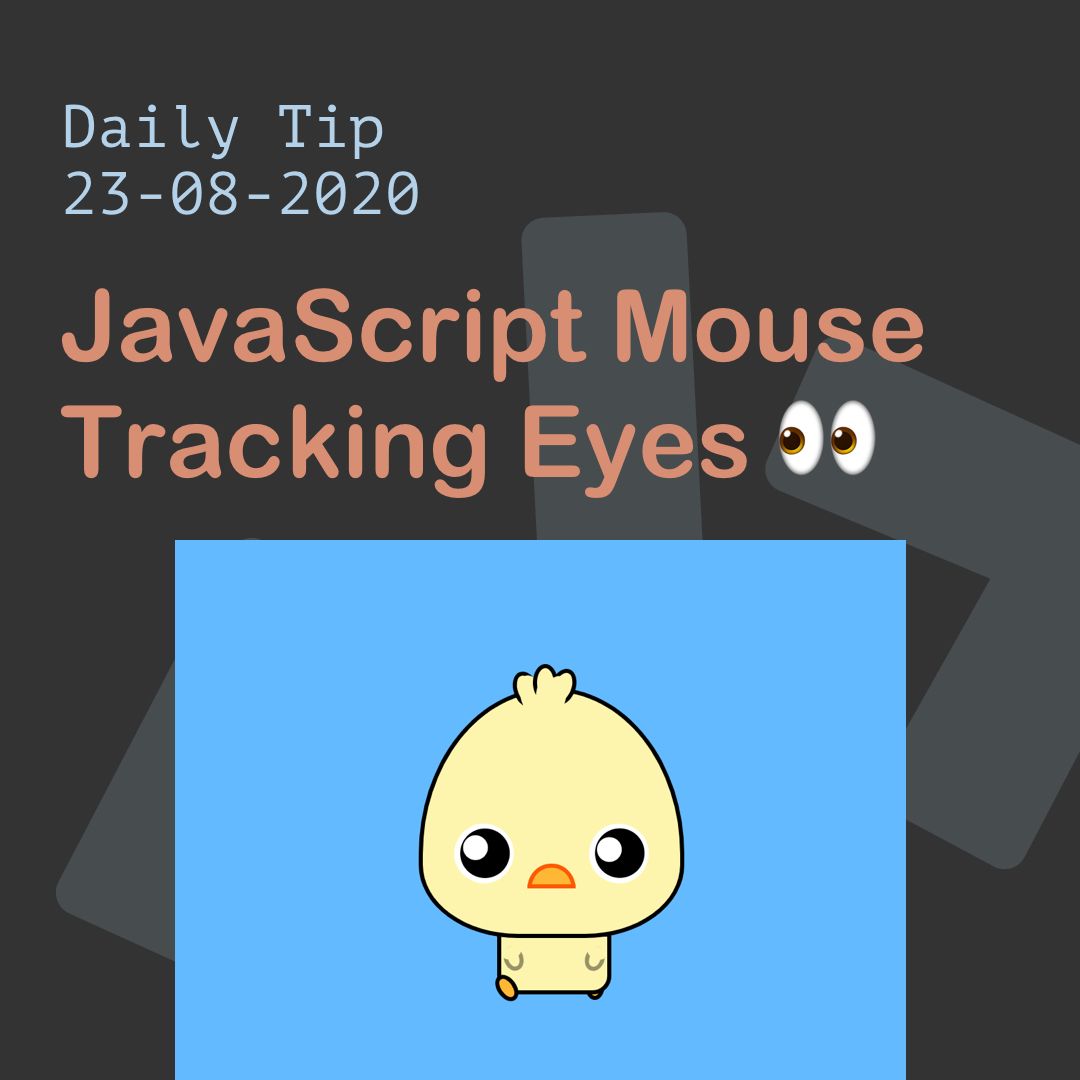
Today we'll be making this cute chicken follow your mouse! We will use JavaScript to make the eyes of this CSS chick follow where ever your mouse goes.
Can you drive this chick crazy? 🐣
See the complete demo on this Codepen.
I want to mention we won't be building the full chicken in CSS, that's for another day!
So let's focus on making these eyes follow our mouse.
<div class="eye eye-left">
<div class="eye-inner"></div>
</div>
<div class="eye eye-right">
<div class="eye-inner"></div>
</div>
This is the HTML Structure for our eyes, we will need an outside layer (the outer white part) the eye-inner bit (black layer) and we will use a pseudo class to give it the pupil (white).
As for the CSS let's start with the main white outer layer:
.eye {
display: flex;
width: 48px;
height: 48px;
position: absolute;
bottom: 41px;
background: #fff;
border-radius: 50%;
&-left {
left: 26px;
}
&-right {
right: 26px;
}
}
A basic round shape because of our border-radius: 50% and white background.
Now let's move on to the black inner part:
.eye {
&-inner {
position: relative;
display: inline-block;
border-radius: 50%;
width: 40px;
height: 40px;
background-color: black;
border-radius: 50%;
margin-left: 4px;
margin-top: 4px;
}
}
As you can see, the black part is a little bit smaller than our main layer.
The last part is the pupil:
.eye {
&-inner {
&:after {
position: absolute;
top: 2px;
left: 10px;
width: 20px;
height: 20px;
background: white;
border-radius: 50%;
content: ' ';
}
}
}
You can see it's way smaller, and we position it in the top center to start with.
To make the eyes follow the mouse, we will calculate the mouse offset from the eye, next we will add a rotate on the eye div. Since we are using a round div, it will rotate around its own axis, making it appear to follow your mouse!
First we need to detect the mouse moving
const container = document.querySelector('.container');
container.addEventListener('mousemove', e => {
// Ok mouse is moving!
});
Once that happened let's get both our eyes and loop over them.
const eyes = document.querySelectorAll('.eye');
[].forEach.call(eyes, function(eye) {});
Awesome, now we need to do some calculations so let's look at the full end code with some comments:
const container = document.querySelector('.container');
container.addEventListener('mousemove', e => {
const eyes = document.querySelectorAll('.eye');
[].forEach.call(eyes, function(eye) {
// Get the mouse position on the horizontal axis
let mouseX = eye.getBoundingClientRect().right;
// If it's the left eye we need the left offset instead the right
if (eye.classList.contains('eye-left')) {
mouseX = eye.getBoundingClientRect().left;
}
// Now we also need the vertical offset
let mouseY = eye.getBoundingClientRect().top;
// Now we are going to calculate the radian value of the offset between the mouse and the eye
let radianDegrees = Math.atan2(e.pageX - mouseX, e.pageY - mouseY);
// Let's convert this into a degree based value so we can use it in CSS
let rotationDegrees = radianDegrees * (180 / Math.PI) * -1 + 180;
// Now all we have to do is add this degrees to our eye!
eye.style.transform = `rotate(${rotationDegrees}deg)`;
});
});
There you go, a mouse tracking cute little chick!
Thank you for reading, and let's connect!
Thank you for reading my blog. Feel free to subscribe to my email newsletter and connect on Facebook or Twitter
Previously published at https://daily-dev-tips.com/posts/javascript-mouse-tracking-eyes-%F0%9F%91%80/