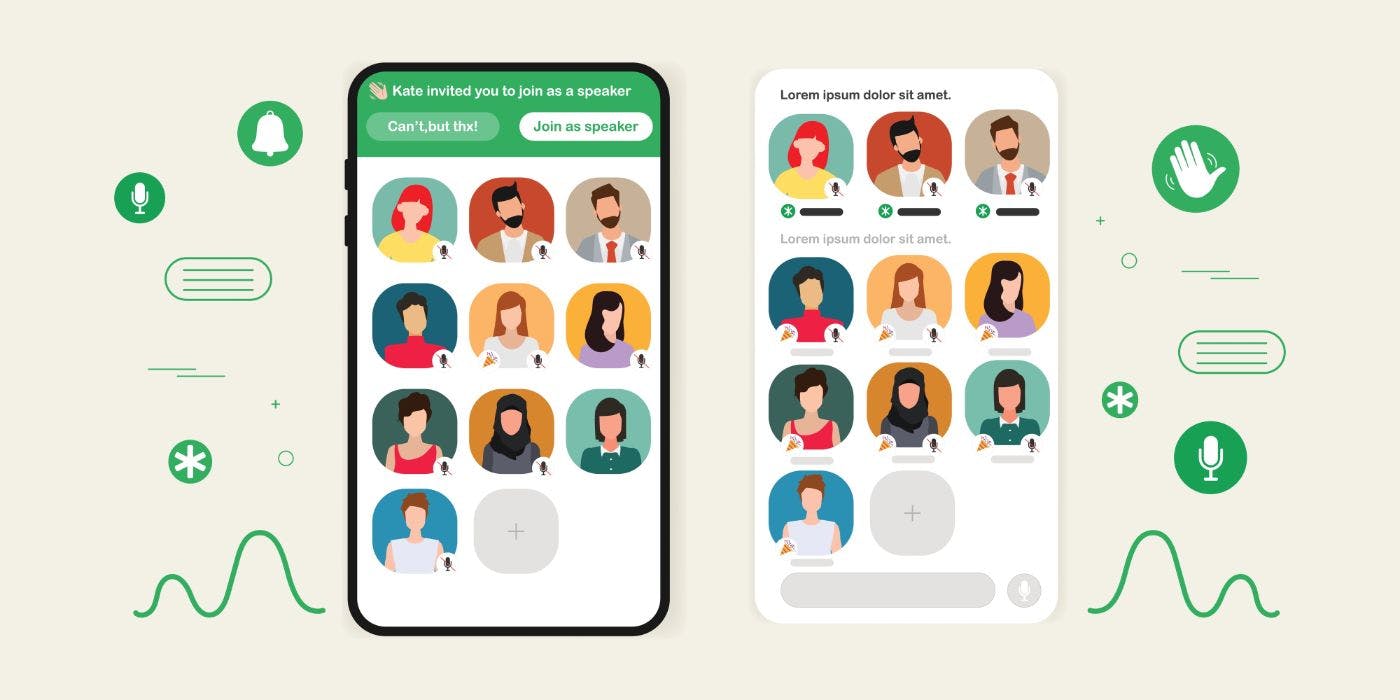
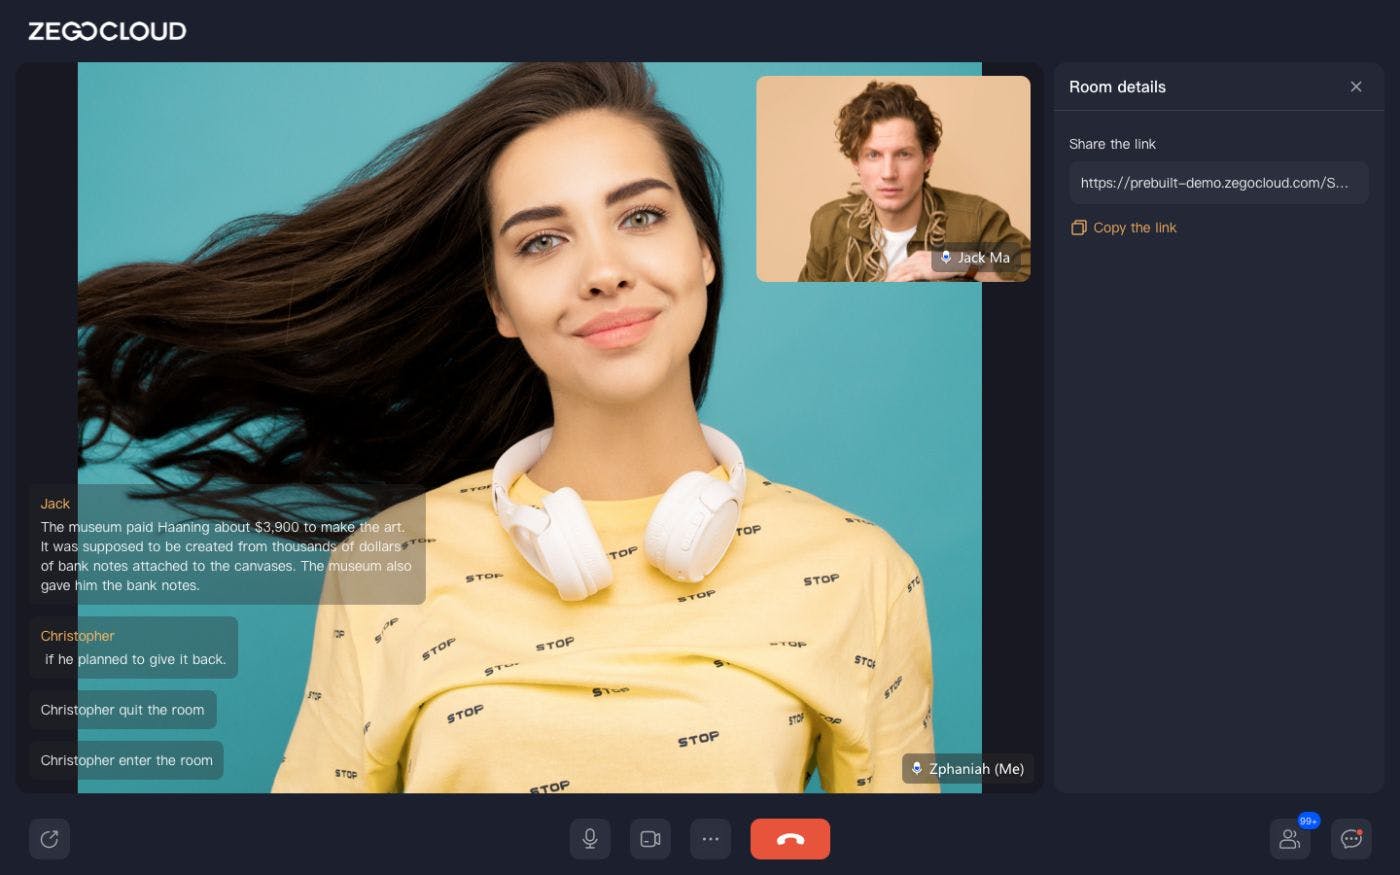
Video call function: how to implement it? Information transmission has evolved from text to pictures and now to video. Video calls are becoming more and more a necessary feature for applications. From IM, dating, and meetings, to live streaming and education, applications in all walks of life will integrate the video call function. For this function to be implemented, If you don't use the prebuilt SDK, there are some complex tasks to accomplish. For instance: - Although the video call has only one page, there are various interactive buttons; each button has multiple states, that can be switched in different ways, rendering the interactive interface quite hard to handle. Interactive interface development - Audio and video management require a lot of testing and verification to ensure the stability of calls, such as different platforms, devices, system versions, and network environments which all need to be targeted. It's a time-consuming effort. Audio and video management - includes camera and microphone switch permissions, call permissions, call duration, hang up, waiting, and call status. These states seem simple, but since each of them has multiple modification paths, the logic underpinning a correct state is complex. For example, if the call is 'hung up, there can be 'active hang-up', 'passive hang-up', network 'error hang-up', 'insufficient quota', etc. User permissions, call status, and other business-related Not every team can invest a huge workforce in solving this heavy R&D work, yet Video Call is an essential product function. The solution is to use the Prebuilt SDK to implement the Video Call function quickly. What is the Prebuilt SDK? Video Call Prebuilt SDK sorts out the personalized interface and interaction in Video Calls by: abstracting the standard functions and logic in Video Call encapsulating these standardized functions and logic in the Prebuilt SDK. integrating personalized interfaces and interactions into configuration items. Users only need two lines of code to implement the Video Call function; personalized interface and interaction can be achieved through item configuration. ZEGOCLOUD Prebuilt web SDK ZEGOCLOUD Prebuilt SDK is a set of standard solutions sorted out from the integration process of thousands of customers in Video Call customers. Based on ensuring the high encapsulation of the Video Call function, this solution provides a concise configuration file, which is convenient for users to build and configure flexibly quickly. Using the ZEGOCLOUD Prebuilt SDK enables: An out-of-the-box video chat interface Built-in bandwidth management Cross-browser compatibility Text chat Participant list Network quality monitoring Recording Call Invitation Customizable branding LOGO Step-by-step guide: embed ZEGOCLOUD Prebuilt Register an account in . Create an account ZEGOCLOUD Official in . Create a project ZEGOCLOUD Admin Console Two lines of code complete the access ZEGOCLOUD's prebuilt SDK only needs two lines of code to complete SDK access. Call the interface to complete the SDK initialization. init Call the interface to join the audio and video call. joinRoom <html> <style> #root { width: 100vw; height: 100vh; } </style> <body> </body> <script crossorigin src="https://zegocloud.github.io/zegocloud_prebuilt_webrtc/ZegoPrebuilt/index.umd.js"></script> <script> const TOKEN = ''; // need to generate TOKEN first const prebuilt = ZegoPrebuilt.init(TOKEN); prebuilt.joinRoom({ container: document.querySelector("#root"), }); </script> </html> Custom prebuilt UI ZEGOCLOUD's prebuilt SDK provides a concise configuration file, which is convenient for you to build and configure flexibly quickly. prebuilt.joinRoom({ container: document.querySelector("#root"), // Mount the container, which fills the entire screen by default joinScreen: { visible: true; // Whether to display the device detection page, default display title:"Join Room"; // Device detection page title, default Join Room inviteURL:"https://zegocloud.github.io/zegocloud_prebuilt_webrtc/build/index.html?RoomID=test"; // Invite link, not displayed by default }; micEnabled: true; // Whether to enable your own microphone, it is enabled by default cameraEnabled: true; // Whether to open your own camera, open by default userCanToggleSelfCamera: true; // Whether you can control your own microphone, enabled by default userCanToggleSelfMic: true; // Whether you can control the body's own camera, enabled by default deviceSettings: true; // Whether to display audio settings, default display chatEnabled: true; // Whether to enable chat, enabled by default userListEnabled: true; //Whether to display the member list, the default display notification: { // message notification in the lower left corner of the video userOnlineOfflineTips: true; //Whether to display member in and out, default display unreadMessageTips: true; // Whether to display unread messages, default display }; leaveRoomCallback: () => void; // leave the room callback branding: { logoURL: "https://www.zegocloud.com/_nuxt/img/zegocloud_logo_white.ddbab9f.png", // Brand logo in the upper left corner, not displayed by default }; leftScreen: true; // leave the room page, default is }); Run the demo Did You Know? 👏 Follow me to learn gain more technical knowledge, ask any questions in the comments. Thank you for reading :) Also published here. Learn More This is one of the live technical articles. Welcome to other articles: How to Build a Live Streaming App Build a Clubhouse Clone App with Android and ZEGOCLOUD How To Implement a Video Call App Using iOS CallKit and ZEGOCLOUD How to Implement a Simple Video Calling Feature Using the ZEGOCLOUD Video API