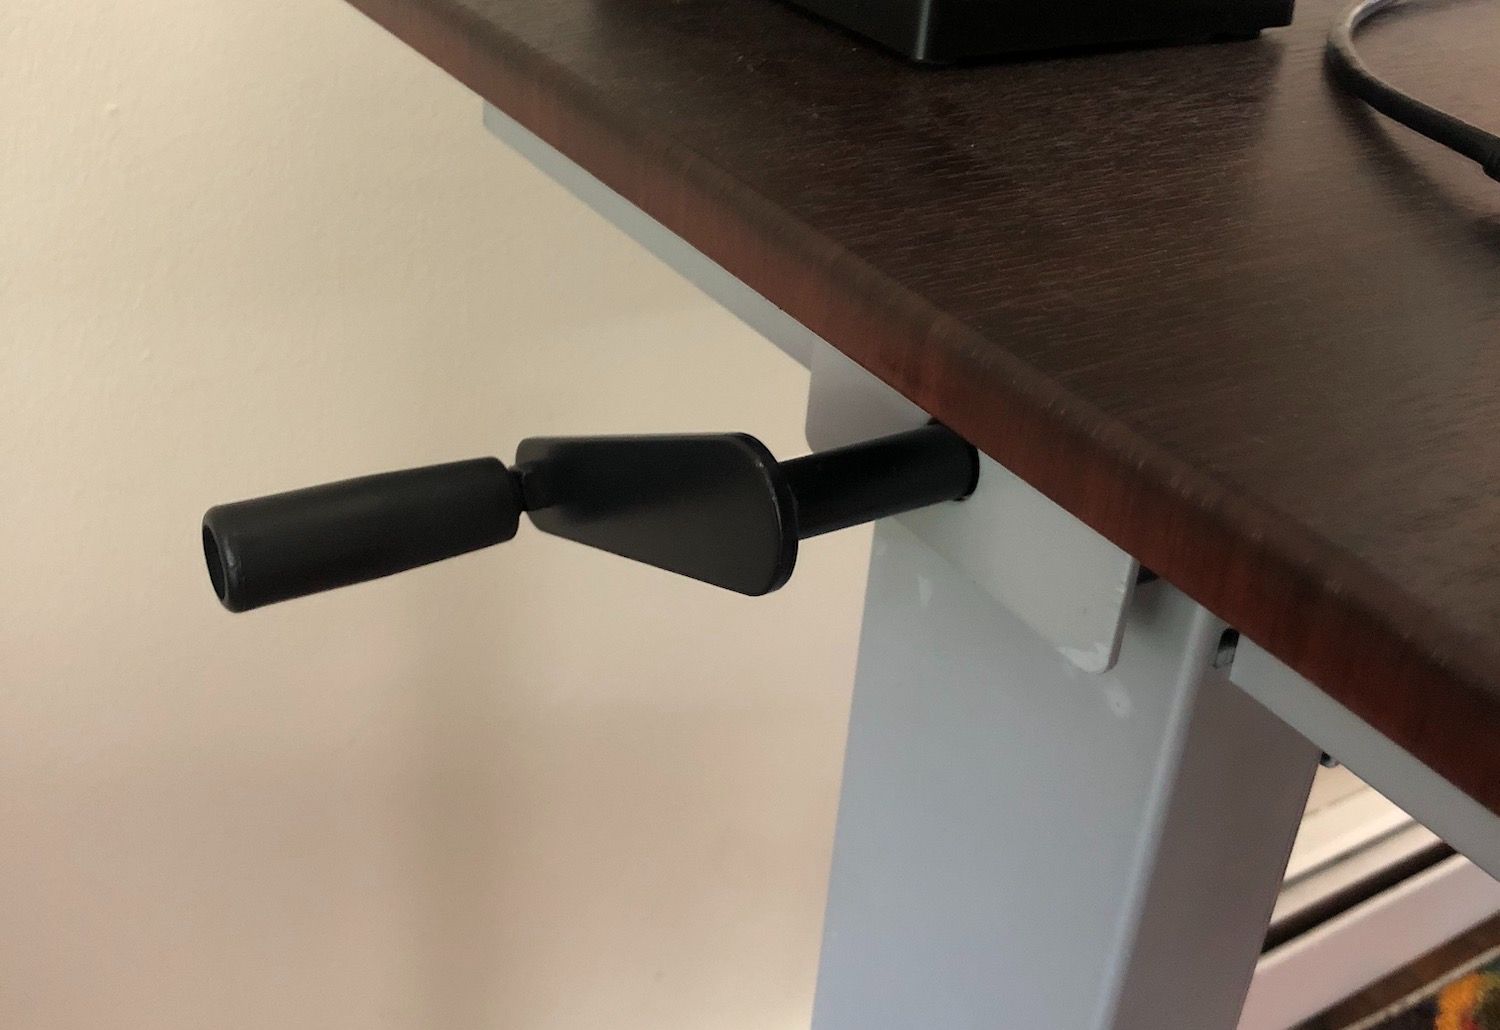
In I discussed the first version/Bluetooth version of my desk upgrade. part one In this article, I’ll discuss upgrading the desk to use Google Smart Home so I can control my desk with my voice. WiFi and Google Smart Home Adding WiFi to the desk was actually pretty simple. I swapped out the microcontroller from the Nordic NRF52 to an ESP32 since the ESP32 has WiFi built in. Most of the control software was portable since it was written in C++, and both devices could be programmed with and the Arduino libraries, including my own library that I wrote to measure the current height of the desk. Platform.IO tfmini-s Here is the necessary system architecture to get my desk to talk to Google. Let’s first talk about the interaction between myself and Google. Full architecture/technology diagram So, the desk was now WiFi enabled, then it was time to figure out how to interface with Google Smart Home. Google Smart Home is controlled through . What is interesting about Smart Home actions is that your service acts as the OAuth2 server and not as a client. Most of the work that I put into the server was related to implementing the OAuth2 Node.js Express app, which will eventually find its way up to Heroku and act as the proxy between Google and my desk. Smart Home Actions I was lucky enough that there is a decent implementation of a server through two libraries. The first was the underlying server implementation, called node-oauth2-server and found . The second was the adapter to hook the library up to express, called express-oauth-server and found . The example in the GitHub repo for the adapter left a lot to be desired and didn’t really work. It took me a while to reverse engineer how to use the two libraries together. Now I have a decent model that supports registering accounts, refreshing tokens, and validating tokens. The following code snippet shows all the functions that are necessary for the OAuth2 server but you can see the full file . here here here { Pool } = ( ); crypto = ( ); pool = Pool({ : process.env.DATABASE_URL }); .exports.pool = pool; .exports.getAccessToken = {...}; .exports.getClient = {...}; .exports.getRefreshToken = {...}; .exports.getUser = {...}; .exports.getUserFromAccessToken = {...}; .exports.getDevicesFromUserId = {...}; .exports.getDevicesByUserIdAndIds = {...}; .exports.setDeviceHeight = {...}; .exports.createUser = {...}; .exports.saveToken = {...}; .exports.saveAuthorizationCode = {...}; .exports.getAuthorizationCode = {...}; .exports.revokeAuthorizationCode = {...}; .exports.revokeToken = {...}; Next is setting up the actual express app. Below are the endpoints necessary the OAuth server but you can read the full file here. const express = ( ); OAuth2Server = ( ); bodyParser = ( ); cookieParser = ( ); flash = ( ); session = ( ); pgSession = ( )(session); morgan = ( ); { google_actions_app } = ( ); model = ( ); { getVariablesForAuthorization, getQueryStringForLogin } = ( ); port = process.env.PORT || ; app = express(); app.set( , ); app.use(morgan( )); app.oauth = OAuth2Server({ model, : , }); app.use(bodyParser.urlencoded({ : })); app.use(bodyParser.json()); app.use(express.static( )); app.use(cookieParser(process.env.APP_KEY)); app.use(session({...})); app.use(flash()); app.use( {...}); app.post( , app.oauth.token()); app.get( , (req, res, next) => {...}, app.oauth.authorize({...})); app.post( , {...}); app.get( , (req, res) => {...}); app.post( , (req, res) => {...}); app.get( , (req, res) => {...}); app.get( , (req, res) => {...}); app.post( , (req, res) => {...}); app.post( , app.oauth.authenticate(), google_actions_app); app.get( , ( {...})); app.listen(port, () => { .log( ); }); const require "pg" const require "crypto" const new connectionString module module ( ) => bearerToken module ( ) => clientId, clientSecret module ( ) => bearerToken module ( ) => email, password module ( ) => token module ( ) => userId module ( ) => userId, deviceIds module ( ) => userId, deviceId, newCurrentHeight module ( ) => email, password module ( ) => token, client, user module ( ) => code, client, user module ( ) => code module ( ) => code module ( ) => code for require "express" const require "express-oauth-server" const require "body-parser" const require "cookie-parser" const require "express-flash-2" const require "express-session" const require "connect-pg-simple" const require "morgan" const require "./google_actions" const require "./model" const require "./util" const 3000 // Create an Express application. const "view engine" "pug" "dev" // Add OAuth server. new debug true // Add body parser. extended false "public" // initialize cookie-parser to allow us access the cookies stored in the browser. // initialize express-session to allow us track the logged-in user across sessions. // This middleware will check if user's cookie is still saved in browser and user is not set, then automatically log the user out. // This usually happens when you stop your express server after login, your cookie still remains saved in the browser. ( ) => req, res, next // Post token. "/oauth/token" // Get authorization. "/oauth/authorize" // Post authorization. "/oauth/authorize" ( ) function req, res "/log-in" "/log-in" async "/log-out" "/sign-up" async "/sign-up" async "/gaction/fulfillment" '/healthz' ( ) => req, res console `Example app listening at port ` ${port} There is quite a bit of code there but I’ll explain the highlights. The two routes that are used for the OAuth2 server are /oauth/token and /oauth/authorize. These are used for getting a new token or refreshing expired tokens. Next is getting the server to respond to the actual Google Action. You’ll notice that the /gaction/fulfillment endpoint points to a object. Google sends requests to your server in a specific format and provides a library to help you process those requests. Below are the functions necessary to communicate with Google but you can view the entire file . Finally, there is a /healthz endpoint that I’ll talk about at the end of this article. google_actions_app here The /gaction/fulfillment endpoint uses a middleware called app.oauth.authenticate() and all of my hard work getting the OAuth2 server working was so that this middleware would work. This middleware validates that the Bearer token that Google provides us references a valid user and has not expired. Next, the route sends the request and response to a object. Google sends requests to your server in a specific format and provides a library to help you parse and process those requests. Below are the functions necessary to communicate with Google but you can view the entire file . google_actions_app here { smarthome } = ( ); mqtt = ( ); mqtt_client = mqtt.connect(process.env.CLOUDMQTT_URL); model = ( ); { getTokenFromHeader } = ( ); mqtt_client.on( , () => { .log( ); }); updateHeight = { : { mqtt_client.publish( , ); }, : { mqtt_client.publish( , ); }, : { mqtt_client.publish( , ); }, }; google_actions_app = smarthome({...}); google_actions_app.onSync( (body, headers) => {...}); google_actions_app.onQuery( (body, headers) => {...}); google_actions_app.onExecute( (body, headers) => {...}); .exports = { google_actions_app }; const require 'actions-on-google' const require 'mqtt' const const require './model' const require './util' 'connect' console 'Connected to mqtt' const "preset one" ( ) => deviceId `/esp32_iot_desk/ /command` ${deviceId} "1" "preset two" ( ) => deviceId `/esp32_iot_desk/ /command` ${deviceId} "2" "preset three" ( ) => deviceId `/esp32_iot_desk/ /command` ${deviceId} "3" const async async async module When you add a Smart Action to your Google account, Google will then perform a sync request. This request lets Google know what devices your account has access to. The next is a query request which is how Google queries your devices to determine their current state. When you first add a Google Action to your Smart Home account, you’ll notice that Google first sends a sync request and then a query request to get the holistic view of your devices. The final request is an execute request which is how Google tells your devices to actually do things. Google Smart Home Device Traits Google uses device traits to control your devices. Google uses these traits to provide UI elements on your Google devices as well as to build communication patterns for voice control. Some of the traits include ColorSetting, Modes, OnOff, and StartStop. It took me a while to decide which trait would work best for my application, but I later selected on Modes. You can think of modes as a drop down where you can select one of N predefined values, or height presets, in my case. I called my Mode "height" and the possible values are "preset one", "preset two", and "preset three". This allows me to control my desk by saying "Hey Google, set my desk height to preset one," and Google will send the appropriate execute request to my system. You can read more about Google device traits . here Off To Production Finally, Google Smart Home and my computer were communicating. Up until this point, I was using to run my express server locally. Now that I finally had my server working well enough it was time to make it accessible to Google at all times. This meant using Heroku to host my app. is a PaaS provider that makes it easy to deploy and manage applications. ngrok Heroku One of the major benefits of using Heroku is the add-ons. Heroku add-ons made it super simple to add a CloudMQTT and Postgres server to my application. Another benefit of using Heroku is how simple it is to build and deploy. Heroku automatically detects what code you are using and builds/deploys your code for you. You can find more information about this by reading about . In my case whenever I push code to the Heroku git remote it will install all of my packages, strip out any development dependencies, and deploy my application all by simply issuing "git push heroku main". Heroku Buildpacks With a few clicks I had CloudMQTT and Postgres available to my app, and I only needed to use a few environment variables to integrate those services with my application. Everything I've done on Heroku was built for free. However, CloudMQTT is a third-party add-on and costs $5/month. I believe the need for Postgres is self explanatory but CloudMQTT deserves a little more explanation. From The Internet to a Private Network, The Hard Way There are a few ways to expose an application, or in my case an IoT device, to the internet. The first is to open a port in my home network to expose the device to the internet. In this case, my Heroku Express app would post a request to my device by using a public IP address. This would require me to have a public static IP address as well as a static IP address for my ESP32. My ESP32 would also have to act as an HTTP server and be listening all the time for instructions from Heroku. This is a lot of overhead for a device that will only receive instructions a few times a day. The second way is called "hole-punching". This is how you can use a third-party external server to expose a device to the internet without having to use port-forwarding. Your device basically connects to the server, which establishes an open port. Then, the other service can connect directly to your internal device by retrieving the open port from the external server. Finally, it connects directly to the device using that open port. (This may or may not be entirely correct since I only read part of a paper about it.) A lot goes into "hole-punching" and I don’t fully understand it. However, if you are curious, there are some interesting articles that explain it more. These are the two articles that I read to better understand "hole-punching": and a . Wikipedia paper from MIT written by Bryan Ford et al From The Internet to a Private Network, The IoT Way I wasn’t very happy with those two solutions. I’ve added many smart devices to my home and I’ve never had to open a port on my router so port forwarding was out. Also, hole-punching seems far more difficult than what I’m looking to implement and is better suited for P2P networks. Through further research I discovered MQTT and found out that it is the protocol for IoT. It has some benefits like low power, configurable resiliency, and it doesn’t require port forwarding. MQTT is a publisher/subscriber protocol which means that the desk is a subscriber of a specific topic and the Heroku app is a publisher to that same topic. So Google communicates with Heroku, that request is parsed to determine the requested device and what its new state/mode is to be. Then, the Heroku app publishes a message to the CloudMQTT server, deployed as an add-on on Heroku, telling the desk to go to a new preset. Finally, the desk subscribes to a topic and receives the message that the Heroku app published, and the desk adjusts its height to match the request! You’ll notice in the google_actions_app file that there is an updateHeight function which publishes a single number to an MQTT topic for a specific device ID. This is how the Heroku app publishes to MQTT asking the desk to move. The final step is to receive the message on the ESP32 and move the desk. I’ll show some highlights of the desk code below but the full source code is . here { Serial.begin( ); ... tfminis.begin(&Serial2); tfminis.setFrameRate( ); ... state_machine = StateMachine(); state_machine->begin(*t_desk_height, UP_PWM_CHANNEL, DOWN_PWM_CHANNEL); setup_wifi(); client.setServer(MQTT_SERVER_DOMAIN, MQTT_SERVER_PORT); client.setCallback(callback); ... } void setup () 115200 0 new When the desk is booted up we first begin communication between the TFMini-S, which is a distance sensor, to get the current desk height. We then set up a state machine for the actual desk movement. The state machine receives commands through MQTT and then is responsible for aligning the user’s request with the actual height of the desk read from the distance sensor. Finally, we connect to the WiFi network, connect to the MQTT server, and configure the callback for any data we receive on the MQTT topic we are subscribed to. I’ll show the callback function next. { ... String messageTemp; ( i = ; i < length; i++) { messageTemp += ( )message[i]; } (messageTemp == ) { state_machine->requestStateChange(ADJUST_TO_PRESET_1_HEIGHT_STATE); } (messageTemp == ) { state_machine->requestStateChange(ADJUST_TO_PRESET_2_HEIGHT_STATE); } (messageTemp == ) { state_machine->requestStateChange(ADJUST_TO_PRESET_3_HEIGHT_STATE); } ... } void callback ( *topic, byte *message, length) char unsigned int for int 0 char if "1" if "2" if "3" The state machine registers a state change received on the MQTT topic. Then, the state machine in the main loop processes the new state. { (!client.connected()) { reconnect(); } client.loop(); state_machine->processCurrentState(); } void loop () if The main loop does a few things: First, it reconnects to the MQTT server if it wasn’t already connected. Then, it processes any data it received on the subscribed MQTT topic. Finally, it works to put the desk into the correct location according to the state requested over the MQTT topic. There you have it! My desk is completely voice-controlled and communicating with Google to receive commands! Final notes The last endpoint that I didn’t discuss is the /healthz endpoint. This is because Google expects you to respond rather quickly and booting up a Heroku application upon every request wasn’t going to work for me. I set up a ping service to ping the /healthz endpoint every minute to keep the service alive and ready to respond on Heroku. If you plan on doing something like this, then remember that this will use up all of your available free dyno hours. This is fine for now since this is the only app I’m running on Heroku. Alternatively, for $7/month, you can upgrade to , which keeps the app "alive". Heroku’s Hobby plan Conclusion Building an IoT device has a lot of overhead to get started. I constructed the actual hardware, built the control circuitry, set up an MQTT server, built an Express OAuth2 server, and learned to interface with Google Smart Home through Actions. The initial overhead was a lot but I feel like I’ve accomplished a lot as well! Not to mention that the MQTT server, Express OAuth2 app server, and Google Smart Home Actions are all reusable. I’m really interested in the Smart Home space, and I may try to expand my IoT devices repertoire to include some sensors that can monitor various things around my house and report back over MQTT. Soil monitor sensors, temperature sensors, and light sensors will be a lot of fun to monitor and analyze. Where to Go Next The way I’m measuring the height of the desk right now is flakey at best. I’m using an IR distance sensor called a TFMini-S which mostly works. I’ve noticed that the height of the desk changes a little bit throughout the day as the ambient lighting of the room changes. I’ve ordered a rotary encoder so I can count the number of turns the rod running through the desk actually makes. This should give me much more accurate movements any time of the day. I also have access to a server that I host out of a basement somewhere that I might investigate running my own Mosquitto MQTT server, server, and Express OAuth2 app if I’m feeling up to hosting something myself. Finally, right now all the electronics are just out in the open on my desk. I plan to enclose those so everything looks nice and tidy! Node-RED Thanks for reading! Here are all the links from above for easy reference. Torque Calculator 90 degree right angle gear box BLE Terminal Platform.IO TFMini-S Arduino Driver Google Smart Home Actions Node OAuth2 Server Express OAuth2 Server ESP32 IoT Desk Server model.js ESP32 IoT Desk Server index.js ESP32 IoT Desk Server google_actions.js Google Smart Home Device Traits NGROK ESP32 IoT Desk Firmware Node-RED Heroku Heroku Hobby Plan Heroku Buildpacks Wikipedia Hole Punching MIT Paper on Hole Punching by Bryan Ford et al.