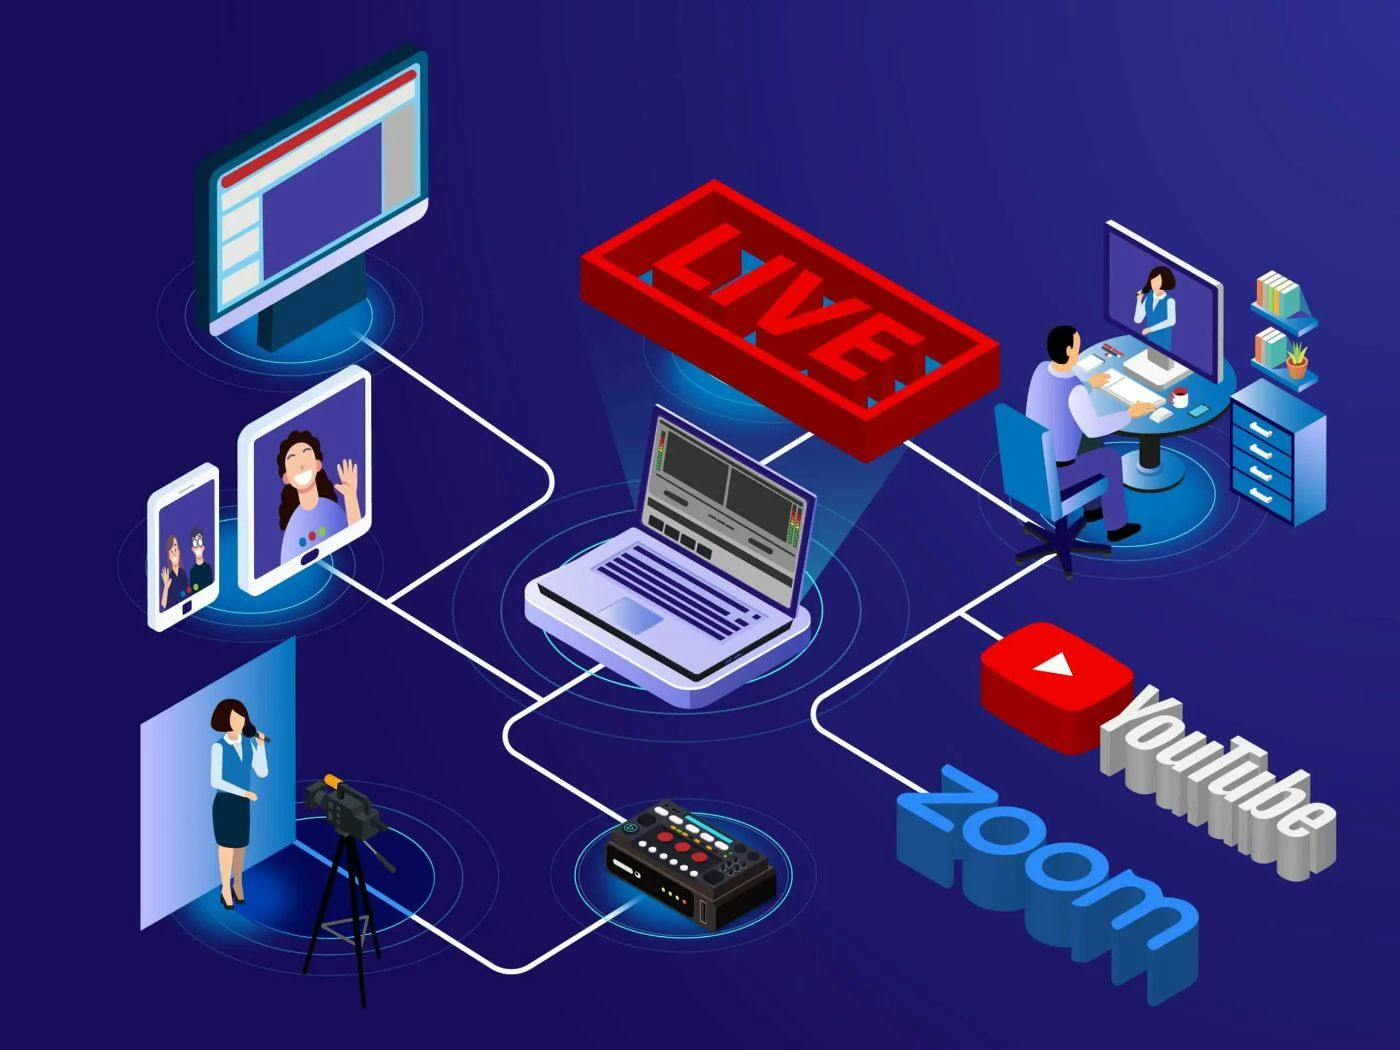
When broadcasting to a live stream, you're probably going to use some sort of desktop streaming software like OBS, Streamlabs, or any of the other great programs available for the task as we've looked at . Another option we've looked at here is with the Amazon Interactive Video Service (Amazon IVS) Web Broadcast SDK. These two options for broadcasting cover the majority of use cases, but they aren't the only options available to us. In this post, we'll discuss another option - broadcasting headless (IE: without a user interface) via the command line with FFMPEG. previously on this blog broadcasting from a browser This topic is well , but wanted to go a bit deeper and discuss how we might extend the solution for specific use cases. There may be times that you'll want to live stream something without the immediate visual feedback provided by a user interface. For example maybe you need to broadcast a pre-recorded video on our channel? Or, how about re-streaming from an IP camera on your network that utilizes a protocol like or some other format that may not be the RTMP format required by Amazon IVS? There are a handful of use cases, so let's dig into a few of them. covered in the Amazon IVS user guide RTSP To avoid breaking each statement down and discussing what each argument does, the embedded snippets below are commented. This will probably be bad for copy/paste usage, so each snippet has a link to a uncommented version of the command on GitHub. Note: To play along at home, make sure you've got installed. All of the commands below were tested on MacOS, so some modification may be required if you're using a different OS. Finally, I should mention that I'm from an FFMPEG expert, but have fully tested every command as of original publishing date of this post on version . FFMPEG far 5.1.2 I know it's tempting to just copy and paste commands, but please take the time to read the comments and refer to the FFMPEG docs to ensure compatibility with your environment. For example, many of the commands below are using for a target bitrate, but this may not work for your channel if you're using a channel type. One More Thing: 6000k BASIC Gathering Your Channel Info You'll need the and so collect those from your channel via the Amazon IVS Console. Ingest endpoint Stream key For my demo channel, I've set these values into the environment variables and . DEMO_STREAM_INGEST_ENDPOINT DEMO_STREAM_KEY Listing Your Audio and Video Devices Next, list your audio and video devices with FFMPEG: $ ffmpeg -list_devices true -f avfoundation -i dummy If you're on Windows, you will need to use instead. -f dshow On my machine, this command produced the following output. [AVFoundation indev @ 0x11d605c80] AVFoundation video devices: [AVFoundation indev @ 0x11d605c80] [0] OBS Virtual Camera [AVFoundation indev @ 0x11d605c80] [1] ManyCam Virtual Webcam [AVFoundation indev @ 0x11d605c80] [2] FaceTime HD Camera [AVFoundation indev @ 0x11d605c80] [3] Capture screen 0 [AVFoundation indev @ 0x11d605c80] AVFoundation audio devices: [AVFoundation indev @ 0x11d605c80] [0] ManyCam Virtual Microphone [AVFoundation indev @ 0x11d605c80] [1] BlackHole 2ch [AVFoundation indev @ 0x11d605c80] [2] External Microphone In our commands below, we'll reference the device by index (for example: for the "FaceTime HD Camera"). 2 Streaming Your Webcam and Microphone The simplest use case is a straightforward camera and microphone stream. $ ffmpeg \ -f avfoundation \ # force the format -video_size 1920x1080 \ # video size -framerate 30 \ # FPS -i "2:2" \ # input device (video:audio) -c:v libx264 \ # codec - libx264 is an advanced encoding library for creating H. 264 (MPEG-4 AVC) video streams -b:v 6000K \ # target bitrate -maxrate 6000K \ # max bitrate -pix_fmt yuv420p \ # pixel format -s 1920x1080 \ # video size -profile:v main \ # the H.264 profile (https://trac.ffmpeg.org/wiki/Encode/H.264#Profile) -preset veryfast \ # encoder quality setting -g 120 \ # group of picture (GOP) size -x264opts "nal-hrd=cbr:no-scenecut" \ -acodec aac \ # audio codec -ab 160k \ # audio bitrate -ar 44100 \ # audio sample rate -f flv \ # output video format $DEMO_STREAM_INGEST_ENDPOINT/$DEMO_STREAM_KEY Uncommented Command Using the command above produces the following live stream. Streaming a Screenshare with Video Overlay and Microphone Another common use case is to stream a screenshare with video overlaid at a certain position. This command is a bit trickier, but the comments should explain what's going on. $ ffmpeg \ -f avfoundation \ # force format for input 0 -framerate 30 \ # input 0 framerate -video_size 1920x1080 \ # input 0 size -i "3:" \ # first (index 0) input (screenshare) -f avfoundation \ # force format for input 1 -framerate 30 \ # input 1 framerate -video_size 640x480 \ # input 1 size -i "2:" \ # second (index 1) input (camera) -f avfoundation \ # force format for input 2 -i ":2" \ # third (index 2) input (mic) -filter_complex "[0:v][1:v] overlay=main_w-overlay_w-5:main_h-overlay_h-5" \ # overlay video on screenshare in the bottom right -map 0:v:0 \ # use the video from input 0 -map 1:v:0 \ # use the video from input 1 -map 2:a:0 \ # use the video from input 2 -c:v libx264 \ # codec - libx264 is an advanced encoding library for creating H. 264 (MPEG-4 AVC) video streams -b:v 6000K \ # target bitrate -maxrate 6000K \ # max bitrate -pix_fmt yuv420p \ # pixel format -s 1920x1080 \ # video size -profile:v main \ # the H.264 profile (https://trac.ffmpeg.org/wiki/Encode/H.264#Profile) -preset veryfast \ # encoder quality setting -g 120 \ # group of picture (GOP) size -x264opts "nal-hrd=cbr:no-scenecut" \ -acodec aac \ # audio codec -ab 160k \ # audio bitrate -ar 44100 \ # audio sample rate -f flv \ # output video format $DEMO_STREAM_INGEST_ENDPOINT/$DEMO_STREAM_KEY Uncommented Command This command produces output that looks like this: Streaming a Pre-Recorded Video For pre-recorded assets, we can swap out the camera input for the path to an existing video file on our local file system. $ ffmpeg \ -re \ -i /path/to/video.mp4 \ #input video -c:v libx264 \ # codec - libx264 is an advanced encoding library for creating H. 264 (MPEG-4 AVC) video streams -b:v 6000K \ # target (average) bitrate for the encoder -maxrate 6000K \ # max bitrate -pix_fmt yuv420p \ # pixel format -s 1920x1080 \ # size -profile:v main \ # the H.264 profile (https://trac.ffmpeg.org/wiki/Encode/H.264#Profile) -preset veryfast \ # encoder quality setting -force_key_frames "expr:gte(t,n_forced*2)" \ # keyframe interval -x264opts "nal-hrd=cbr:no-scenecut" \ -acodec aac \ # audio codec -ab 160k \ # audio bitrate -ar 44100 \ # audio sample rate -f flv \ # output video format $DEMO_STREAM_INGEST_ENDPOINT/$DEMO_STREAM_KEY Uncommented Command The output here is similar to the webcam output, but contains the pre-recorded video contents with embedded audio. Streaming Pre-Recorded Video With Separate Audio Track Sometimes our pre-recorded video doesn't contain audio, but maybe we want to include a separate audio track. This is useful to create an experience like a "lofi radio" stream that uses animated video and a separate audio track. Note that this stream will infinitely loop the video and audio, so you'll want to be mindful that live stream duration is capped to 48 consecutive hours. $ ffmpeg \ -re \ -stream_loop -1 \ # loop video infinitely -i /path/to/video.mp4 \ # input (video) -stream_loop -1 \ # loop audio infinitely -i /path/to/audio.mp3 \ # input (audio) -map 0:v:0 \ # map the first video stream from the first video file -map 1:a:0 \ # map the first audio stream from the second file -c:v libx264 \ # codec - libx264 is an advanced encoding library for creating H. 264 (MPEG-4 AVC) video streams -b:v 6000K \ # target (average) bitrate for the encoder -maxrate 6000K \ # max bitrate -pix_fmt yuv420p \ # pixel format -s 1920x1080 \ # size -profile:v main \ # the H.264 profile (https://trac.ffmpeg.org/wiki/Encode/H.264#Profile) -preset veryfast \ # encoder quality setting -force_key_frames "expr:gte(t,n_forced*2)" \ # keyframe interval -x264opts "nal-hrd=cbr:no-scenecut" \ -acodec aac \ # audio codec -ab 160k \ # audio bitrate -ar 44100 \ # audio sample rate -f flv \ # output video format $DEMO_STREAM_INGEST_ENDPOINT/$DEMO_STREAM_KEY Uncommented Command Re-streaming an IP Camera The final example that we'll cover is a re-stream use case. It can be handy to use an input source that doesn't produce RTMP output. Certain IP cameras and other devices produce output in RTSP, and with FFMPEG we can redirect an input from these devices to our Amazon IVS live stream. $ ffmpeg \ -rtsp_transport \ tcp \ -i rtsp://user:pass@192.168.86.34:554 \ # IP camera URI -preset ultrafast \ # encoder quality setting -vcodec libx264 \ # codec -ar 44100 \ # audio bitrate -f flv \ # output video format $DEMO_STREAM_INGEST_ENDPOINT/$DEMO_STREAM_KEY Uncommented Command This command produces output like the following. Summary In this post we looked at how to stream to an Amazon IVS live stream in a headless manner with FFMPEG. If you have a use case that wasn't covered in this post, reach out to me on . Twitter