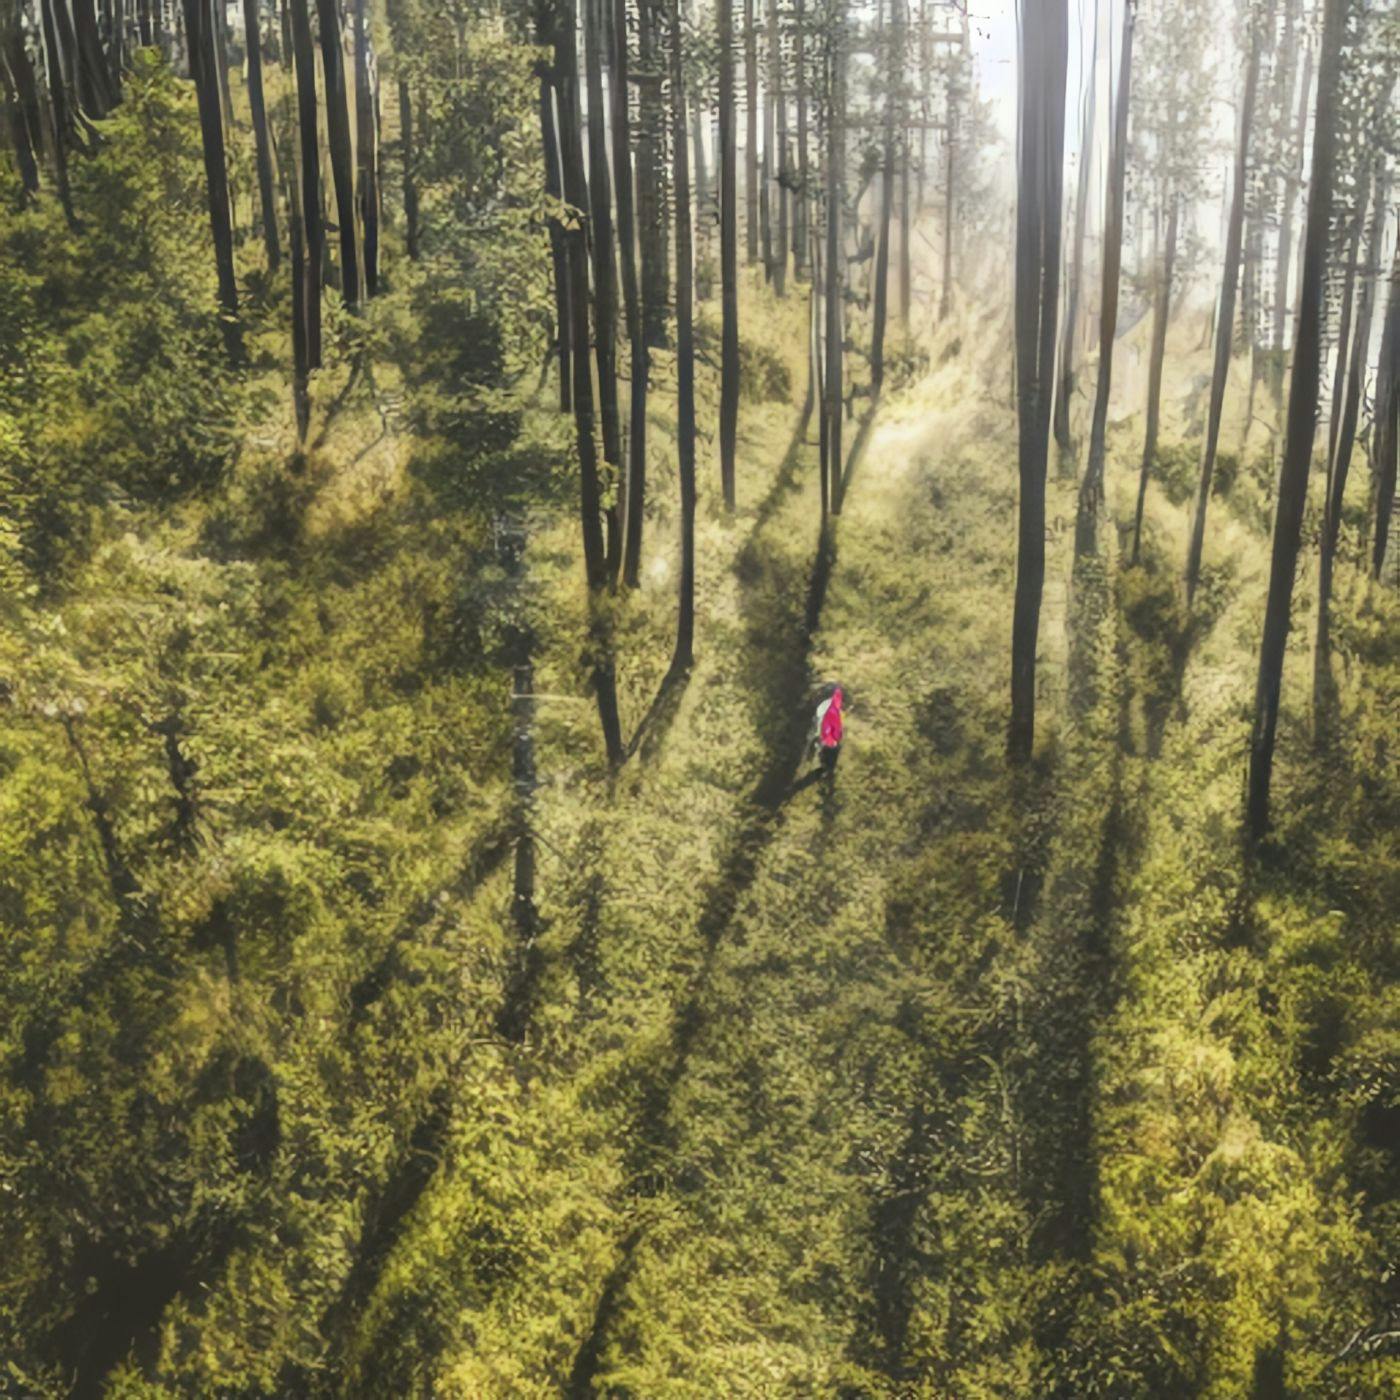
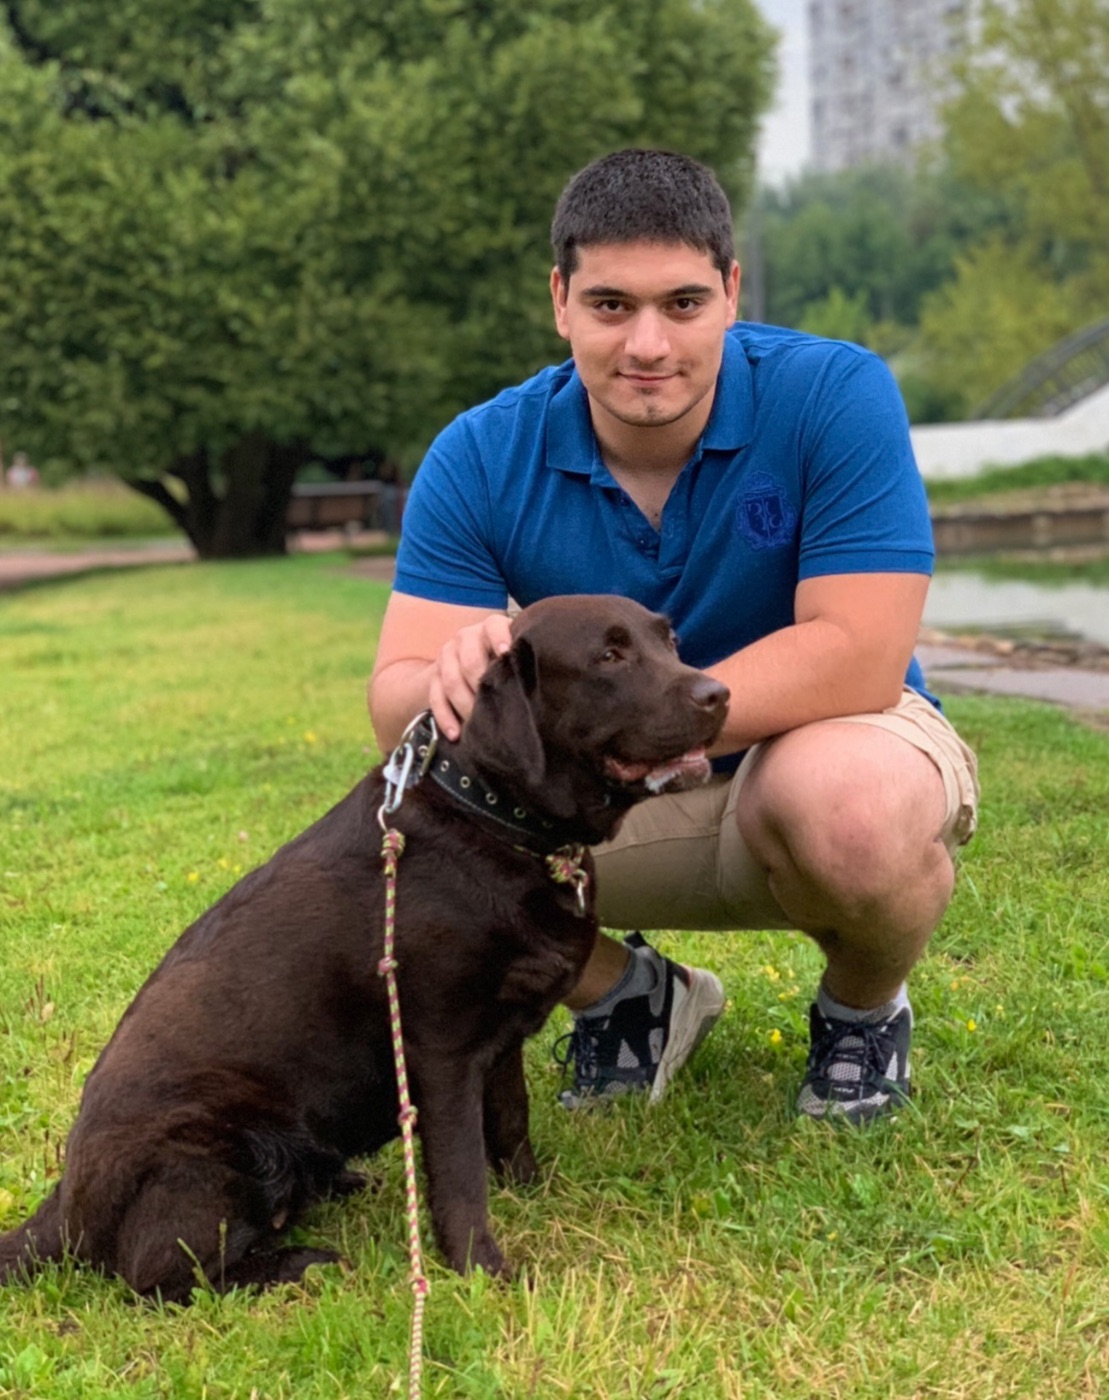
There are a lot of exciting and valuable Computer Vision tasks. For instance, Let’s say we have a project where we want to search for lost people in the forest using camera-fitted drones and Computer Vision. Or maybe we need to find something small and we have a high-quality camera. In cases like these, we can get high-resolution images in our dataset. However, most CV models will lower image resolution because it helps with speed (both on train and inference) and usually, you don't need very high resolutions to detect an object. In our case, however, we really need full resolution, because we would be using camera-fitted drones for our search. Meaning that even people would appear as tiny objects in our images. How do we go about a task like this? Dataset Everything starts with a dataset. I've tried to find an open dataset and ended up using . This is not a perfect dataset for searching for lost people, but we will use it as an example. TinyPerson I've converted the dataset from format to , as I was going to use a model from the YOLO family. Furthermore, I've filtered the dataset a little bit, but nothing really important. To convert the dataset, I used and customized it a tiny bit, so it would work in my case. My final dataset consists of 1495 images. I've split it into train/val, where 15% was left for validation. COCO YOLO format this repo A few notes on this Dataset. Images are hard, there can be a lot of people on it, and they can be really far away. It's not rare when not everyone is labeled, which is not good. Anyway, here is an ‘ok’ example from the dataset: It’s important to keep in mind that there are not a lot of high-res images in this dataset, which is unfortunate. The median size is 1920x1080. Baseline As a baseline model, I took pre-trained , which uses 1280x1280 images and is a pretty beefy model. I've also tried with the same image size and similar model size, but I got worse results on this dataset, so I settled on YOLOv5. YOLOv5l6 YOLOv7-W6 Having the correct dataset, it's easy to train Yolov5 with commands like this one: python train.py --data dataset/dataset.yaml --weights yolov5m6.pt --img 1280 --batch 15 --epochs 80 I got mAP50 around for my baseline. You that on this dataset that's an ok mAP. 0.477 can see So we still lose some data in most cases in our baseline, as we resize every image to 1280x1280. When our objects are that small, we don't really want to do that. It would be better to preserve full resolution. But, models are optimized for their training image size, so we need to use 1280x1280 or 640x640 in the case of the YOLO family. Patch-based approach This is another approach that could help us. What if we take every image and cut it with a fixed-size sliding window and use that crop as training data? Let's take a smaller model with an input size of 640x640 and cut our dataset to that size. Here is how I see it: We'll use an image with a size of 1920x1080 as an example. We can divide it into 6 images (patches), 640x640. We can't slice it exactly, we will have intersections and that's fine: Blue boxes are first-row patches, and green ones are second. We don't have an intersection between columns here, just because 1920 is divisible by 640, but we do have an intersection between the first and second rows. With this intersection, we lower the chance that our object will get cut on the edge of the patch, although it is already small because our objects are small. And don't forget that you need to carry out the same process with your labels. Anyway, we can use this approach for any image, no matter the size (if it is bigger than our patch size). This allows us: Not to lose image resolution To use optimal input size for the model, no matter what image sizes we originally have This approach is also good if you don't have enough memory on your GPU. You can find yourself in that situation with 3D really often. is a good lib for that tasks. But in our case, I decided to use a simple custom patcher, specifically written for YOLO models. TorchIO Here is my utils.py: from typing import List def xywh_to_xyxy( lines: List[str], img_height: int, img_width: int) -> List[List[int]]: ''' This function gets list with YOLO labels in a format: label, x-center, y-center, bbox width, bbox height coordinates are in relative scale (0-1). Returns list of lists with xyxy format and absolute scale. ''' labels = [] for _, cur_line in enumerate(lines): cur_line = cur_line.split(' ') cur_line[-1] = cur_line[-1].split('\n')[0] # convert from relative to absolute scale (0-1 to real pixel numbers) x, y, w, h = list(map(float, cur_line[1:])) x = int(x * img_width) y = int(y * img_height) w = int(w * img_width) h = int(h * img_height) # convert to xyxy left, top, right, bottom = x - w // 2, y - h // 2, x + w // 2, y + h // 2 labels.append([int(cur_line[0]), left, top, right, bottom]) return labels def xyxy_to_xywh( label: List[int], img_width: int, img_height: int) -> List[float]: ''' This function gets list with label and coordinates in a format: label, x1, y1, x2, y2 coordinates are in absolute scale. Returns list with xywh format and relative scale ''' x1, y1, x2, y2 = list(map(float, label[1:])) w = x2 - x1 h = y2 - y1 x_cen = round((x1 + w / 2) / img_width, 6) y_cen = round((y1 + h / 2) / img_height, 6) w = round(w / img_width, 6) h = round(h / img_height, 6) return [label[0], x_cen, y_cen, w, h] And here is the patcher itself: class Patcher: def __init__(self, path_to_save: Union[Path, str], base_path: Union[Path, str]) -> None: self.path_to_save = path_to_save self.create_folders() self.base_path = base_path def create_folders(self) -> None: self.path_to_save.mkdir(parents=True, exist_ok=True) (self.path_to_save / "images").mkdir(exist_ok=True) (self.path_to_save / "labels").mkdir(exist_ok=True) def patch_sampler( self, img: np.ndarray, fname: str, patch_width: int = 640, patch_height: int = 640, ) -> None: # Get image size and stop if it's smaller than patch size img_height, img_width, _ = img.shape if img_height < patch_height or img_width < patch_width: # copy image and label to patched folder io.imsave(self.path_to_save / "images" / f"{fname}.jpg", img) label_path = (self.base_path / "labels" / fname).with_suffix(".txt") copy(label_path, self.path_to_save / "labels") return # Get number of horisontal and vertical patches horis_ptch_n = int(np.ceil(img_width / patch_width)) vertic_ptch_n = int(np.ceil(img_height / patch_height)) y_start = 0 ##### Prepare labels label_path = (self.base_path / "labels" / fname).with_suffix(".txt") with open(label_path) as f: lines = f.readlines() all_labels = xywh_to_xyxy(lines, *img.shape[:2]) ##### # Run and create every crop for v in range(vertic_ptch_n): x_start = 0 for h in range(horis_ptch_n): idx = v * horis_ptch_n + h x_end = x_start + patch_width y_end = y_start + patch_height # Get the crop cropped = img[y_start:y_end, x_start:x_end] ##### Get labels patched cur_labels = [] for label in all_labels: cur_label = label.copy() # Check if label is insde the crop if ( label[1] > x_start and label[2] > y_start and label[3] < x_end and label[4] < y_end ): # Change scale from original to crop cur_label[1] -= x_start cur_label[2] -= y_start cur_label[3] -= x_start cur_label[4] -= y_start label_yolo = xyxy_to_xywh(cur_label, patch_width, patch_height) cur_labels.append(label_yolo) # Save the label file to the disk if len(cur_labels): with open(self.path_to_save / "labels" / f"{fname}_{idx}.txt", "a") as f: f.write("\n".join("{} {} {} {} {}".format(*tup) for tup in cur_labels)) f.write("\n") ##### # Save the crop to disk io.imsave(self.path_to_save / "images" / f"{fname}_{idx}.jpg", cropped) # Get horisontal shift for the next crop if img_width % patch_width == 0: x_start += patch_width else: x_start += int( patch_width - (patch_width - img_width % patch_width) / (img_width // patch_width) ) # Get vertical shift for the next crop y_start += int( patch_height - (patch_height - img_height % patch_height) / (img_height // patch_height) ) def main(): ''' base path structure: -> dataset ---> train -----> images (folder with images) -----> labels (folder with labels) ---> valid -----> images (folder with images) -----> labels (folder with labels) ''' base_path = Path("") # path were you want to save patched dataset path_to_save = Path("") for split in ["train", "valid"]: images_folder_path = base_path / split / "images" patcher = Patcher(path_to_save / split, base_path / split) for image_path in images_folder_path.glob("*"): if image_path.name.startswith("."): continue image = io.imread(image_path) fname = image_path.stem patcher.patch_sampler(image, fname) if __name__ == "__main__": main() Training YOLOv5 is still easy: python train.py --data dataset/dataset.yaml --weights yolov5m.pt --img 640 --batch 40 --epochs 80 mAP increased a little bit - to : 0.499 So we have increased our mAP by , which is not much, and our new solution is going to be a little bit slower (both on inference and while training). But this technique is going to perform better, the higher the resolution of the images you have. And we can see a difference even with our image size. 4% Conclusion The best use case for this technique is when you don't mind losing some speed to gain accuracy, and you have high-res images with small objects. In other similar cases, you can also try this solution after you have a baseline. Don't forget to split the dataset first and sample patches second, so you don't create a data leakage.