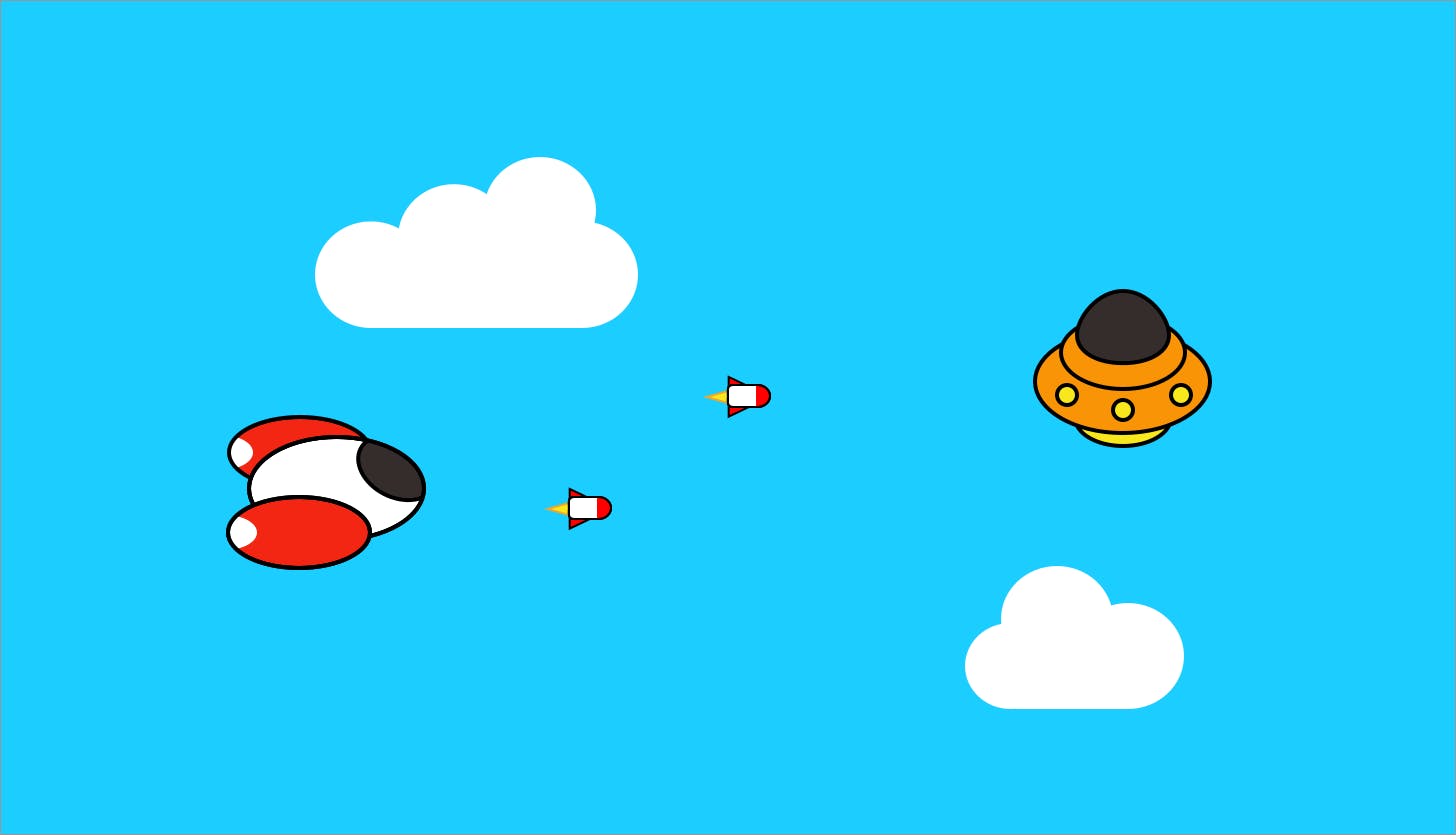
Starting with an animated background Introduction I really wanted to write a tutorial about a game technology I like to use, so here it is. In this story, we will start making a little shoot’em up game with PixiJS, a really simple and cool Javascript library. What we are going to do exactly is to make a spaceship able to move and shoot, enemy waves coming through and a beautiful animated background with moving clouds. The first part (this story) will focus on the background. Ready guys? Let’s nail it! Getting started Let’s start by setting up our project: I uploaded a code structure already set so we are all working with the same base. However if you want to make it yourself, I put a picture of my folder just below**:** Click here to download the starter project Click here to download the starter project Project folder structure We will need a local server to run the game: I invite you to download WAMP if you’re working with Windows, or MAMP for macOS, they are free and easy to use. Let’s put your game folder in the server one (htdocs for MAMP / www for WAMP) and type the localhost link in your favorite browser (for me: http://localhost:8888/Spaceship/bin/) WAMP MAMP put your game folder in the server one htdocs www http://localhost:8888/Spaceship/bin/ In index.html, we are importing the javascript files in the header: index.html … and we need to do the same for every file we make. Then comes the initialization of Pixi (which is based on the WebGL render engine): we need to do the same for every file we make For this tutorial, we tell the game to cover the whole browser window, so if you try it now you will get an all-black background. The main.js file is the place where all the game starts. It’s like a manager, with the first-executed function of the game, and the loop where we can tell the game what it needs to do on each frame. What we want is a blue background for the sky when the game starts, so let’s update the init function: main.js update the init function: init Pixi is using the hex color format, so you need to write your color code preceded by 0x. Let’s save and see the result in your browser! hex you need to write your color code preceded by 0x 0x Clouds everywhere This background is very boring, let’s add some floating clouds. First, let’s add a new CloudManager class file in the src folder (which is going to create and move the clouds): add a new CloudManager src Don’t forget to add it in the index.html file as we did for main.js: add it in the index.html file main.js The constructor is the entry point of this class where we can add the spawn function for our clouds. What we want is basically a method able to create a cloud every X seconds, and it’s fine because there is a javascript thing for this: This piece of code, placed in the constructor, will call what’s inside the moustache brackets every 1000 milliseconds (= 1 second). call what’s inside the moustache brackets every 1000 milliseconds Let’s add cloud sprites in the assets folder, and because it’s better we have 2 different images: (the clouds are white with transparent background so they were invisible on this page, but here are the links on GitHub ;) add cloud sprites in the assets folder the clouds are white with transparent background so they were invisible on this page, but here are the links on GitHub https://github.com/Karzam/Spaceship_Tutorial_Part_1/blob/master/bin/assets/cloud_1.png https://github.com/Karzam/Spaceship_Tutorial_Part_1/blob/master/bin/assets/cloud_1.png https://github.com/Karzam/Spaceship_Tutorial_Part_1/blob/master/bin/assets/cloud_1.png https://github.com/Karzam/Spaceship_Tutorial_Part_1/blob/master/bin/assets/cloud_2.png https://github.com/Karzam/Spaceship_Tutorial_Part_1/blob/master/bin/assets/cloud_2.png https://github.com/Karzam/Spaceship_Tutorial_Part_1/blob/master/bin/assets/cloud_2.png We need to load the sprites before the game starts, so add them in the Pixi.loader.add function: add them in the Pixi.loader.add function: Ok, now we can display the clouds in the setInterval method of the CloudManager: setInterval CloudManager To resume this code: First, we are computing a random number between 0 and 1, and either it’s less than 0.5 so we store the first sprite in a constant or otherwise it’s the second one. Then, we create a new sprite object with the image we got in the previous line. The origin point of this sprite is going to be its top left corner, so we set its anchor point in the middle. We have to display the cloud beyond the right border of the screen, so it can move to the left through the screen: renderer.width * 1.2 is the left border position + the width of the screen + 20% of its width. We can be sure that we won’t see it spawning. For the y position, renderer.height * Math.random() is a number between 0 and the window height. So the cloud vertical position will be located between the top and the bottom of the screen. Finally, we addChild this cloud to the stage. First, we are computing a random number between 0 and 1, and either it’s less than 0.5 so we store the first sprite in a constant or otherwise it’s the second one. computing a random number between 0 and 1 Then, we create a new sprite object with the image we got in the previous line. create a new sprite object The origin point of this sprite is going to be its top left corner, so we set its anchor point in the middle. set its anchor point in the middle. We have to display the cloud beyond the right border of the screen, so it can move to the left through the screen: renderer.width * 1.2 is the left border position + the width of the screen + 20% of its width. We can be sure that we won’t see it spawning. For the y position, renderer.height * Math.random() is a number between 0 and the window height. So the cloud vertical position will be located between the top and the bottom of the screen. display the cloud beyond the right border of the screen renderer.width * 1.2 renderer.width * 1.2 renderer.height * Math.random() renderer.height * Math.random() between the top and the bottom of the screen. Finally, we addChild this cloud to the stage. addChild addChild If you run this code, nothing should appear, and it’s on purpose because they have to pop out of sight. So now we have to make them move. The update function is the place to do it. But we need to store the clouds in an array so we can iterate through and set their positions. Let’s initialize a new array in CloudManager constructor: initialize a new array in CloudManager constructor: … and push the clouds inside after the stage.addChild function: stage.addChild Now we can iterate the array in update and set the position of each cloud: iterate the array in update and set the position update Now it’s working! Moving clouds! Oh wait, something should actually annoy us: where are all those clouds going? where are all those clouds going? Yeah, if we don’t remove them after they left the screen, they will continue to exist and it may cause some performance troubles**.** Let’s add a statement in forEach that delete them when their horizontal position is a little bit inferior to the left border of the screen (so we can’t see them popping out): forEach We’re done with the clouds! What about making a random variation on the clouds size? Add this to the cloud creation block: Add this to the cloud creation block: Random clouds size If you something’s missing / not working in your code, you can check the result here. you can check the result here. you can check the result here Next part here: the player spaceship Next part here: the player spaceship Thank you for reading!