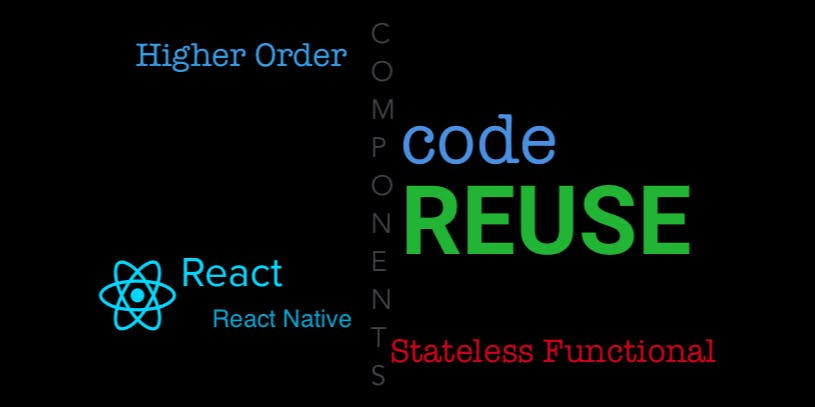
This article is outdated. Learn how to build a modular React component library here. In this tutorial, I'll demonstrate how to publish React components from any application to Bit's registry. Components will be published as independent packages that later could be installed using NPM, Yarn or Bit. is a tool, platform, and registry dedicated to publishing independent components. Bit JS Bit also enables cross-repo collaboration on independent components - but that's for another post. The steps to publishing using Bit Initialize a Bit workspace (in our cloned project) Track our soon-to-be-published components Import a compiler from Bit's ENVs collection Build, test and set a version for each package Create a new component collection on Bit's cloud component hub Publish the packages Avoiding the common tasks of a "traditional" package publishing We will not create a new repo for each package. Instead, Bit will independently source-control packages along-side the project's source-control. We will not configure dependencies in each of the package's file. Instead, Bit will analyze each component's dependencies and configure each , accordingly. package.json package.json We will not configure a build setup for each component/package. Instead, we will use one of Bit's out-of-the-box compilers. We will not integrate third-party tools to create documentation or even to host it. Instead, Bit will auto-generate docs for us and display them on Bit's cloud component hub. 1. Initialize a Bit workspace in our cloned project a. Clone and install this React to-do app ( | | ) Source Bit The app $ git clone https: $ cd todo-react-ts $ npm install //github.com/giteden/todo-react-ts.git b. Install Bit globally $ npm install bit-bin --global c. Initialize a new (in the project's root directory) Bit workspace 2. Track our soon-to-be-published components $ bit add src/components /* This is where Bit goes through the unintelligible , analyzes it, and manages it as independent components. code Read more about it here. 3. Import a React with TypeScript compiler $ bit import bit.envs/compilers/react-typescript --compiler As mentioned at the beginning of this tutorial, we can import Bit's React with TypeScript compiler so that we don't have to configure the build setup for each package, ourselves. . Check out Bit's compilers here 4. Build, test and set a version for each package $ bit tag --all 1.0.0 Here, Bit will build, test (if there were any test files), and version each component/package. Bit tags each component with a semantic version number (Major.Minor.Patch). It automatically bumps the patch number on every new “export” (publish). It’s up to you to manually set a version number that describes changes more drastic than a patch. Read more about it here. 5. Publish packages to Bit's registry a. Create a new Bit account b. in Bit's component hub Create a new component collection c. Login to Bit in your terminal d. Publish ("export") all tagged components $ bit <username>.<collection-name> export 🎉 🎉 Great. You now have a shared component collection. Use it in future projects, and share it with your team. Also, you can check out my collection (eden.todo-react) here. A few words about documentation Bit auto-generates out of prop-types, JSDocs, and TypeScript. And, of course, you can always add an .md file to your component directory and manually write your docs. documentation So, for example - This RemovableListItem component: React, {useState} ; styles ; type RemovableListItemProps = { text: string, : string, removeItem: } RemovableListItem = { [isCompleted, setIsCompleted] = useState( ); ( <span data-iscompleted={isCompleted} className={styles.text} onClick={() => setIsCompleted(!isCompleted)}>{text}</span> <button className={styles.delete} onClick={() => removeItem(id)}>X</button> ) } RemovableListItem; import from 'react' import from './RemovableListItem.module.scss' /** The item's text */ id /** A callback function for the "X" click event */ ( ) => id: string void const ( ) => {text, id, removeItem} : RemovableListItemProps const false return < = > li className {styles.listItem} </ > li export default Will produce this documentation (in the component's page on Bit's component hub): Also, notice how I've added a code example in Bit's playground (in the component's page): And, as mentioned earlier, we can take full control over the documentation with our own markdown files. For example, the Button component has an .md file under its component directory. Bit tracked this file as part of the Button component, and rendered it in the component's page: |-- components |-- Button |-- Button.jsx |-- Button.module.scss |-- Button.md |-- index.ts The Button components recieves all attributes of an HTML button component. ### The Button Component This is now displayed under the component playground: Hopefully, that tutorial was clear 🙏 If you have any questions, make sure to leave a comment and I’ll do my best to answer it.