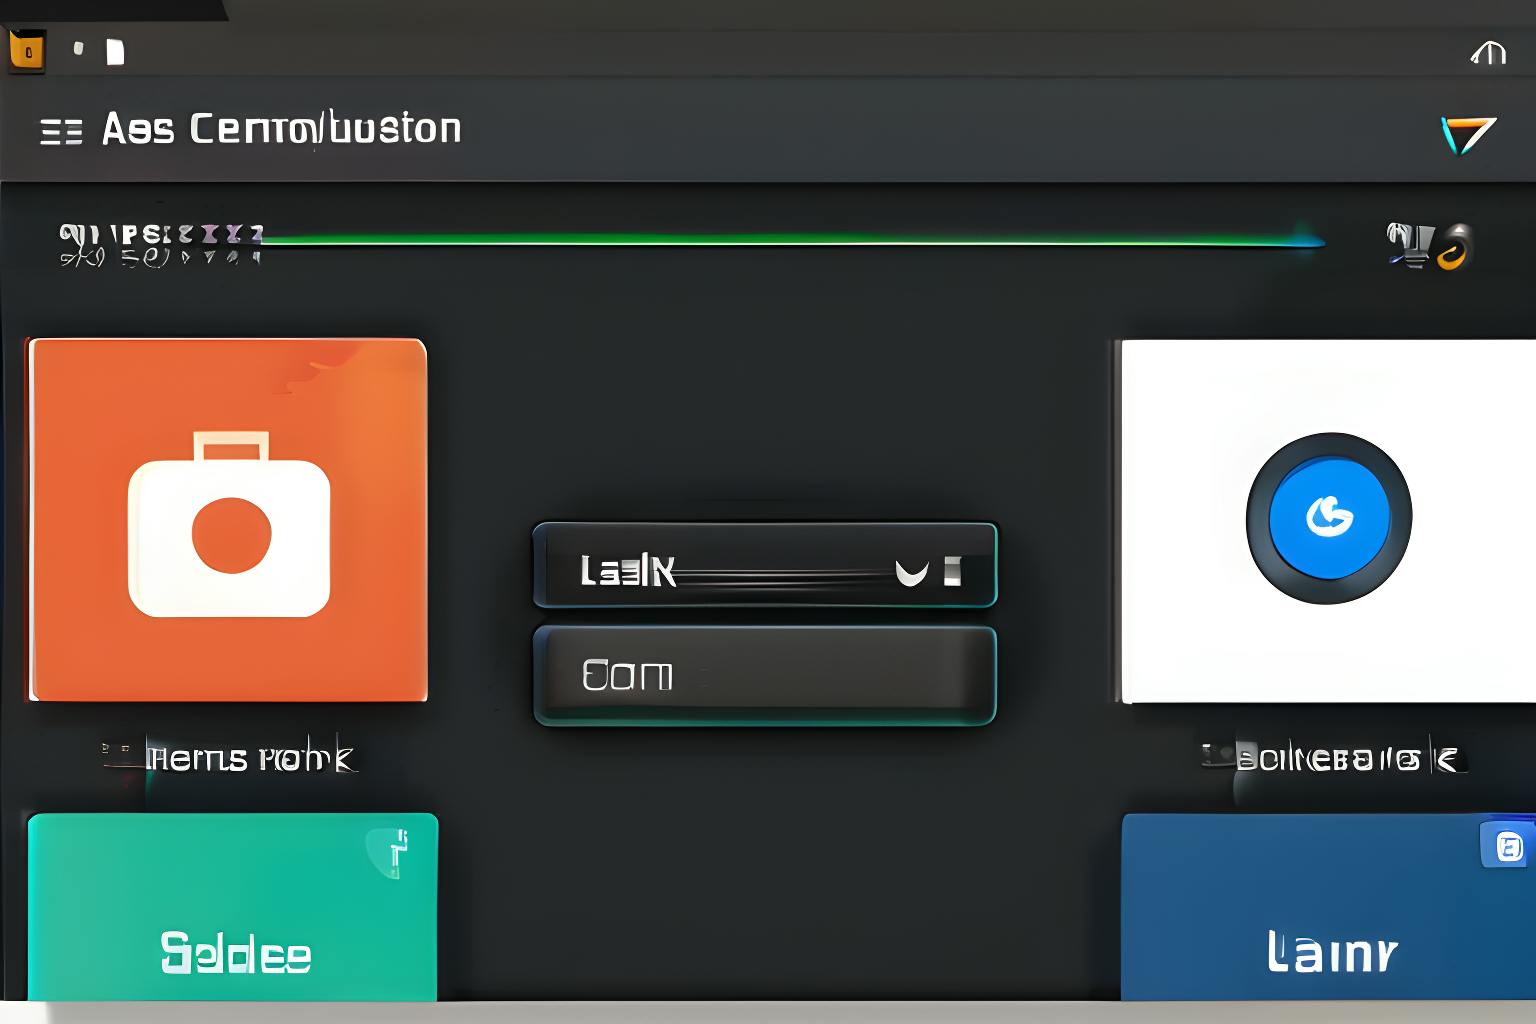
Sometimes, we need to build an iOS application ourselves in our work: to test it on different simulators, or we simply don’t have an iPhone at hand, or we need a version from a certain branch, and a developer can’t build the app now. In such cases, we have to learn to be independent and this guide can help. In fact, it’s not as difficult as it seems. We’ll do it in 10 minutes using the Wikipedia application. It’s available at https://github.com/wikimedia/wikipedia-ios. You can download the project simply as an archive (using buttons 1 and 2 from the screenshot), but I recommend cloning it via the terminal using Git: this way, you can get updates in the future simply by entering “git pull.” So, I advise you to open the terminal, and go to the desired folder by entering, for example: cd Downloads Use the link under number 3, and enter the command: git clone https://github.com/wikimedia/wikipedia-ios.git Then, check that everything has been downloaded. Find this folder in the finder. You can see in your files “Wikipedia.xcodeproj”. But we need to have “Wikipedia.xcworkspace”. And also go to it in the terminal: cd wikipedia-ios To generate the .xcworkspace file, we will install the necessary pods. Steps to add CocoaPods to manage dependencies in your project: sudo gem install cocoapods This installs CocoaPods as a piece of software on your machine. (wait a little, ~10 minutes). Go to the root of your project directory (but we are here already), and execute. pod init This will add a base Podfile to your project. Run pod install which will fetch all the external dependencies mentioned by you, and associate it with a .xcworkspace file of your project. This .xcworkspace file will be generated for you if you already do not have one. From here on, you should use the .xcworkspace file instead of .xcproject / .xcodeproj. Open Wikipedia.xcworkspace in Xcode, and wait for all dependencies to load. Choose any device (I picked iPhone 16), and click the Run button. Wait a little (about 5 min). That’s all! Now, we have our application running on an iOS simulator. You can use it. Also, you can find the .app file and use it for autotests or send it to your colleagues. Sometimes, we need to build an iOS application ourselves in our work: to test it on different simulators, or we simply don’t have an iPhone at hand, or we need a version from a certain branch, and a developer can’t build the app now. In such cases, we have to learn to be independent and this guide can help. In fact, it’s not as difficult as it seems. We’ll do it in 10 minutes using the Wikipedia application. It’s available at https://github.com/wikimedia/wikipedia-ios . https://github.com/wikimedia/wikipedia-ios You can download the project simply as an archive (using buttons 1 and 2 from the screenshot), but I recommend cloning it via the terminal using Git: this way, you can get updates in the future simply by entering “git pull.” So, I advise you to open the terminal, and go to the desired folder by entering, for example: cd Downloads cd Downloads Use the link under number 3, and enter the command: git clone https://github.com/wikimedia/wikipedia-ios.git git clone https://github.com/wikimedia/wikipedia-ios.git Then, check that everything has been downloaded. Find this folder in the finder. You can see in your files “Wikipedia.xcodeproj”. But we need to have “Wikipedia.xcworkspace”. And also go to it in the terminal: cd wikipedia-ios cd wikipedia-ios To generate the .xcworkspace file, we will install the necessary pods. Steps to add CocoaPods to manage dependencies in your project: sudo gem install cocoapods This installs CocoaPods as a piece of software on your machine. (wait a little, ~10 minutes). Go to the root of your project directory (but we are here already), and execute. pod init This will add a base Podfile to your project. Run pod install which will fetch all the external dependencies mentioned by you, and associate it with a .xcworkspace file of your project. This .xcworkspace file will be generated for you if you already do not have one. From here on, you should use the .xcworkspace file instead of .xcproject / .xcodeproj. Open Wikipedia.xcworkspace in Xcode, and wait for all dependencies to load. Choose any device (I picked iPhone 16), and click the Run button. sudo gem install cocoapods This installs CocoaPods as a piece of software on your machine. (wait a little, ~10 minutes). sudo gem install cocoapods sudo gem install cocoapods This installs CocoaPods as a piece of software on your machine. (wait a little, ~10 minutes). Go to the root of your project directory (but we are here already), and execute. pod init This will add a base Podfile to your project. Go to the root of your project directory (but we are here already), and execute. pod init pod init This will add a base Podfile to your project. Run pod install which will fetch all the external dependencies mentioned by you, and associate it with a .xcworkspace file of your project. This .xcworkspace file will be generated for you if you already do not have one. From here on, you should use the .xcworkspace file instead of .xcproject / .xcodeproj. Run pod install pod install which will fetch all the external dependencies mentioned by you, and associate it with a .xcworkspace file of your project. This .xcworkspace file will be generated for you if you already do not have one. From here on, you should use the .xcworkspace file instead of .xcproject / .xcodeproj. you should use the .xcworkspace Open Wikipedia.xcworkspace in Xcode, and wait for all dependencies to load. Open Wikipedia.xcworkspace in Xcode, and wait for all dependencies to load. Choose any device (I picked iPhone 16), and click the Run button. Choose any device (I picked iPhone 16), and click the Run button. Wait a little (about 5 min). That’s all! Now, we have our application running on an iOS simulator. You can use it. Also, you can find the .app file and use it for autotests or send it to your colleagues.