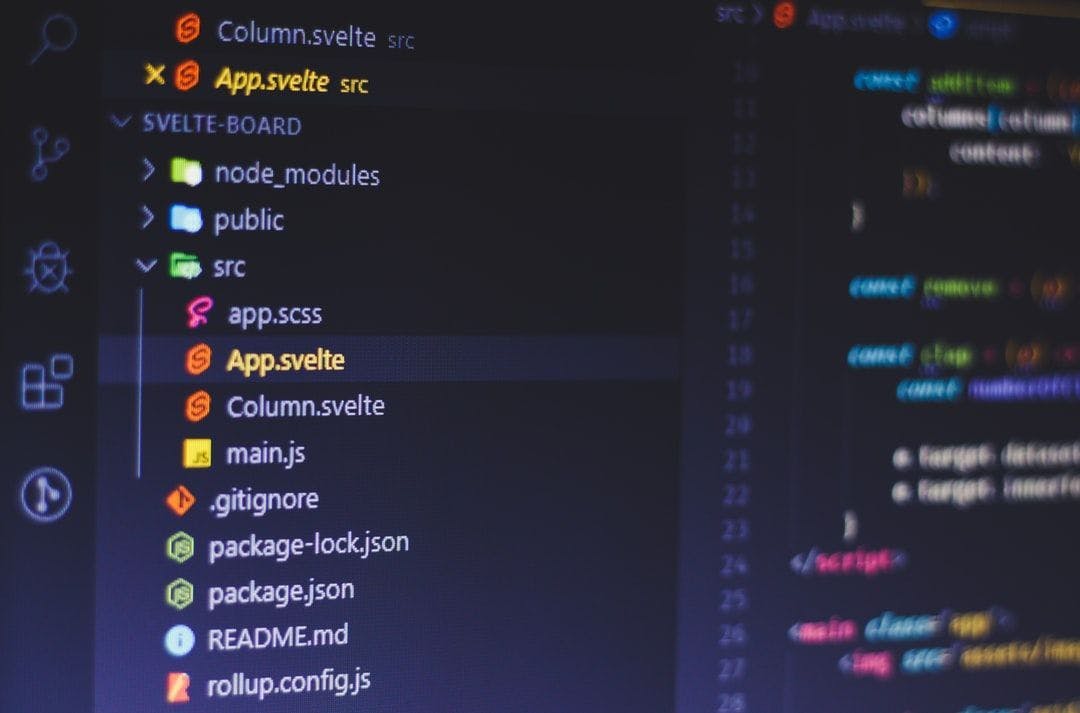
Svelte is a lightweight framework for building web applications. When you use it, it looks and feels a lot like other frontend frameworks like React and Vue, but leaves the virtual DOM behind. That, along with other optimisations means it does far less work in the browser, optimising user experience and load time. In this guide, we'll be going over how to setup your first Svelte application using SvelteKit. Svelte has a number of different ways to make applications, and SvelteKit is one of the official packages from Svelte for doing that. If you're interested in other frameworks, you might enjoy a similar guide we have on . making your first Vue application Creating your first Svelte Application To get started, open up a new terminal window and initiate your svelte application using the command below. Note if you don't have installed, you'll need to get it. You can install by installing Node.JS, . npm npm via the link here Once you have Node.JS and NPM installed, run the command below. Before you do that though, make sure you use to move into the folder you want to create your new Svelte application in. cd npm init svelte@next my-svelte-app When you run this command, you'll auto generate a Svelte template in a folder called my-svelte-app. Svelte will guide you through a number of options. Select your preferences. The image below shows the one's I have selected. For the purposes of this guide, I will be using the Skeleton project. Finally, run the following command to cd into your svelte directory: cd my-svelte-app And then install all of your dependencies using the following line: npm i Svelte File Structure If you are familiar with other frameworks, then Svelte will feel familiar. Here is an overview of the file structure in Svelte, for the project we have just made: static <-- where we store all of our public assets like favicons, images, and fonts |- favicon.png <-- our favicon tests <-- a folder to store our tests |- test.js <-- an example test using @playwright src <-- our main Svelte app files |- routes <-- a folder to store all of our routes in |-- index.svelte <-- our index route file. This will be the file displayed at the route of the site |- app.d.ts <-- our core Svelte app file |- app.html <-- our main index file where the app will appear .gitignore <-- files we wish to ignore for git .npmrc <-- config file for npm .prettierrc <-- config file for prettier .eslintrc.cjs <-- config file for eslint package.json <-- our NPM installed packages playwright.config.js <-- config file for playwright svelte.config.js <-- config file for svelte itself tsconfig.json <-- config file for typescript Our basic Svelte application is ready to go. If you want to see how it looks, you can serve it on your local computer on the URL by running the following command in your Svelte application folder: http://localhost:3000 npm run dev If you visit in your browser, you should see something like this: http://localhost:3000 Creating new pages or routes in Svelte To make a new route in Sveltekit, simply make a new file within the routes folder. For example, if you make a file called about.svelte, then it will show up at . Another way you can do this is to make a new folder called about, and put index.svelte in that folder, will work. http://localhost:3000/about http://localhost:3000/about Try it yourself Create a new page within your /src/routes folder, called about.svelte. Now when you go to , you will be able to access that page. Similarly, you can try making a folder called about with a file placed inside called index.svelte http://localhost:3000/ How to run your SvelteKit App on Node.JS To run your Svelte application on a server or locally on a Node.JS server, you need to use an adapter. If you want to run your Svelte application on a Node Server, install @sveltejs/adapter-node@next via the following line: npm i @sveltejs/adapter-node@next Now we have to change our file. We need to use the new adapter, and change our object within the config file. You can replace the contents of your with the code below, but we're only changing two lines - our adapter import, and then adding the build directory in your config: svelte.config.js kit.adapter svelte.config.js // We have changed the adapter line to use adapter-node@next import adapter from '@sveltejs/adapter-node@next'; import preprocess from 'svelte-preprocess'; /** @type {import('@sveltejs/kit').Config} */ const config = { // Consult https://github.com/sveltejs/svelte-preprocess // for more information about preprocessors preprocess: preprocess(), kit: { // We have changed this to point to a build directory adapter: adapter({ out: 'build' }) } }; export default config; Other SvelteKit adapters If you want to run your Svelte application on Cloudflare, Netlify, or Vercel, then you need to use one of these adapters, you don't need to do anything. These are all included by default in adapter-auto - so only change your svelte.config.js file if you aren't planning on using a Node.JS server. How to build your SvelteKit App for Production Now that we've configured our adapter, let's build our application. In SvelteKit, it's easy to make your app ready to run in a production environment. Simply run the following command, which will create a new folder called .svelte-kit with all your production ready files in. npm run build Now, if you want to preview your production build, simply run the following command: npm run preview , as shown in the previous section, then you can run your new Svelte application locally by running the following command in your Svelte directory: If you are running your application on a Node.JS server and have updated your adapter node build/index.js Now when you navigate to , your Svelte application should show, only this time it will be ready for production. http://localhost:3000/ Conclusion In this guide we've looked at how to use SvelteKit to create your first Svelte application with routes. Let's look at what we've learned: How to set up SvelteKit and create the basic structure of your Svelte application. How to use routes in SvelteKit, so you can have multiple pages on your application. How to update your config file to use the right adapter, based on where you want to deploy your application. How to build and run your application locally on a Node.JS server. Next, you can try playing around with Svelte to start customizing your application. For more web content, don't forget to . follow me on Twitter Also Published here