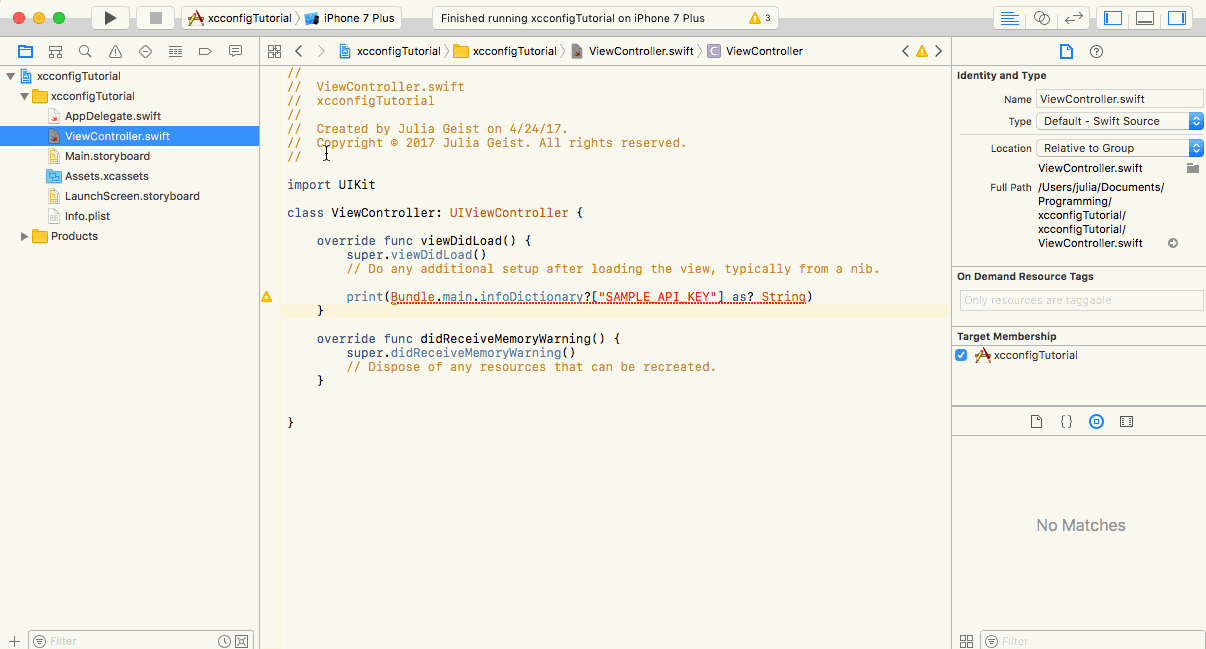
Storing API Keys and Other Constants in Swift 3 Introduction After your app is on the App Store, you’ll have at least two states of your app to maintain: the app as it is on the App Store, and the app that you actively add features to in . development If you have a server running in the backend, you’ll definitely have a server for production and a server for active development. On the development side, we need some way of organizing our code base to prevent crashing the production version of the app. iOS A file or the file is commonly used to store variables which not only contain sensitive data, but might also change depending on the state of your app—like server URLs and API keys. Constants info.plist This is a guide to setting up different configurations of your app through schemes for different states of the app: , , and — and specifying our configurations in the . Debug Development Release Project Settings How To Add .xcconfig Files To Your XCode Project You can download the starter project if you aren’t using Cocoapods, and if you are. here here Create a new folder in your XCode project — I called mine . I’m adding three files: , , and . Config .xcconfig Development Debug Release 2. Add your configuration files to your project settings. You’ll most likely have to create an extra Configuration for . Development If you are using Cocopods, you’ll have to delete the file, the , and the directory. If you’re not using Cocoapods, you can skip to #3. .xcworkspace Podfile.lock Pods/ Do not delete the Podfile. Then, go to your terminal. Make sure that you’re in the project directory and run . pod install Now, open the newly generated file and add the path for Cocoapods in your own file. .xcworkspace .xcconfig .xcconfig 3. Add new schemes to your project and make sure your target is your XCode project name. Set up your scheme to correspond to your configuration. 4. Now you can set variables in your config files and access them via your file. info.plist Warnings and Common Pitfalls Beware of putting a string as a value for a key within a file — it automatically stringifies any value. .xcconfig In these examples, I pushed my files to my repo so you can download and run the project. In a real working environment, you should put these files in your — and then have a private repository to keep up with updates in the config files. .xcconfig .gitignore You can find the working code if you weren’t using Cocoapods, and if you were. Please let me know if you have any questions! here here Did you gain value by reading this article? to share it on Twitter! If you’d like to see content like this more often, follow me on Medium and subscribe to my once-a-month newsletter below. Feel free to too. Click here buy me a coffee