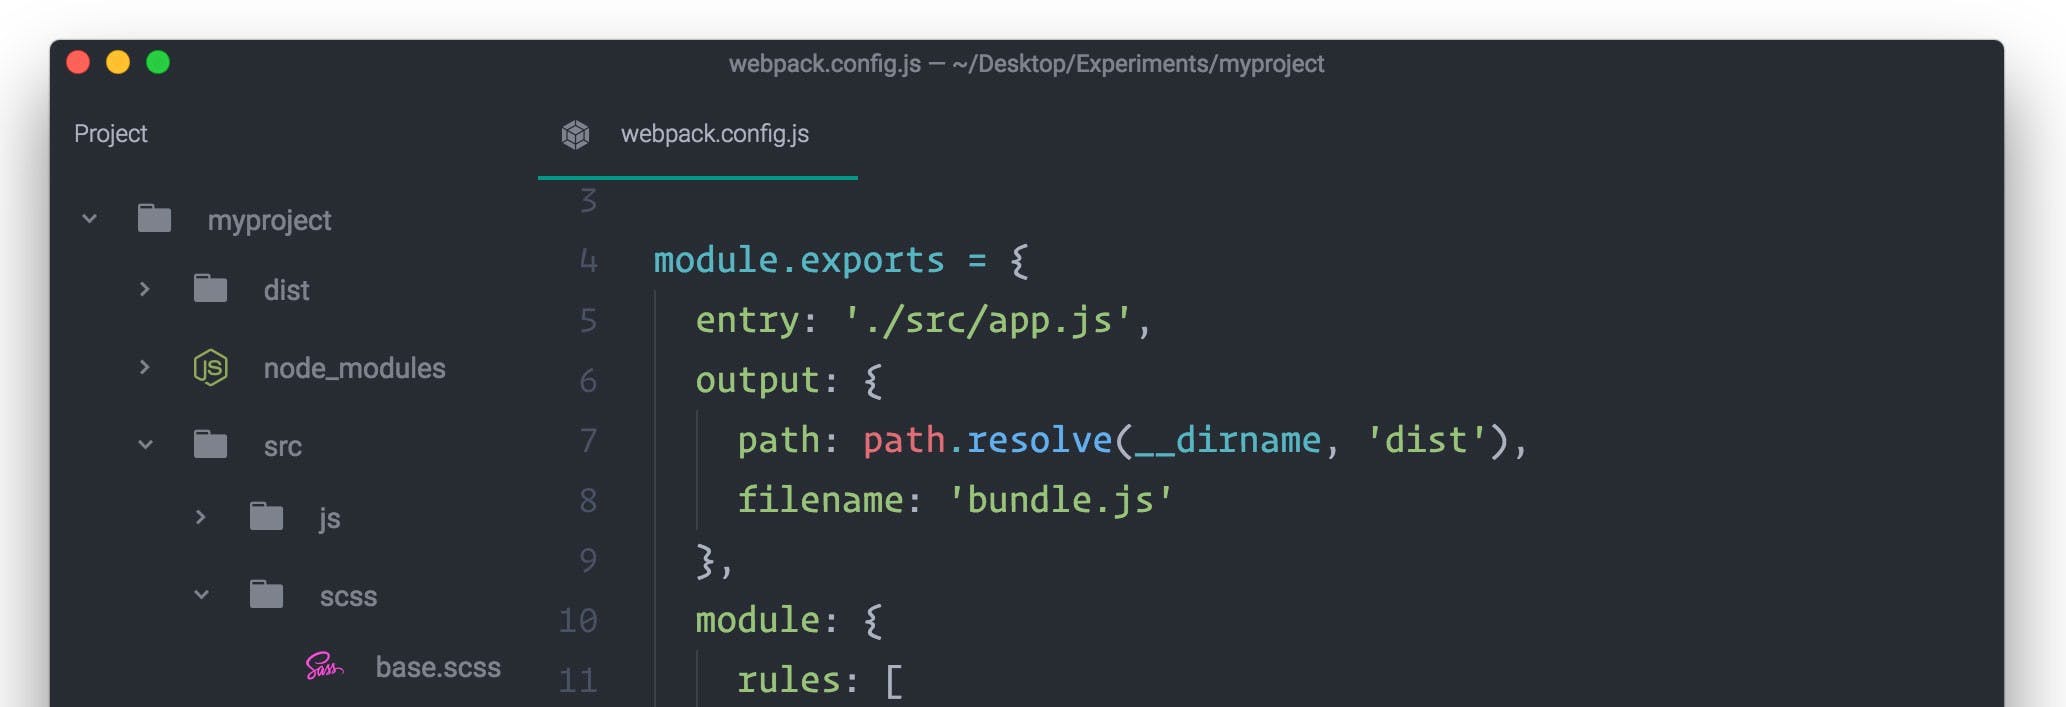
How to set up a project with JavaScript and Sass. It’s essential to divide and CSS code into small and concise parts. We make it easier for ourselves and others to manage it, and also to understand and maintain it later. Browsers on the other hand, prefer as files as possible. They can be long and space-less as long as they’re few. This is where comes in. JavaScript few Webpack is the go-to web development tool nowadays for getting all of your CSS and JavaScript files to become one. The result is often referred to as a «bundle». In this article I will show you how to set up a basic environment for JavaScript and Sass. Webpack Install Node and npm As a Node-based application, Webpack needs both Node and npm (node package manager) to run. Download and install node from . nodejs.org To install npm, open the command line (for example Terminal on Mac) and run: sudo npm install -g Sudo and -g means that you install the node package globally on your computer as the administrator. It will ask for your computer’s password. 3. Then run: npm init You will walk through the process of creating a file. The default settings are alright, so just keep pressing enter. You can always change this later. package.json When the is created you will see a little document of data. This is where we tell the project everything it needs to know about itself. package.json package.json before Webpack Add Webpack To add Webpack to the project, run: npm install webpack -D This gets 3 things to happen: The name gets added as a dev dependency inside the file (that’s what the in the command is for). This tells the project that Webpack is a tool we will use in the development process, not on the actual website. Webpack package.json -D A new folder called gets added to the project. node_modules (a folder of files) appears inside of . Webpack node_modules Add Webpack as a script Add the following scripts to : package.json "scripts": {"build": "webpack","start": "webpack --watch"}, This makes it possible to run the project’s Webpack version through npm by running and in the command line. npm run build npm run start , a global webpack installation is not recommended because it locks you down to a specific version of Webpack and might fail in projects that use a different version. According to the Webpack documentation File structure Create a new folder called in the root of the project. src Create a file inside called . This is where we will point to all our .js and .scss files. src app.js Create an file in the root of the project. index.html Refer to the JavaScript right </body> in . before index.html <script type="text/javascript" src="dist/bundle.js"></script> Notice that we don’t include the that we just created, but . This file actually doesn’t exist yet. It’s what Webpack’s going to create for us. src/app.js dist/bundle.js Webpack config Create a file called in the root of your project. webpack.config.js Copy and paste the the following snippet, which will tell Webpack how we want to use it: webpack.config.js Entry and output Like the file and folder we just created, the entry file is called and lives inside the folder . Entry: app.js src This is where Webpack will place all the ready files. The file will be named and appear inside the folder (distribution). Output: bundle.js dist You can change the names to whatever you prefer, as long as they are in sync between webpack.config.js, files, folders and the linked script in the HTML. Add JavaScript Now, let’s create some code for Webpack to work with. Go to the folder and make a new folder called . src js Inside make a JavaScript file called . js, rainbows.js Write some JavaScript in , for example: rainbows.js console.log('This is rainbows.js') 4. Create another JavaScript file inside called . js unicorns.js 5. Write some JavaScript in , for example: unicorns.js console.log('Hello, unicorns!') 6. Add the following to to import rainbows.js and unicorns.js app.js import './js/rainbows.js';import './js/unicorns.js'; 7. Start webpack in Terminal by running: npm run build Now the folder has arrived! dist When you open index.html in a browser, open Developer Tools and look in the console. You will see that it shows the console messages from both rainbows.js and unicorns.js. Add SCSS Add a new folder inside called . src scss Add a file inside called . scss base.scss Write some CSS inside of , for example: base.scss $bg-color: pink; body {background: $bg-color;} 4. Add the following to to import our base.scss: src/app.js import './scss/base.scss' To get Webpack to read this sass styling, we need some extra loaders. Add styling loaders Run the following in Terminal to install , , , , . style-loader css-loader sass-loader node-sass extract-text-webpack-plugin npm install style-loader css-loader sass-loader node-sass extract-text-webpack-plugin -D 2. Add Extract Text Plugin to the top of your This moves the CSS inside a separate file. webpack.config.js. const ExtractTextPlugin = require('extract-text-webpack-plugin'); 3. Now we’re going to tell Webpack to look for .scss-files. Webpack will then run them through Extract Text plugin and the CSS- and Sass-loader. Paste this right after output’s closing curly bracket. Remember the comma: output: {...},module: {rules: [{test: /\.scss$/,use: ExtractTextPlugin.extract({fallback: 'style-loader',use: ['css-loader', 'sass-loader']})}]} 4. We also need to refer to the Extract Text Plugin right before the last curly bracket. This will tell Webpack that we would like it to pack all the CSS into a separate file and call it . style.css plugins: [new ExtractTextPlugin('style.css')] Your should now look something like this: webpack.config.js webpack.config.js with Extraxt Text Plugin Let’s tell the HTML all about it! Refer to the CSS in the head-tag like this: <link rel='stylesheet' href='dist/style.css'> 2. Run Webpack in Terminal: npm run build 3. Open in a browser. If it has a pink background color it means the CSS is included. index.html 4. By using the webpack watch command we added to the npm scripts in the beginning, you don’t have to run it every time you make a change. Webpack will reload automatically when you save in the editor: npm run start 5. Now make a change in base.scss, for example: $bg-color: orange; 6. Refresh the browser window. The background should now be orange. Adding and editing files Make a file called inside . typography.scss src/scss Write some scss in it, for example @import url('https://fonts.googleapis.com/css?family=Roboto'); $base-font: 'Roboto';$title-padding: 3em; h1 {font-family: $base-font;padding: $title-padding;} 3. Go to and import the typography.scss: src/app.js import './scss/typography.scss'; 4. Refresh the browser. Is the typography different now? Then it works! ✨ Conclusion Thank you for reading! I hope you learned something, I certainly did! There are countless boilerplates for this setup out there. However, in my experience it’s rewarding to gain some understanding of how the environment actually works. In this way, you include only what you actually need and you see how it all works together. Webpack can look complicated, but isn’t actually that hard when you pick it apart. Concentrate on one thing at a time. It gives wonderful opportunities to experiment and add powerful features to a project. Download the Webpack base made in this tutorial from Github