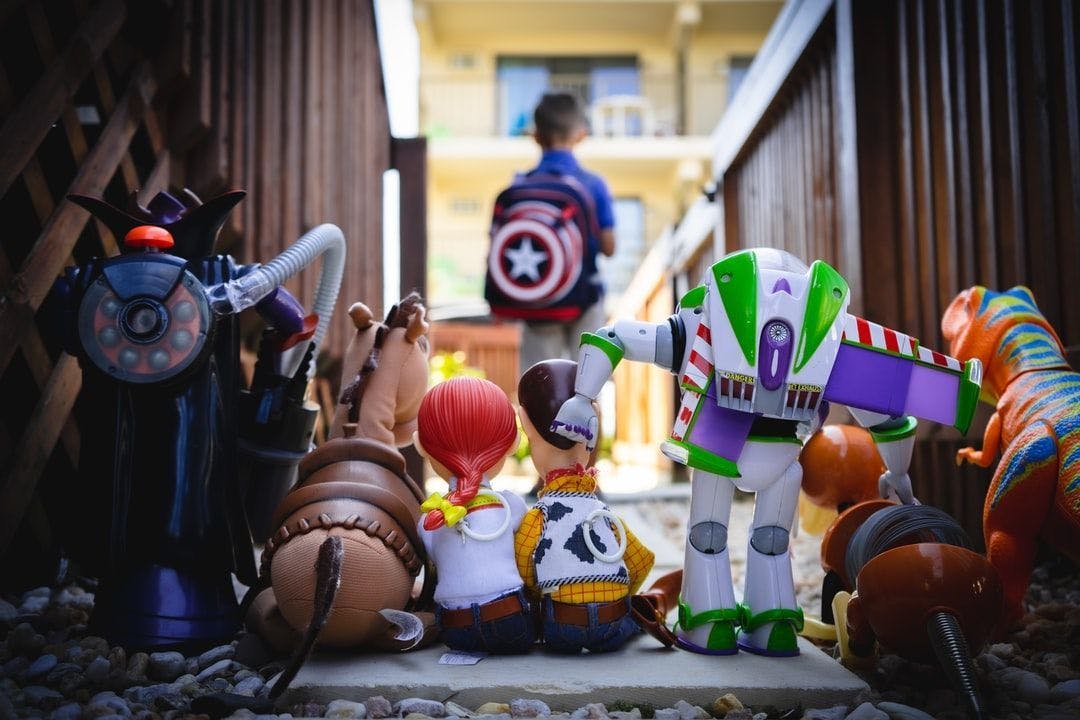
I dare say there are two types of people in this world: people who love Toy Story and people who have not watched it. Well, this is just the opinion of a huge fan of the animation film. When I was a child, I always dreamed of having toys that could move and play with me, like my own Buzz Lightyear. Thanks to a fancy technique called rigging, I can now bring my toys to life, albeit I'm probably too old for them now. What Is Rigging in 3D Animation and Why Do We Need It? Put simply, rigging is a process whereby a skeleton is created for a 3D model to make it move. In other words, rigging creates a set of connected virtual bones that are used to control a 3D model. It paves the way for animation because it enables a model to be deformed, making it moveable, which is the very reason that rigging is necessary for 3D animation. What Is Auto Rigging 3D animation has been adopted by mobile apps in a number of fields (gaming, e-commerce, video, and more), to achieve more realistic animations than 2D. However, this graphic technique has daunted many developers (like me) because rigging, one of its major prerequisites, is difficult and time-consuming for people who are unfamiliar with modeling. Specifically speaking, most high-performing rigging solutions have many requirements. An example of this is that the input model should be in a standard position, seven or eight key skeletal points should be added, as well as inverse kinematics which must be added to the bones, and more. Luckily, there are solutions that can automatically complete rigging, such as the solution from HMS Core 3D Modeling Kit. auto rigging This capability delivers a wholly automated rigging process, requiring just a biped humanoid model that is generated using images taken from a mobile phone camera. After the model is input, auto rigging uses AI algorithms for limb rigging and generates the model skeleton and skin weights (which determine the degree to which a bone can influence a part of the mesh). Then, the capability changes the orientation and position of the skeleton so that the model can perform a range of preset actions, like walking, running, and jumping. Besides, the rigged model can also be moved according to an action generated by using motion capture technology or be imported into major 3D engines for animation. Lower requirements do not compromise rigging accuracy. Auto rigging is built upon hundreds of thousands of 3D model rigging data records. Thanks to some fine-tuned data records, the capability delivers ideal algorithm accuracy and generalization. I know that words alone are no proof, so check out the animated model I've created using the capability. The movement is smooth, making the cute panda move almost like a real one. Now I'd like to show you how I created this model and how I integrated auto rigging into my demo app. Integration Procedure Preparations Before moving on to the real integration work, make necessary preparations, which include: configuring app information in AppGallery Connect, integrating the HMS Core SDK with the app project, which includes Maven repository address configuration, configuring obfuscation scripts, and declaring necessary permissions. Capability Integration Set an access token or API key — which can be found in — during app initialization for app authentication. agconnect-services.json Using the access token: Call to set an access token. This task is required only once during app initialization. setAccessToken ReconstructApplication.getInstance().setAccessToken("your AccessToken"); Using the API key: Call to set an API key. This key does not need to be set again. setApiKey ReconstructApplication.getInstance().setApiKey("your api_key"); The access token is recommended. And if you prefer the API key, it is assigned to the app when it is created in AppGallery Connect. Create a 3D object reconstruction engine and initialize it. Then, create an auto rigging configurator. // Create a 3D object reconstruction engine. Modeling3dReconstructEngine modeling3dReconstructEngine = Modeling3dReconstructEngine.getInstance(context); // Create an auto rigging configurator. Modeling3dReconstructSetting setting = new Modeling3dReconstructSetting.Factory() // Set the working mode of the engine to PICTURE. .setReconstructMode(Modeling3dReconstructConstants.ReconstructMode.PICTURE) // Set the task type to auto rigging. .setTaskType(Modeling3dReconstructConstants.TaskType.AUTO_RIGGING) .create(); Create a listener for the result of uploading images of an object. private Modeling3dReconstructUploadListener uploadListener = new Modeling3dReconstructUploadListener() { @Override public void onUploadProgress(String taskId, double progress, Object ext) { // Callback when the upload progress is received. } @Override public void onResult(String taskId, Modeling3dReconstructUploadResult result, Object ext) { // Callback when the upload is successful. } @Override public void onError(String taskId, int errorCode, String message) { // Callback when the upload failed. } }; Use a 3D object reconstruction configurator to initialize the task, set an upload listener for the engine created in step 1, and upload images. // Use the configurator to initialize the task, which should be done in a sub-thread. Modeling3dReconstructInitResult modeling3dReconstructInitResult = modeling3dReconstructEngine.initTask(setting); String taskId = modeling3dReconstructInitResult.getTaskId(); // Set an upload listener. modeling3dReconstructEngine.setReconstructUploadListener(uploadListener); // Call the uploadFile API of the 3D object reconstruction engine to upload images. modeling3dReconstructEngine.uploadFile(taskId, filePath); Query the status of the auto rigging task. // Initialize the task processing class. Modeling3dReconstructTaskUtils modeling3dReconstructTaskUtils = Modeling3dReconstructTaskUtils.getInstance(context); // Call queryTask in a sub-thread to query the task status. Modeling3dReconstructQueryResult queryResult = modeling3dReconstructTaskUtils.queryTask(taskId); // Obtain the task status. int status = queryResult.getStatus(); Create a listener for the result of the model file download. private Modeling3dReconstructDownloadListener modeling3dReconstructDownloadListener = new Modeling3dReconstructDownloadListener() { @Override public void onDownloadProgress(String taskId, double progress, Object ext) { // Callback when download progress is received. } @Override public void onResult(String taskId, Modeling3dReconstructDownloadResult result, Object ext) { // Callback when download is successful. } @Override public void onError(String taskId, int errorCode, String message) { // Callback when download failed. } }; Pass the download listener to the 3D object reconstruction engine, to download the rigged model. // Set download configurations. Modeling3dReconstructDownloadConfig downloadConfig = new Modeling3dReconstructDownloadConfig.Factory() // Set the model file format to OBJ or glTF. .setModelFormat(Modeling3dReconstructConstants.ModelFormat.OBJ) // Set the texture map mode to normal mode or PBR mode. .setTextureMode(Modeling3dReconstructConstants.TextureMode.PBR) .create(); // Set the download listener. modeling3dReconstructEngine.setReconstructDownloadListener(modeling3dReconstructDownloadListener); // Call downloadModelWithConfig, passing the task ID, path to which the downloaded file will be saved, and download configurations, to download the rigged model. modeling3dReconstructEngine.downloadModelWithConfig(taskId, fileSavePath, downloadConfig); Where to Use Auto rigging is used in many scenarios, for example: The most direct way of using auto rigging is to create moveable characters in a 3D game. Or, I think we can combine it with AR to create animated models that can appear on the camera display of a mobile device, which will interact with users. Gaming: We can use auto rigging to animate 3D models of popular toys and liven them up with dance moves, voice-overs, and nursery rhymes to create educational videos. These models can be used in educational videos to appeal to kids more. Online education: Anime figurines look rather plain compared to how they behave in animes. To spice up the figurines, we can use auto rigging to animate 3D models that will look more engaging and dynamic. E-commerce: Conclusion 3D animation is widely used in mobile apps because it presents objects in a more fun and interactive way. A key technique for creating great 3D animations is rigging. Conventional rigging requires modeling know-how and expertise, which puts off many amateur modelers. Auto rigging is the perfect solution to this challenge because its full-automated rigging process can produce highly accurate rigged models that can be easily animated using major engines available on the market. Auto rigging not only lowers the costs and requirements of 3D model generation and animation but also helps 3D models look more appealing.