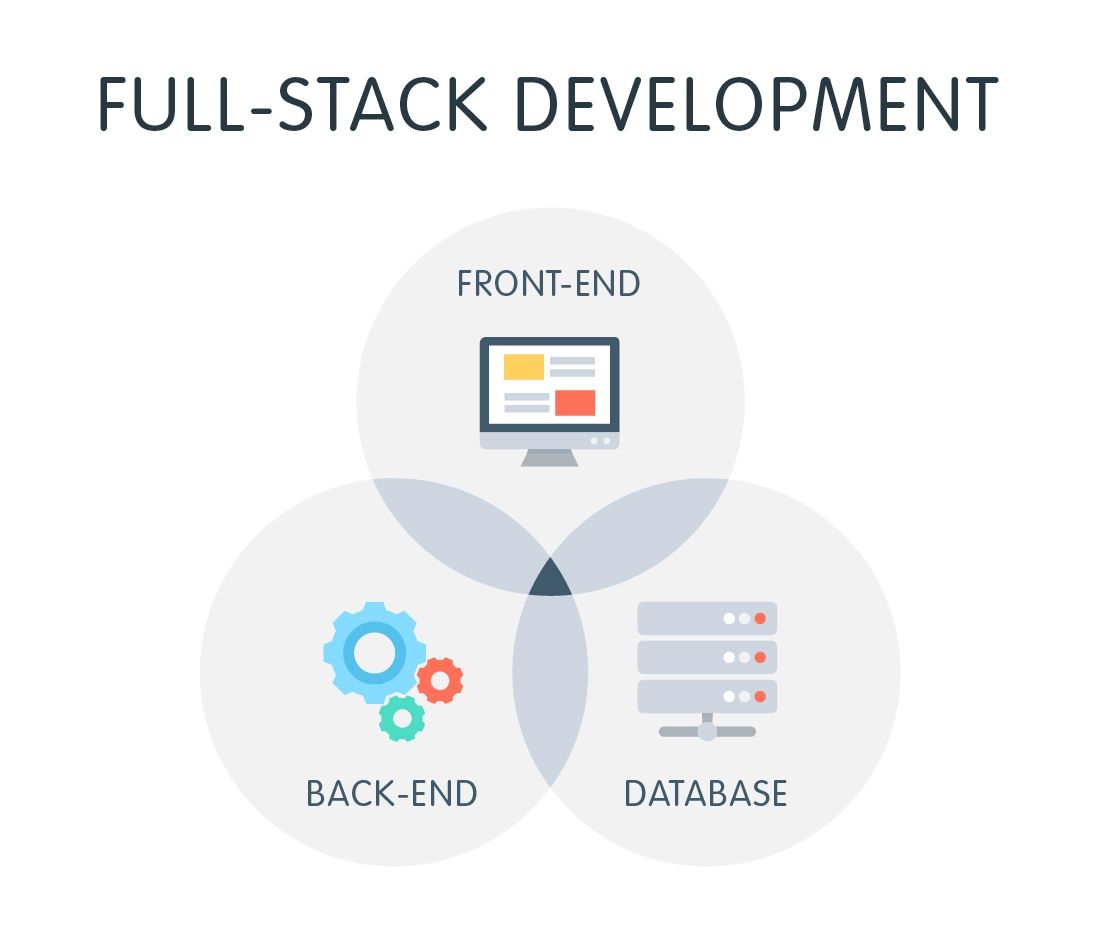
In the span of 4 months, I planned out a mobile app idea, self-taught myself the Android framework, wrote my first REST API, and released my finished Android app onto the Google Play Store. I learned a lot along the way, so I thought I'd share what I learned.
The app I made was a to-do app combined with a note-taking app. Users would be able to filter out and in their notes and tasks as they please, and maybe I'd even allow them to convert a task to a note, and vice versa.
The project had 5 major components: Preparation, Front-end, Back-end, Unit Testing, and Play Store Releasing. Below are all the things that helped me make my app.
Even though I did not know a line of Android code, I knew that one could write an Android app in Java. I knew a lot of languages, but didn't know the frameworks for many of them, rendering my knowledge of most of them useless. Learning Android was a chance for me to make Java a useful language for me by getting into mobile app development.
I used TutorialsPoint to learn XML and Java within the Android framework. In addition to taking notes, I coded along with the tutorial to make one giant app that didn't really do anything, but demonstrated everything I learned.
Meanwhile, I was looking for a good wireframing desktop app. Wireframing is a set of sketches for an app that shows the structure and the layout. I was starting to focus on user interface more in my projects, and I had started employing more software development skills. I read up on how to plan a mobile app, and after sketching a few screens in my paper notebook, I found Pencil. It was lightweight, but some other developers said they prefer lightweight software for wireframing, so I went with it. It's also free of charge, another criterion for which I was searching.
My low-fidelity wireframe on paper of Borum Jot
The benefit of going through multiple stages before beginning coding, is, especially for a brand new platform, I could make the critical design choices here so that I could focus on functionality when I finally got to coding.
Pencil was what I considered my high-fidelity, or "hi-fi", wireframe. I actually drew almost every screen, but I didn't focus on the color theme. I just wanted to figure out how and where I would lay out the features.
Part of my high fidelity, or hi-fi, wireframe in Pencil
Next, I moved on to my mockup. I knew that this was still a personal project that only so many people would look at, so I chose the same software for mockup as I did for prototype: Adobe XD. Adobe XD is a powerful free Windows app for making mockups and prototypes. The thing is, it has a learning curve. After watching tutorials, I was well on my way to...
And for the prototype, I wired the "artboards" together in Adobe XD. The rectangles were perfectly aligned, the colors were exactly how I planned it to look, and the prototype functioned to the good extent that a dataless software could.
After two months of planning and learning, I was ready to begin my app.
I started with the XML, of course. The XML layout files were the markup, meaning they didn't really use logic. I made one activity (that's what Android calls a screen) a day, and in around 2 weeks, I had nearly imitated my mockup (except for a lot of the details within, for example, the task screen).
Next, I worked on implementing navigation between the activities using Java. I didn't worry about any data fetching, just on UI, including styles and logic. And for almost every non-lifecycle Java method I wrote, I attached a multiline comment to it.
In even less time, I had successfully mocked a lot of my mockup with actual code.
This was my first time, or so I thought, separating the back end from the front end. I wondered what voodoo magic developers used to create a REST API and an "external API endpoint" and I wanted to make one myself.
However, it turns out I had already made full-stack web apps before, just not technically REST APIs. A REST API is simply a set of pages written in a backend language, like PHP, that give either XML, HTML (rare), or JSON output and return the standard HTTP status codes. If one knows how to use PHP to query a database, he or she can make a REST API.
The key part here is REST, which stands for Representational State Transfer, is an architectural style. No extra classes are required, except those that help the developer give output and set HTTP headers. I created a class called RestService that had a static method for setting the header with a status code, and setting the
Content-Type
to application/json
. With classes that queried the database, classes that helped with validation and header sending, and the PHP pages that instantiated and invoked all of their methods, called the API endpoints, I effectively created a REST API. I went back and forth between writing new backend code and writing new frontend code for the remaining two months, except for one hiccup. I used Vercel, a great freemium hosting platform, for hosting my API and GoDaddy for the domain. Vercel uses Amazon Web Services to deploy its site, and Amazon Web Services used dynamic, or constantly changing, IP addresses. In order to fetch data from the database I created on my GoDaddy hosting account, I needed to whitelist the IP Address of the API that I made. This created a problem because there was no specific IP for Vercel's servers. After calls for help, I ended up (very insecurely, but without any other viable option) whitelisting ALL addresses with
%.%.%.%
to resolve the issue. As I mentioned earlier, I wanted to employ techniques used by professional software developers. One of these was software development testing. I had done a course on EdX that covered how to write unit tests, so I wanted to make this a norm for my programming projects.
Android Studio, the IDE I used for making the front end of the project, has as part of every Android project a folder for testing. The Android framework starts with Mockito and JUnit for unit testing. I wrote a few unit tests for my simpler modules (such as the purely Java ones) and didn't bother with the Context and interface-based ones. Here's an example that tested if my
LoginValidation
returned the correct string based on where the email and password matched correctly. public void loginCredentialValidation_isCorrect() {
LoginValidation loginValidation = new LoginValidation(mMockContext, "[email protected]","pass");
String resultWithInvalidCredentials = loginValidation.validate();
assertEquals(resultWithInvalidCredentials, LoginValidation.SUCCESS);
}
Although I didn't test everything, and certainly not on par with all testing principles, I did introduce myself nicely to the skill. For this reason, if you're also new to unit testing, I would suggest postponing writing tests until you know the language and the framework really well. Although this doesn't comply with Test-Driven Development, writing code not only in a new framework (Mockito and JUnit), for a new framework (Android), for a new purpose (software testing) can be very overwhelming if you're already new to the technologies themselves.
A Google Play Developer Account (which has a one-time $25 fee) gave me access to the Google Play Console, which let me upload my Android app as a
.aab
file (Android App Bundle), which makes my code understandable by the Android operating system. I released for every feature that I added and utilized the different forms of testing. I hope this guide was helpful for anyone wanting to build their own mobile app. Even if you're using Kotlin instead of Java, or JSON instead of XML, most things mentioned stay the same. Have you made a mobile app before? Was your journey similar to mine? Leave a comment down below!
Previously published at https://varuns.hashnode.dev/my-first-full-stack-android-app