402 reads
How to Publish On the App Store
by Wes HuberMarch 28th, 2023


Too Long; Didn't Read
With tools like ReactNative, Expo, NextJS, and of course, ChatGPT it’s easier than ever to bring your app idea to life and get it published on the app store. Here is what you need to upload to App Store Connect to get your app on the store.

Nowadays with tools like ReactNative, Expo, NextJS, and of course, ChatGPT it’s easier than ever to bring your app idea to life and get it published on the app store.
I started working on my app In December 2022. It’s a MERNN app, so a React Native frontend, NodeJS / Express backend and MongoDB database.
I just got it published on the App store a few days ago, so overall it took me 3 months. I also work a full-time job, and have many hobbies that keep me busy. I probably worked on the app for 5 hours or less per week on average.
You can check out my app here:
https://thetrickbook.com/ orhttps://apps.apple.com/us/app/the-trick-book/id6446022788
Step 1: Become an Apple Developer
When I got to a stopping point in developing my app, using
Step 2: Double Check Meta Data
EAS supplies an eas.json file to build your app for production. The information in your app.json is compiled into the info.plist meta file that IOS checks for these criteria.
It’s important to make sure that if your app is using anything like Location or Camera access, that you provide a reason for this usage, for example my app used the Camera for the user’s ‘profile picture’. This reason should be in the app.json as well as in the function for requesting permission from the user.
app.json
"ios": {
      "supportsTablet": true,
      "bundleIdentifier": "com.thetrickbook.trickbook",
      "buildNumber": "1.0.3",
      "infoPlist": {
        "NSCameraUsageDescription": "This app uses the camera to access photos for a profile image."
      }
    },
requestPermission function
const requestPermission = async () => {
        const {granted} = await ImagePicker.requestCameraPermissionsAsync();
        if(!granted) alert("We ask for camera permissions to enable access for you to choose a profile picture");
    }
Step 3: Upload to App Store Connect
When you build with EAS, it gives you a link to a .ipa file, this is your App’s ‘binary’ distribution file.


This is what you need to upload to App Store Connect. The way this is done, is by downloading an app called
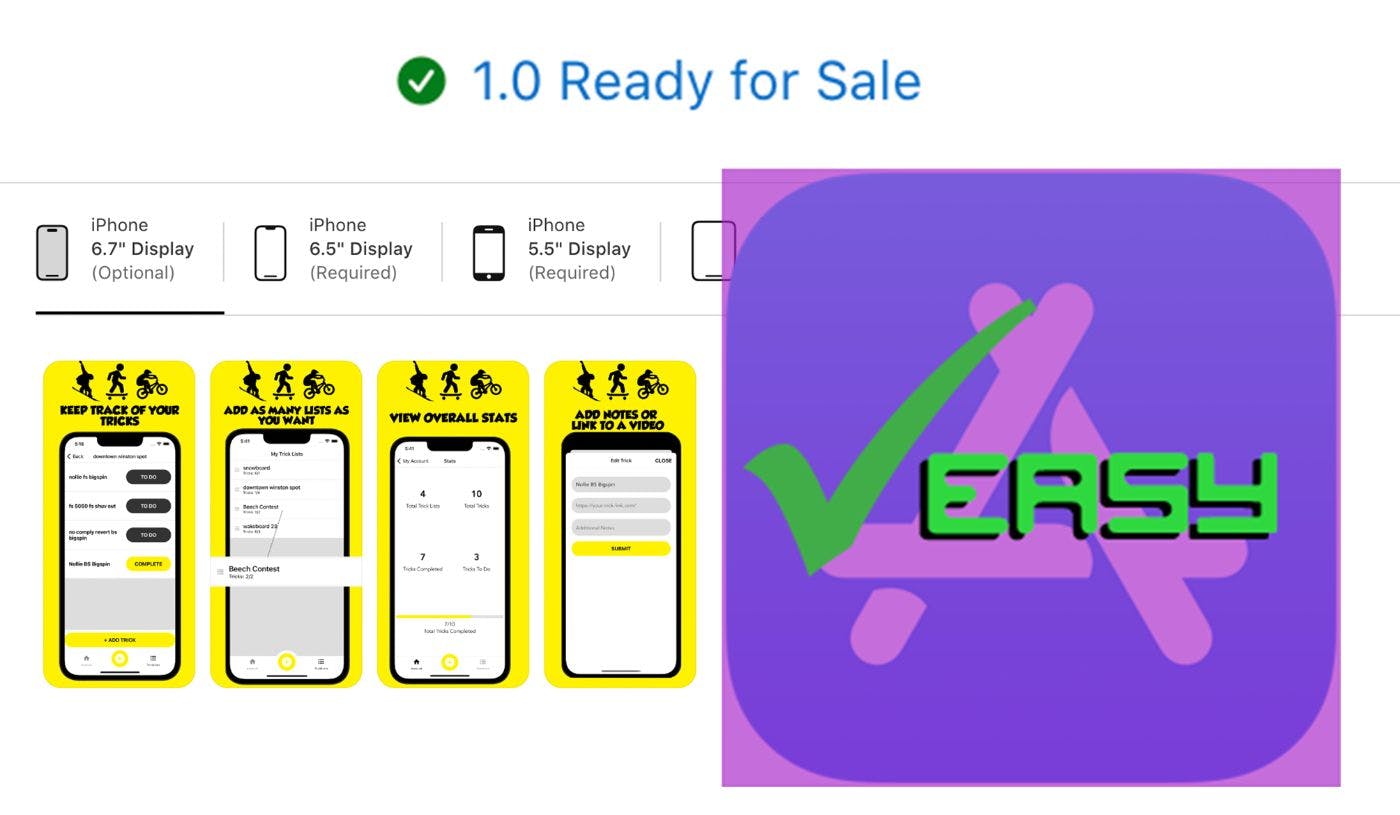
Step 4: Screenshots & Pricing
You will also want to create screenshots for your app to be displayed in the app store. Here you can make some fun branding and highlight the features of your app.


Refer here:
You will also be able to choose your pricing plan, here you can select a price for your app, use in-app purchases or just distribute for free. I chose the $0 price or free for my first app.
There is other information like language, accessibility e.t.c. that you need to fill out.
Step 5: Website, Privacy Policy & Support.
After the screenshots you will see in App store connect that you need a website with a privacy policy link and a question & support page or form. For this step I created a
In my NextJS project I created a page for


Step 6: Submit your app
Once you’ve done all these steps you are ready to submit your build for App Review. Once you submit your app it will usually take App Review around 3 days to get your app reviewed and get back to you.
Step 7: Reiterate
Success! Or, there’s something you need to fix. App Store review will get back to you whether your app is ready to sell or if there is something that needs to be revised.
It took me 3 revisions to get my app approved. One of the bigger issues I had was my app required the user to create an account, the app store wanted a “use as a guest” option or an option to use a version of the app without an account.
Also, if your app uses Accounts, you have to have the option for a user to permanently delete their account.
That’s it! If you want to view the source code of my app, it’s on github here:
Drop any questions in the comments section, and good luck submitting your app to the App Store!
Also published here.

L O A D I N G
. . . comments & more!
. . . comments & more!