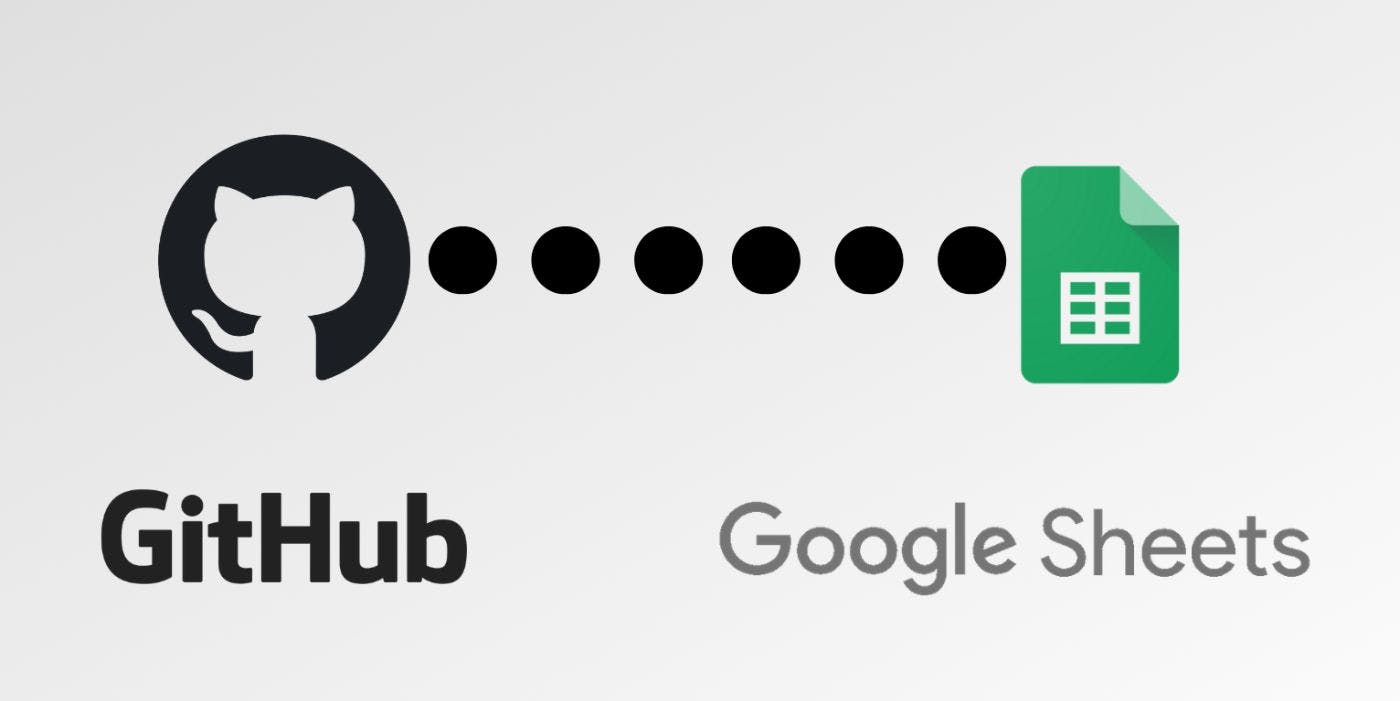
This post looks at how you could integrate your GitHub repo with Google Sheets in Ballerina, so that every time a particular event occurs in your GitHub repo, you would have it documented in a Google Sheet of your own. How cool is that! Be it an issue created under a label, a PR opened or even a commit to the repository, you could have it all recorded in a Google Sheet with Ballerina in a few simple steps. End goal The end goal would be to populate a Google sheet as below, on the fly as Github events are triggered! The source code of this project can be accessed on GitHub through link! this What is Ballerina? Ballerina is an open-source programming language for the cloud that makes it easier to use, combine, and create network services. For someone new to Ballerina, refer to for steps about getting started. In order to continue, you need to have Ballerina installed. Follow these steps for the installation. ballerina.io The following implementation uses the Swan Lake version of Ballerina. : Configure a GitHub webhook to listen to events Part 1 Initially, you need to expose the subscriber service in your local machine for the server to be able to access the URL. Therefore, we will use which allows exposing a web server running on your local machine to the internet. ngrok Step 1: Once you have ngrok, all you have to do is to run the following command to tell ngrok what port your web server is listening on. installed In our case, it is port 9090. ngrok http -bind-tls=true 9090 Once you have ngrok up and running, it'll look like this: We will be using the ngrok URL highlighted above, as the callback URL of the subscriber service. In our case it is, https://b3e0–112–134–171–11.ngrok.io Step 2: Next, we will register a GitHub webhook for the repository where we want to receive notifications. On the repository homepage, navigate to -> -> Settings Webhooks Add webhook Set the Payload URL to be the ngrok callback URL followed by the service path name of the ballerina service. In our case it is, https://b3e0–112–134–171–11.ngrok.io/events Set the Content type to and click on . application/json Add webhook Next, you should create a , which will be used as an alternative to using passwords for authentication to GitHub when using the GitHub API. Personal Access Token Login to your Github account and go to . Under click on , which will take you to an interface as below. https://github.com/settings/tokens Personal Access Tokens Generate new token For your new PAT, set an expiry date as you wish, and then select the scopes to specify exactly what type of access you need. For this application, we will select the scopes of and generate the token. Once created, make sure to copy your PAT since you won’t be able to see it again. repo, write:packages, admin:repo_hook, notifications, Now we write our code in Ballerina! First, create a ballerina project by running the following code in your terminal. We’ll call our project . gsheet_github_integration tharushijayasekara@Tharushi Test % bal new gsheet_github_integration Created new package 'gsheet_github_integration' at gsheet_webhook_integration. This creates a project with a which contains our main method and a which includes the configurations of our project. Add the following code into the . main.bal Ballerina.toml main.bal import ballerina/websub; import ballerina/io; // Create a subscriber service to listen to Github events @websub:SubscriberServiceConfig { target: [ "https://api.github.com/hub", // Set the path to your Github repository "https://github.com/TharushiJay/helloworld/events/*.json" ], // Set the ngrok callback URL callback: "https://6671-2402-d000-811c-7b4a-18dd-31bd-21f7-f9b2.ngrok.io", httpConfig: { auth: { // Set your GitHub Personal Access Token (PAT) token: "ghp_xxxxxxxxxxxxxxxxxxxxxxxxxxxxxxxxxxx" } } } service /events on new websub:Listener(9090) { remote function onEventNotification(websub:ContentDistributionMessage event) returns error? { var retrievedContent = event.content; if (retrievedContent is json) { if (retrievedContent.action is string){ Details details = { number: check retrievedContent.issue.number, action: check retrievedContent.action, url: check retrievedContent.issue.url, title: check retrievedContent.issue.title, time: check retrievedContent.issue.updated_at, user: check retrievedContent.sender.login }; if (retrievedContent.issue is json) { // If the event is related to an Issue details.sheet = "Issue"; error? response = insertDetails(details); } else if (retrievedContent.pull_request is json) { // If the event is related to a Pull Request details.sheet = "PR"; error? response = insertDetails(details); } } } else { io:println("Unrecognized content type"); } } } If we look at the code in detail, what we’ve done is create a to listen to the Github events, by setting the path to the repo, ngrok callback URL as well as the GitHub PAT that we just created for authentication. subscriber service The subscriber service is created using WebSub Subscriber Service. is a common mechanism based on HTTP webhooks to communicate between publishers of Web content and their subscribers. Validating and verifying subscription requests as well as distributing new content as it becomes available is done through hubs. More details on how to make the best use of the websub module can be found on Ballerina API docs . WebSub here Then each time an event notification is sent, we populate the data we need into a record of type After setting the event type as or , we pass the record into to document the event details on a Google sheet depending on the event type. Details. Issue PR insertDetails() Part 2: Integrating Google Sheets API For the next part of the implementation, we will create a Google Sheet called with 2 sheets to document details and details. Let’s note down the sheet ID, which is the below-highlighted part on the URL. GitHub Changes PR Issue Next, create another file in the same project called to access the Google Sheets API, and insert the following code. gsheet.bal import ballerinax/googleapis.sheets as sheets; configurable string refreshToken = "1//04xxxxxxxxxxxxxxxxxxxxxxxxxxxxxxxxxxxxxxxxxxxxxxxxxxxxxxxxx"; configurable string clientId = "xxxxxxxxxxxxxxxxxxxxxxxxxxxxxxxxxxxxxxxxxx.apps.googleusercontent.com"; configurable string clientSecret = "GOCSPX-xxxxxxxxxxxxxxxxxxxxxxxxxxxxx"; // Configuring Google Sheets API sheets:ConnectionConfig spreadsheetConfig = { auth: { clientId: clientId, clientSecret: clientSecret, refreshUrl: sheets:REFRESH_URL, refreshToken: refreshToken } }; // A record to store PR/issue related data public type Details record { int number; string action; string url; string title; string time; string user; string sheet?; }; sheets:Client spreadsheetClient = check new (spreadsheetConfig); string spreadsheetId = "1l4KUKQ0e5HKB35doSRcaF3QgNYvBAp99q_l5GS3J1B8"; public function insertDetails(Details details) returns error? { error? append = check spreadsheetClient->appendRowToSheet(spreadsheetId, details.sheet.toString(), [details.number, details.action, details.url, details.title, details.time, details.user]); } What we’ve done here is as simple as it looks. Simply calling the Google Sheets API to append the new row of data to our Google Sheet. The next task is figuring out the , , and used in the above code. refreshToken clientId clientSecret Open the page, log in to your relevant Google Account and create a new project. Google API Console Credentials 2. Give the project a name and click . Create 3. Click on to choose how you want to configure and register your app. Configure Consent Screen 4. Set the user type as and click . external Create 5. In the OAuth consent screen, enter an , , and and click on . app name User support email Developer contact information Save and Continue 6. In the screen, click and proceed to the next screen which is Test users. Scopes Save and continue 7. Under , add your email address and click . Test users Save and continue 8. Finally you will be presented with a summary to verify the details you entered. 9. As the next step, under click and click . Credentials Create credentials OAuth client ID 10. Enter the following details in the Create OAuth client ID screen and click Create. 11. This will generate a and that you should save for future use! Client ID Client Secret 12. From the left side menu, select search for and click on it to it. Library, Google Sheets API Enable 13. In order to obtain the refresh token, navigate to and click the OAuth 2.0 Configuration button in the top right corner of your screen. OAuth 2.0 Playground 14. Select , provide the obtained Client ID and Client Secret values and the window. Use your own OAuth credentials Close 15. Under Step 1, select from the list of APIs and select all the scopes. Google Sheets API v4 16. Click on button and select your Gmail account when you are asked and allow the scopes. Authorize APIs 17. Under Step 2, click the to generate and display the Access Token and Refresh Token. Exchange authorization code for tokens That brings us to the end of configuring the Google Sheets API! Use the refresh token, client ID, and client secret in our file and run the project using gsheet.bal bal run. The output would be as follows, which means that the service successfully started in port 9090. tharushijayasekara@Tharushi github-gsheet-integration % bal run Compiling source tharushijayasekara/github_gsheet_integration:0.1.0 WARNING [gsheet.bal:(31:5,32:95)] unused variable 'append' WARNING [gsheet.bal:(47:5,48:95)] unused variable 'append' WARNING [main.bal:(17:5,17:5)] concurrent calls will not be made to this method since the method is not an 'isolated' method WARNING [main.bal:(24:21,29:84)] unused variable 'issueResponse' WARNING [main.bal:(33:21,38:95)] unused variable 'pullRequestResponse' Running executable time = 2022-04-10T22:18:14.755+05:30 level = WARN module = ballerina/websub message = "HTTPS is recommended but using HTTP" You will see the changes documented on our Google Sheet! Now, you have successfully configured a webhook for GitHub and received the events using a subscriber written in the Ballerina programming language! Thanks for following through to the end. To keep up-to-date on more interesting developments in Ballerina, visit . https://ballerina.io/