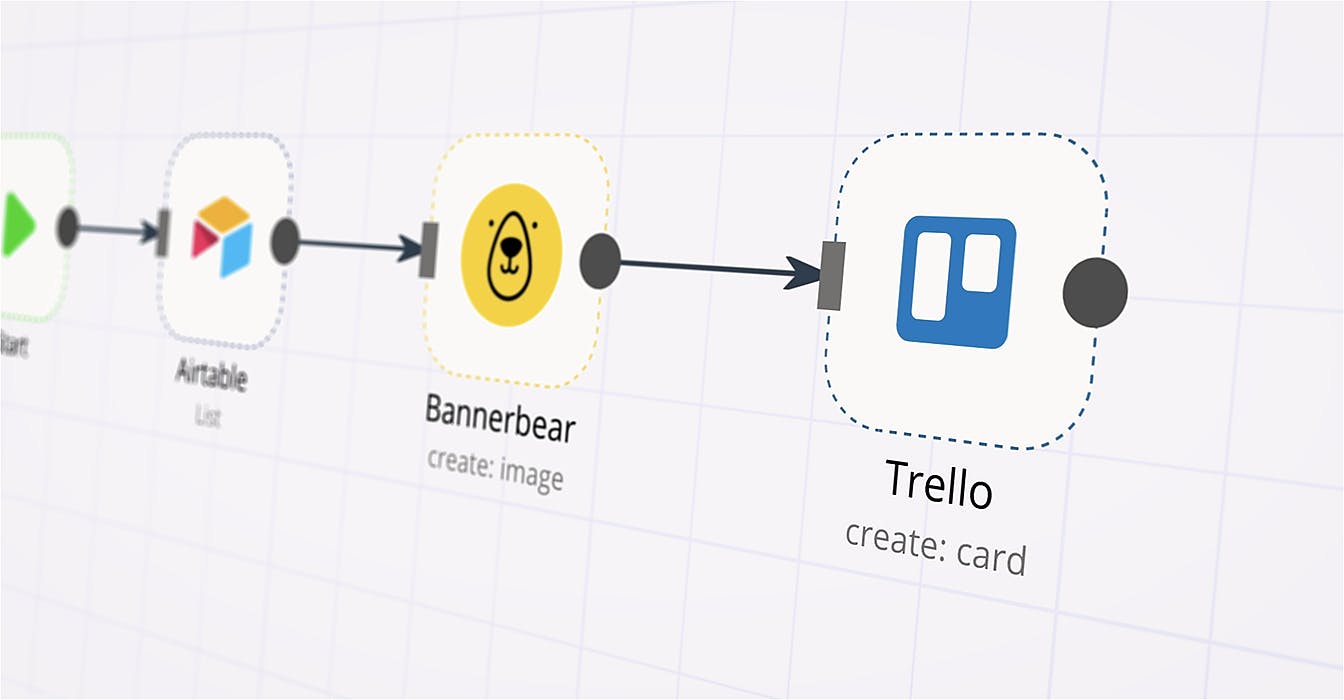
Organizing conferences is hard. Recently, I was chatting with about the manual processes that conference organizers have to deal with. The automation of these processes can save them time and effort as well as improve the conference experience. Inspired from this brainstorm, we ended up creating this tutorial using tools like , , , , and . Nicolas Grenié n8n Typeform Bannerbear Airtable Trello In this tutorial, we’ll store the speaker submissions coming via Typeform to Airtable. Then, the reviewers will do a blind review of the submissions and score them in Airtable. The submissions receiving a score greater than 15 (could be anything else) will be added to Trello for a final review. The workflow will also generate promotional assets for your team and add them to the Trello cards. After the final review, the speakers whose cards will be moved over to the next column, will receive an acceptance email along with the various promotional assets. We’ll accomplish this through three workflows in this tutorial: Workflow 1 — Gathering speaker data for a blind review Workflow 2 — Proposal rating and final review Workflow 3 — Notifying accepted speakers Workflow 1 — Gathering speaker data for a blind review In this workflow, we’ll collect the speaking proposals from Typeform and save them to Airtable. The reviewers will be able to perform a blind review of the submissions in Airtable. Let’s get started with the nodes of the first workflow. I have also submitted on n8n.io, in case you’d like to skim through this workflow. Please note that you’ll still need to configure a couple of things like your credentials as well as the settings of the nodes. You can find information on how to setup n8n in the . Workflow 1 documentation 1. Typeform Trigger node: Get data from Typeform First of all, we need to pull in the new submissions from Typeform. To do that start n8n with the tunnel parameter: n8n start --tunnel Make sure that you don’t forget to add the parameter. Note: --tunnel Add a new node by clicking on the + button on the top right of the Editor UI. Under the section, select the node. Triggers Typeform Trigger You’ll need to create a new form in Typeform, unless you already have one that you’d like to use. I used the Online Event Registration Form Template to get started. I asked the following information in the form: Full name ( ) Short Text Bio ( ) Short Text Email ( ) Email URL of a profile picture ( ) Website Twitter username ( ) Short Text Abstract title ( ) Short Text Abstract ( ) Long Text Now, head back to the n8n Editor UI and enter the credentials for the Typeform Trigger node. You’ll need to enter your access token. You can follow this to generate personal access tokens for Typeform. guide Once you have done that, select your form from the dropdown menu for the field. Clicking on the button would activate the test webhook. Now, if you submit the form, you’ll see the data in the Node Editor. Here’s what my first submission looked like. Form Execute Node Test webhooks (which get created when you click on Execute Node) are active only for 120 seconds. For activating the production webhooks, you’ll have to save and activate the workflow. Remember that the Node Editor won’t show any data flowing through the node with a production webhook. Note: Here’s a GIF of me following the steps mentioned above. 2. Airtable node: Push data to Airtable Head over to Airtable and create a new table. Create the fields for the questions that you asked in Typeform. I added a column named Serial No. (type ) to be the table’s primary field. This is what my table looked like. Autonumber Once you have the table ready, we’ll create the Airtable node on n8n. Go back to the n8n Editor UI. Click on the + button on the top right and select the node. You’ll have to enter the credentials (API Key) for the Airtable API. You can follow this on how to obtain your API Key. Airtable guide Now, we’ll select ‘Append’ as the . For obtaining the Application ID, head over to their and select the correct base. You’ll find the Application ID there. Operation API page Once you enter that, put in the name of the table in the field. For me, it was . Now, click on the button, and it will push all the data that was received by the Typeform node to the specified Airtable. Table Main Execute Node Here’s a GIF of me following the steps mentioned above. A lot of conferences conduct blind reviews to eradicate the unconscious biases of the reviewers. To support that methodology, I went ahead and marked all the columns other than the Abstract Title and Abstract Description as hidden. I added the following additional columns: — This is a column (type ) for the first reviewer (hint: it’s me). Score 1 Number — This is a column (type ) for the second reviewer (it’s my friend John Doe). Score 2 Number — This is a column (type ) which computes the score of the previous two columns. Total Score Formula Here’s what it looks like after I followed the steps mentioned above (I took the liberty of scoring the talks). Workflow 2 — Proposal rating and final review In this workflow, we’ll automate the export of all the submissions which have a total score greater than 15 for a final review on Trello. The workflow will also generate social media assets for the organizers and add them to the Trello card. I have also submitted on n8n.io, in case you’d like to skim through this workflow. Please note that you’ll still need to configure a couple of things like your credentials as well as the settings of the nodes. Workflow 2 1. Airtable node: Pull specific data from the table Create an Airtable node and select the credentials that you entered in the previous workflow. For the field, we’ll select ‘List’. For the and fields, you can enter the same information that you entered in the previous workflow. Operation Application ID Table Here, we only want to retrieve the proposals where the total score was greater than 15. Click on the button under the section, select ‘Filter by Formula’, and enter the following: Add Options Additional Options {Total Score} > 15 Now, click on the button, and it should retrieve the records that we want. Here’s a GIF of me following the steps mentioned above. Execute Node As an exercise, you can add an IF node (instead of using the Filter by Formula option) to segregate the records based on the total score. Sessions with a score greater than 15 will be passed on through the workflow. Sessions (people) with a score less than 15 will be sent an email thanking them for their submission and informing them that this particular session was not accepted as a talk. 2. Bannerbear node: Generate promotional banners for the organizers Bannerbear is a simple REST API that auto-generates social media visuals, e-commerce banners and more. First of all, create a free account. Now, create a new Project. I named mine ‘Speaker Promotion’. Each project in Bannerbear can house many templates. Select an existing template by clicking on the button. Next, select ‘Wikipedia Tutorial’ as your template. Bannerbear Browse Template Library You can click on to open the template designer. I made some edits to the template to make it a bit more customized. It’s also a good idea to rename the layers so that it’s easy to remember which layer points to which piece of information when you are in the n8n Editor UI. Edit Template Before switching back to the n8n editor, click on the button in Bannerbear and copy the . Back in the n8n editor, we will add a Bannerbear node to automate creating variations of our template. Settings / API Key Project API Key In the Bannerbear node, add a new credential and paste the there. Select ‘Cocktail Recipe’ as the from the dropdown. Now, click on the button, select ‘Wait for Image’, and toggle the button to activate it. Since Bannerbear takes a few seconds to generate the image, this option makes sure that the node waits until the image has been created and passes the image URL in the result. Project API Key Template ID Add Field Now, under the section, click on the button. We’ll have to add multiple layers and the corresponding data for that layer. For the field, select the ‘talk title’ layer. In the field, click on the gears icon next to the field, and click on button to open the . Now, select the following variable: Modifications Add Modification Name Text Add Expressions Variable Selector Nodes > Airtable > Output Data > JSON > fields > What's the title of your talk? Similarly, go ahead and add the other modifications as well. While specifying adding a modification for the profile image, make sure to add the expression in the Image URL field and not the text field. Click on the Execute Node button and it should generate the images for you. Here’s a GIF of me following the steps mentioned above. 3. Trello node: Conduct a final review Finally, we want the shortlisted speakers to get added to a column on the Trello board. This will enable the organizers to learn more about the speakers and their experiences and help them make an informed final decision on the sessions. I created a Trello board that looks like the following. In the n8n Editor UI, add a Trello node. For the credentials, you will need to enter the API Key, API Token, and the OAuth Secret. You can obtain all these details from this . page Now, we need to enter the . This is the ID of the list (column) where the new cards will be added. For us, that’s the column. Go to the URL of the current page, add .json at the end of the URL, and press enter. For example, the URL of the Trello board for me is . List ID Shortlisted Sessions https://trello.com/b/HLj5y1gc/conference-cfp I would then add .json at the end of the URL and open . https://trello.com/b/HLj5y1gc/conference-cfp.json Press ‘Ctrl (command) + F’ and look for the phrase ‘Shortlisted Sessions’. Copy the corresponding ID and paste that in n8n. For the name of the card, I added the talk title (using the Variable Selector) and added the following expression as the description of the Trello card. Abstract: {{$node[ ].json[ ][ ]}} Name: {{$node[ ].json[ ][ ]}} Bio: {{$node[ ].json[ ][ ]}} Email: {{$node[ ].json[ ][ ]}} Twitter: {{$node[ ].json[ ][ ]}} "Airtable" "fields" "Please share the abstract of your talk." "Airtable" "fields" "Great, can we get your full name?" "Airtable" "fields" "Please share a bit of information about you." "Airtable" "fields" "And what's your email address?" "Airtable" "fields" "Your twitter handle" It would also make sense to attach the promotional banner that was generated by Bannerbear. Click on the button under the section, and select ‘URL Source’. Click on and select the following in the : Add Field Additional Fields Add Expressions Variable Selector Nodes > Bannerbear > Output Data > JSON > image_url Now, click on the button, and it will create the cards on Trello, ready for the organizers to make their final selection. Here’s a GIF of me following the steps mentioned above. Execute Node Workflow 3— Notifying accepted speakers As an exercise, you can create another workflow with the Trello Trigger node, which starts the workflow when a card gets moved to the list. The workflow can then generate additional promotional banners (for different social media channels) for the speakers to share, as an attachment to the acceptance email. Final Sessions Conclusion In this tutorial, we discussed how to automate the tasks related to the speaker submissions before the conference. You can also automate a lot of manual tasks during and after the conference to save time and improve the conference experience. Which other processes would you automate in your conference or meetup? Which nodes would you use for your workflows? I’d love to check out what you create. Please consider your workflows with the community. sharing In case you’ve run into an issue while following the tutorial, feel free to reach out to me on or ask for help on our 💙 Twitter forum Previously published at https://medium.com/n8n-io/automating-conference-organization-processes-with-n8n-ab8f64a7a520