201 reads
DIY Fake News Detector: Unmask misinformation with Recurrent Neural Networks
by byCan Kisi@kisican
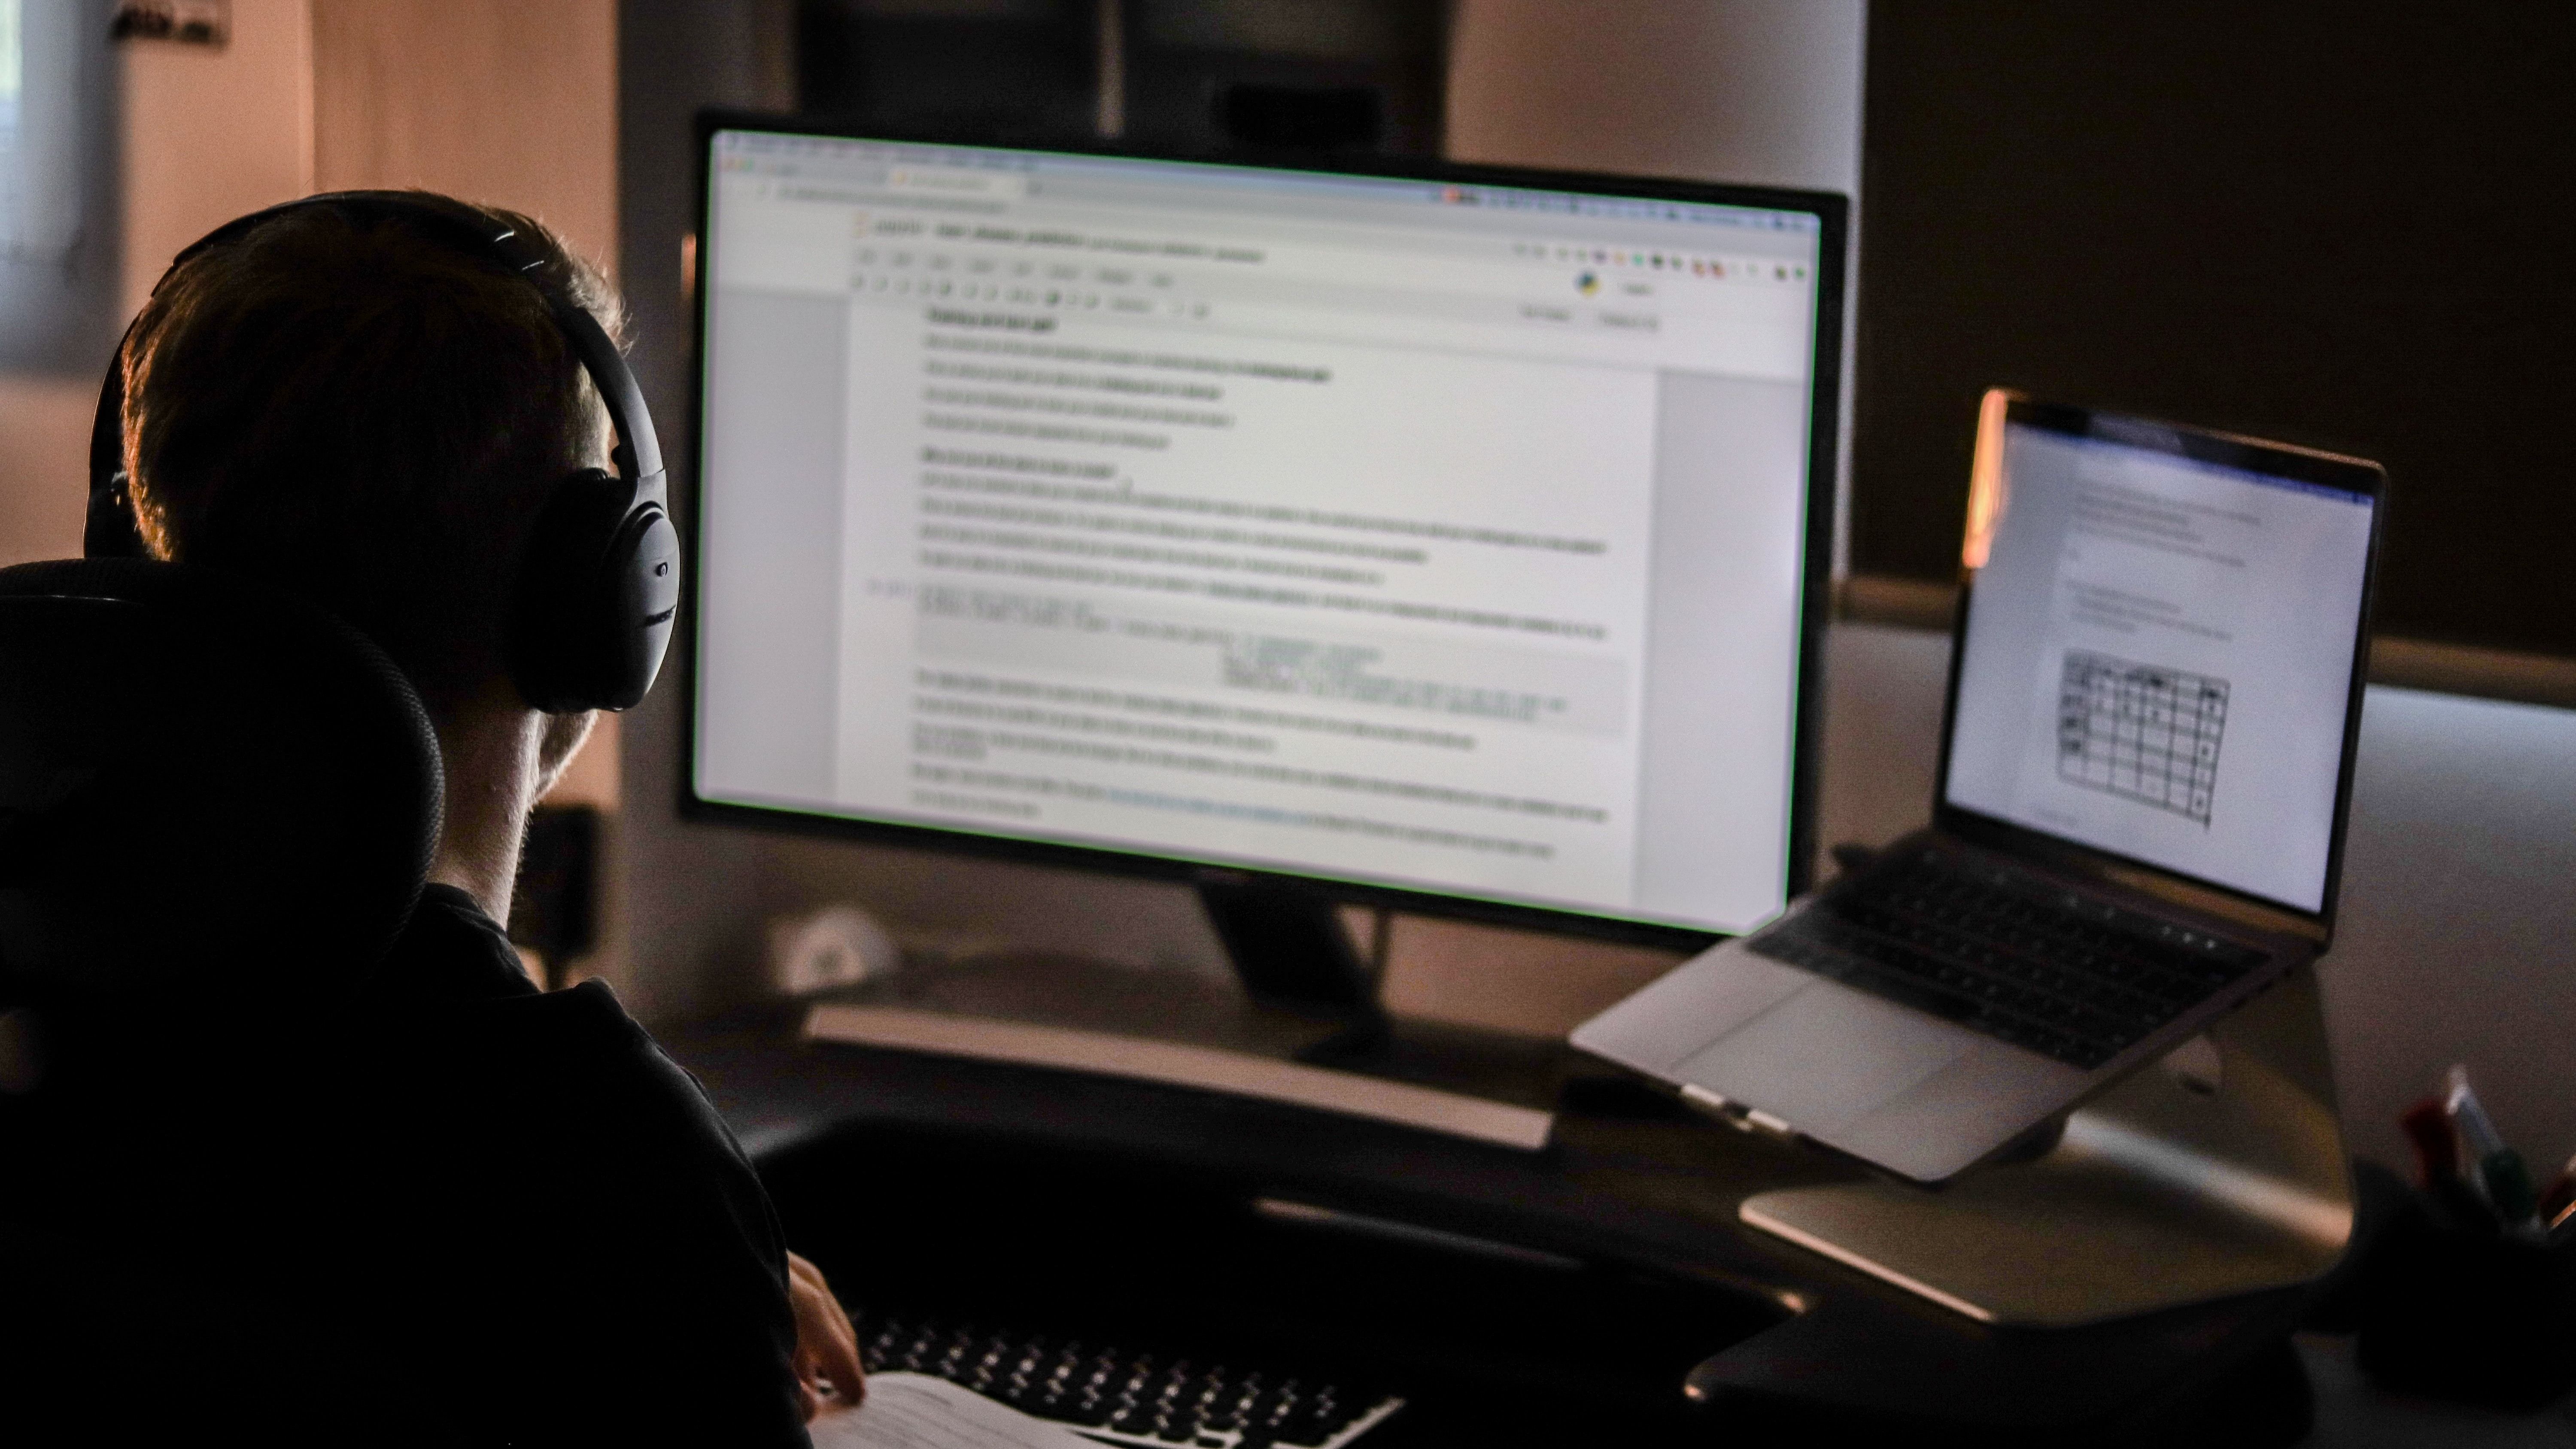
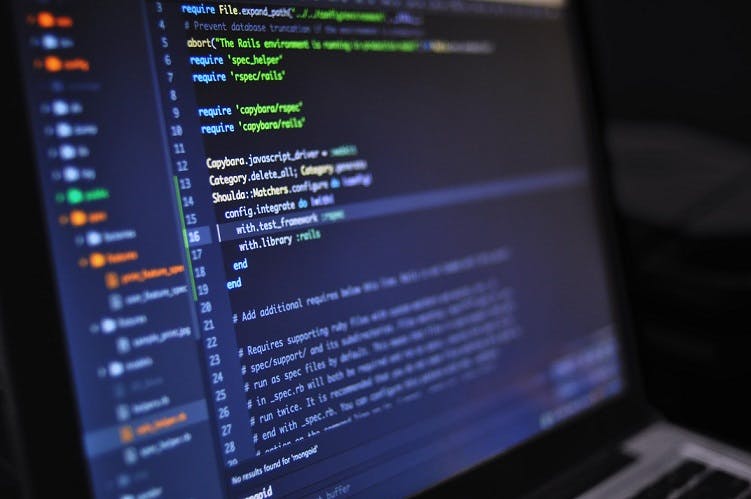
Picture me in between algorithms, cups of coffee, and super long debugging sessions.
July 25th, 2024


Picture me in between algorithms, cups of coffee, and super long debugging sessions.
Story's Credibility


Picture me in between algorithms, cups of coffee, and super long debugging sessions.
Story's Credibility
About Author

Picture me in between algorithms, cups of coffee, and super long debugging sessions.
Comments