


Speech and language processing. At the end of the beginning.


Speech and language processing. At the end of the beginning.
About Author

Speech and language processing. At the end of the beginning.
Comments

TOPICS
THIS ARTICLE WAS FEATURED IN


Related Stories


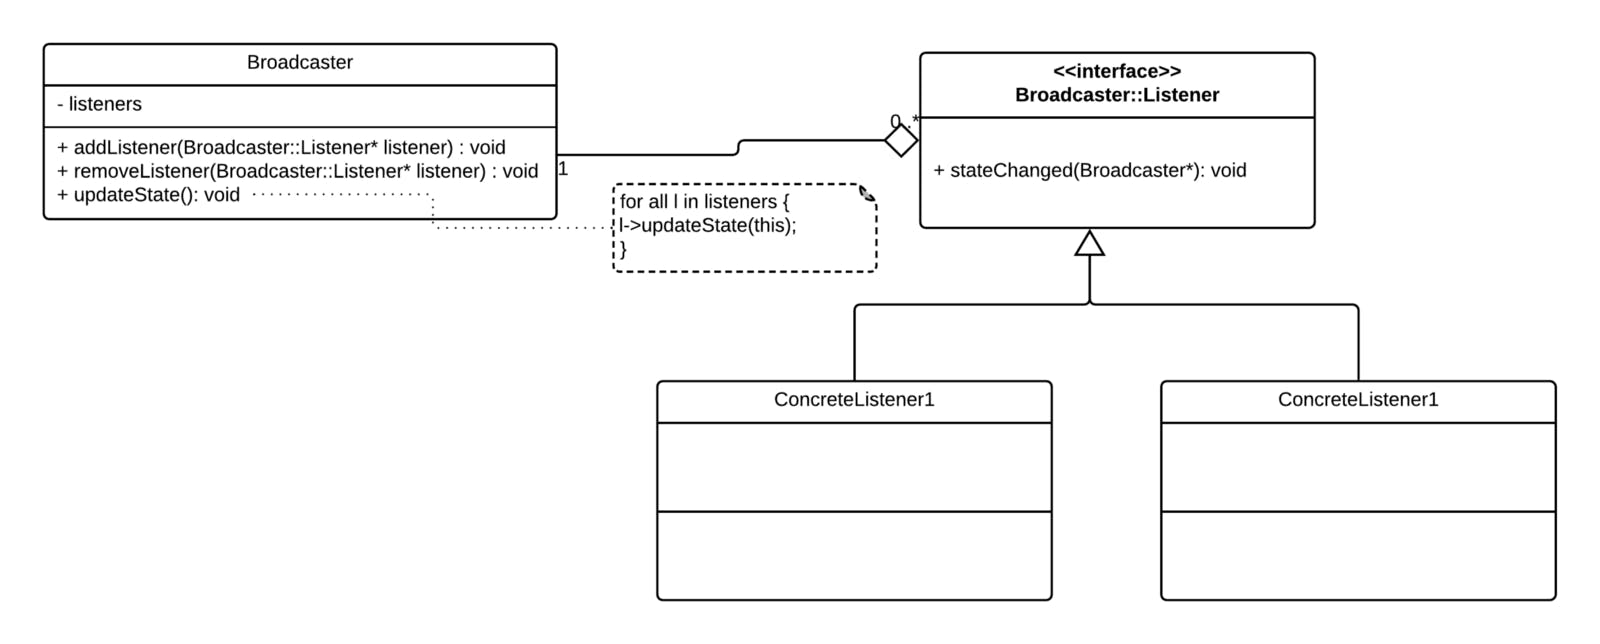


Broadcasters and listeners in JUCE
Mar 15, 2019