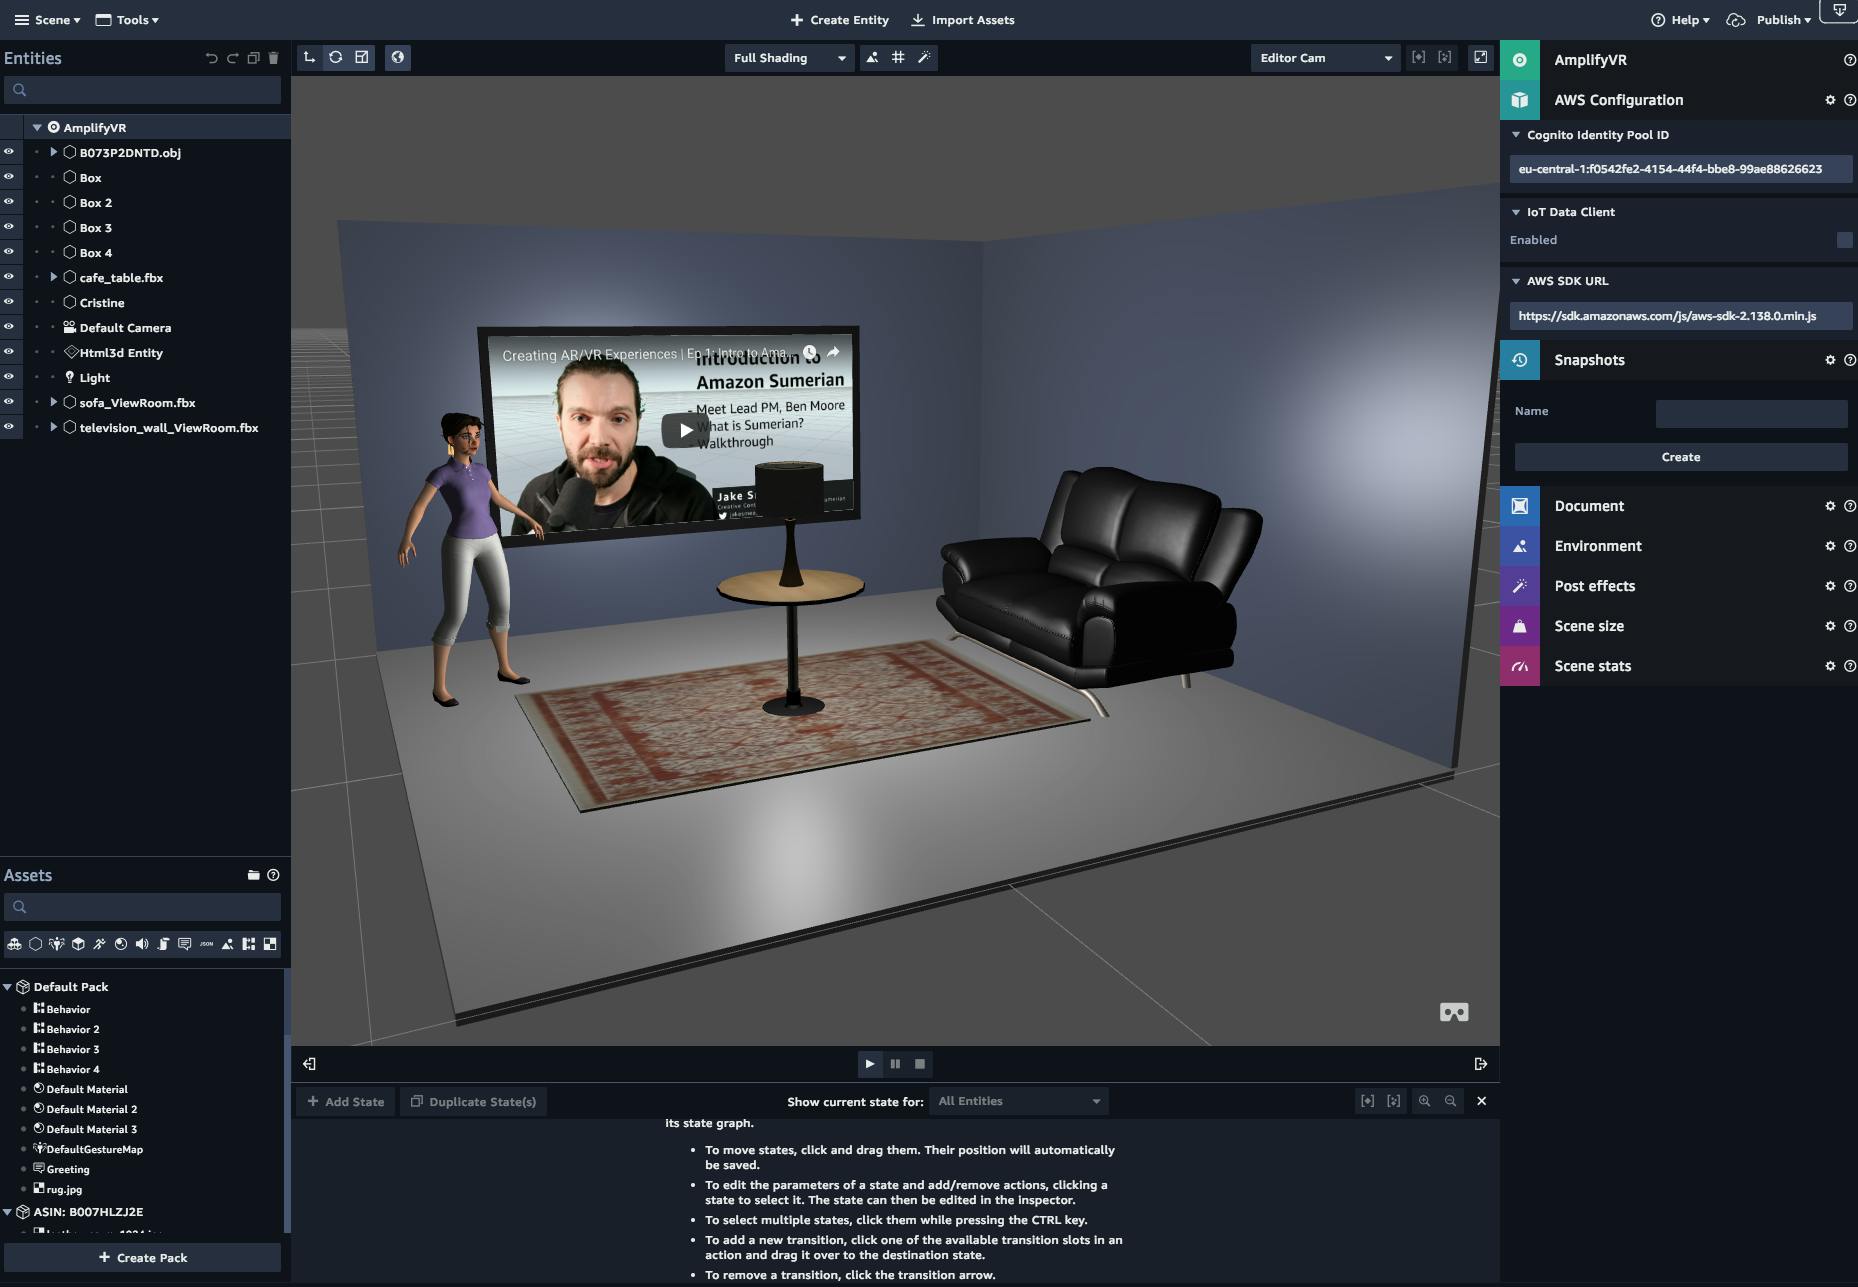
recently added support augmented reality (AR) and virtual reality (VR) content within your applications. The has built-in support for . AWS Amplify XR category Amazon Sumerian Amazon Sumerian is based on WebGL 2. With Sumerian you can design scenes directly from your browser using the Amazon Sumerian console. When you publish your Sumerian scene you can allow either public or private access for only authenticated users. In this tutorial, we’ll be how to create & add an Amazon Sumerian VR private scene for authenticated users into an AWS Amplify React web application. learning Overall, this is meant to be a comprehensive introduction to building VR applications with Amazon Sumerian. Amazon Sumerian lets you create and run virtual reality (VR), augmented reality (AR), and 3D applications quickly and easily without requiring any specialized programming or 3D graphics expertise. With Sumerian, you can build highly immersive and interactive scenes that run on popular hardware such as Oculus Go, Oculus Rift, HTC Vive, HTC Vive Pro, Google Daydream, and Lenovo Mirage as well as Android and iOS mobile devices. Because Amazon Sumerian is an environment that uses a web user interface to create & update scenes, the second part of this tutorial will be a video tutorial showing how to create a scene, while the first part will be showing how to create an AWS Amplify project with authentication. Getting Started The first thing we need to do is create a React application & add an Amplify project to it. To create the React application, we’ll use Create React App: npx create-react-app sumerian-amplify-app # or create-react-app sumerian-amplify-app Next, we’ll change into the React project & install the AWS Amplify & AWS Amplify React libraries. cd sumerian-amplify-app npm install aws-amplify aws-amplify-react Now that the React project has been created, we’ll initialize a new AWS Amplify project. If you have not yet installed & configured the AWS Amplify CLI, check out the video walkthrough . here amplify init amplify init will prompt you with a few questions. Choose your text editor of choice & the defaults for all of the other choices. Once the AWS Amplify project has been initialized, we’ll add authentication to the project: amplify add auth Do you want to use the default authentication and configuration? security Yes Next, we’ll run the command to create the resource in our account: push amplify push Now that an authentication service has been created in your account, we can add authentication to our project using Amplify by updating & . index.js App.js First we’ll update to configure the AWS Amplify project: index.js // add the following below the last export in index.jsimport Amplify from 'aws-amplify'import config from './aws-exports'Amplify.configure(config) Next, we’ll update App.js to use the HOC from by replacing the default export: withAuthenticator aws-amplify-react import { withAuthenticator } from 'aws-amplify-react'; class App extends React.Component {// default class definition} export default withAuthenticator(App, { includeGreetings: true }); Creating an Amazon Sumerian Scene In this section, we’ll learn how to create a new Amazon Sumerian scene. Because Sumerian is a web interface, I think the best way to introduce it is via a video. In this video, we’ll walk through how to create our first scene, a room with materials, light & interactions. Once we’re done creating the room, we’ll move on to the next step of publishing the scene in our React application. For more tutorials, check out the Sumerian tutorials page or the video series . here Creating AR/VR Experiences here Adding the Sumerian Scene to the AWS Amplify Project Now that we’ve created the Sumerian scene, create a new file called in the src directory with your Sumerian configuration: sumerian-exports.js export default {"url": "https://YOURURL","sceneId": "c0aeb2f3cfe44c40bb9c81122c2bd7f6.scene"} Next, we’ll update to load the scene & display it onto a specified dom node: App.js Next, we need to update our authenticated access IAM role to allow Sumerian access. To do this, open the configuration file located at find the & copy the value of the role to your clipboard (it should look something like ). amplify/backend/auth/parameters.json, authRoleName sumeriandemo-012345678910-authRole Next, open the in the AWS console, click on Roles, & search for the role we copied to the clipboard. Once you find the role, click on it. IAM dashboard authRoleName Next, under the permissions tab, click on , click the tab, & paste in the following JSON & create a new policy: Add Inline Policy JSON {"Version": "2012-10-17","Statement": [{"Effect": "Allow","Action": ["sumerian:ViewRelease"],"Resource": "*"}]} Now, you should be able to run the app, log in, & view the scene in the browser: npm start The browser may not render perfectly every item every time. For best experience, try running on a VR headset. Running on a VR / AR headset Next, we want to run the app on a headset. To do so, we’ll first publish the scene to a live URL & then browse to the URL using a VR headset. To publish the app, we’ll first add hosting to the Amplify project: amplify add hosting Here, choose as the environment setup & the default for the rest of the options. DEV Next, we’ll publish the app: amplify publish This will publish the app to a live url. You can then open the URL in any browser of VR headset to try it out! To learn more about AWS Amplify, check out or . To learn more about Amazon Sumerian, check out the Sumerian tutorials page or the video series . the docs Github here Creating AR/VR Experiences here My Name is . Nader Dabit I am a Developer Advocate at working with projects like and , the author of , & the editor of & . AWS Mobile AWS AppSync AWS Amplify React Native in Action React Native Training OpenGraphQL