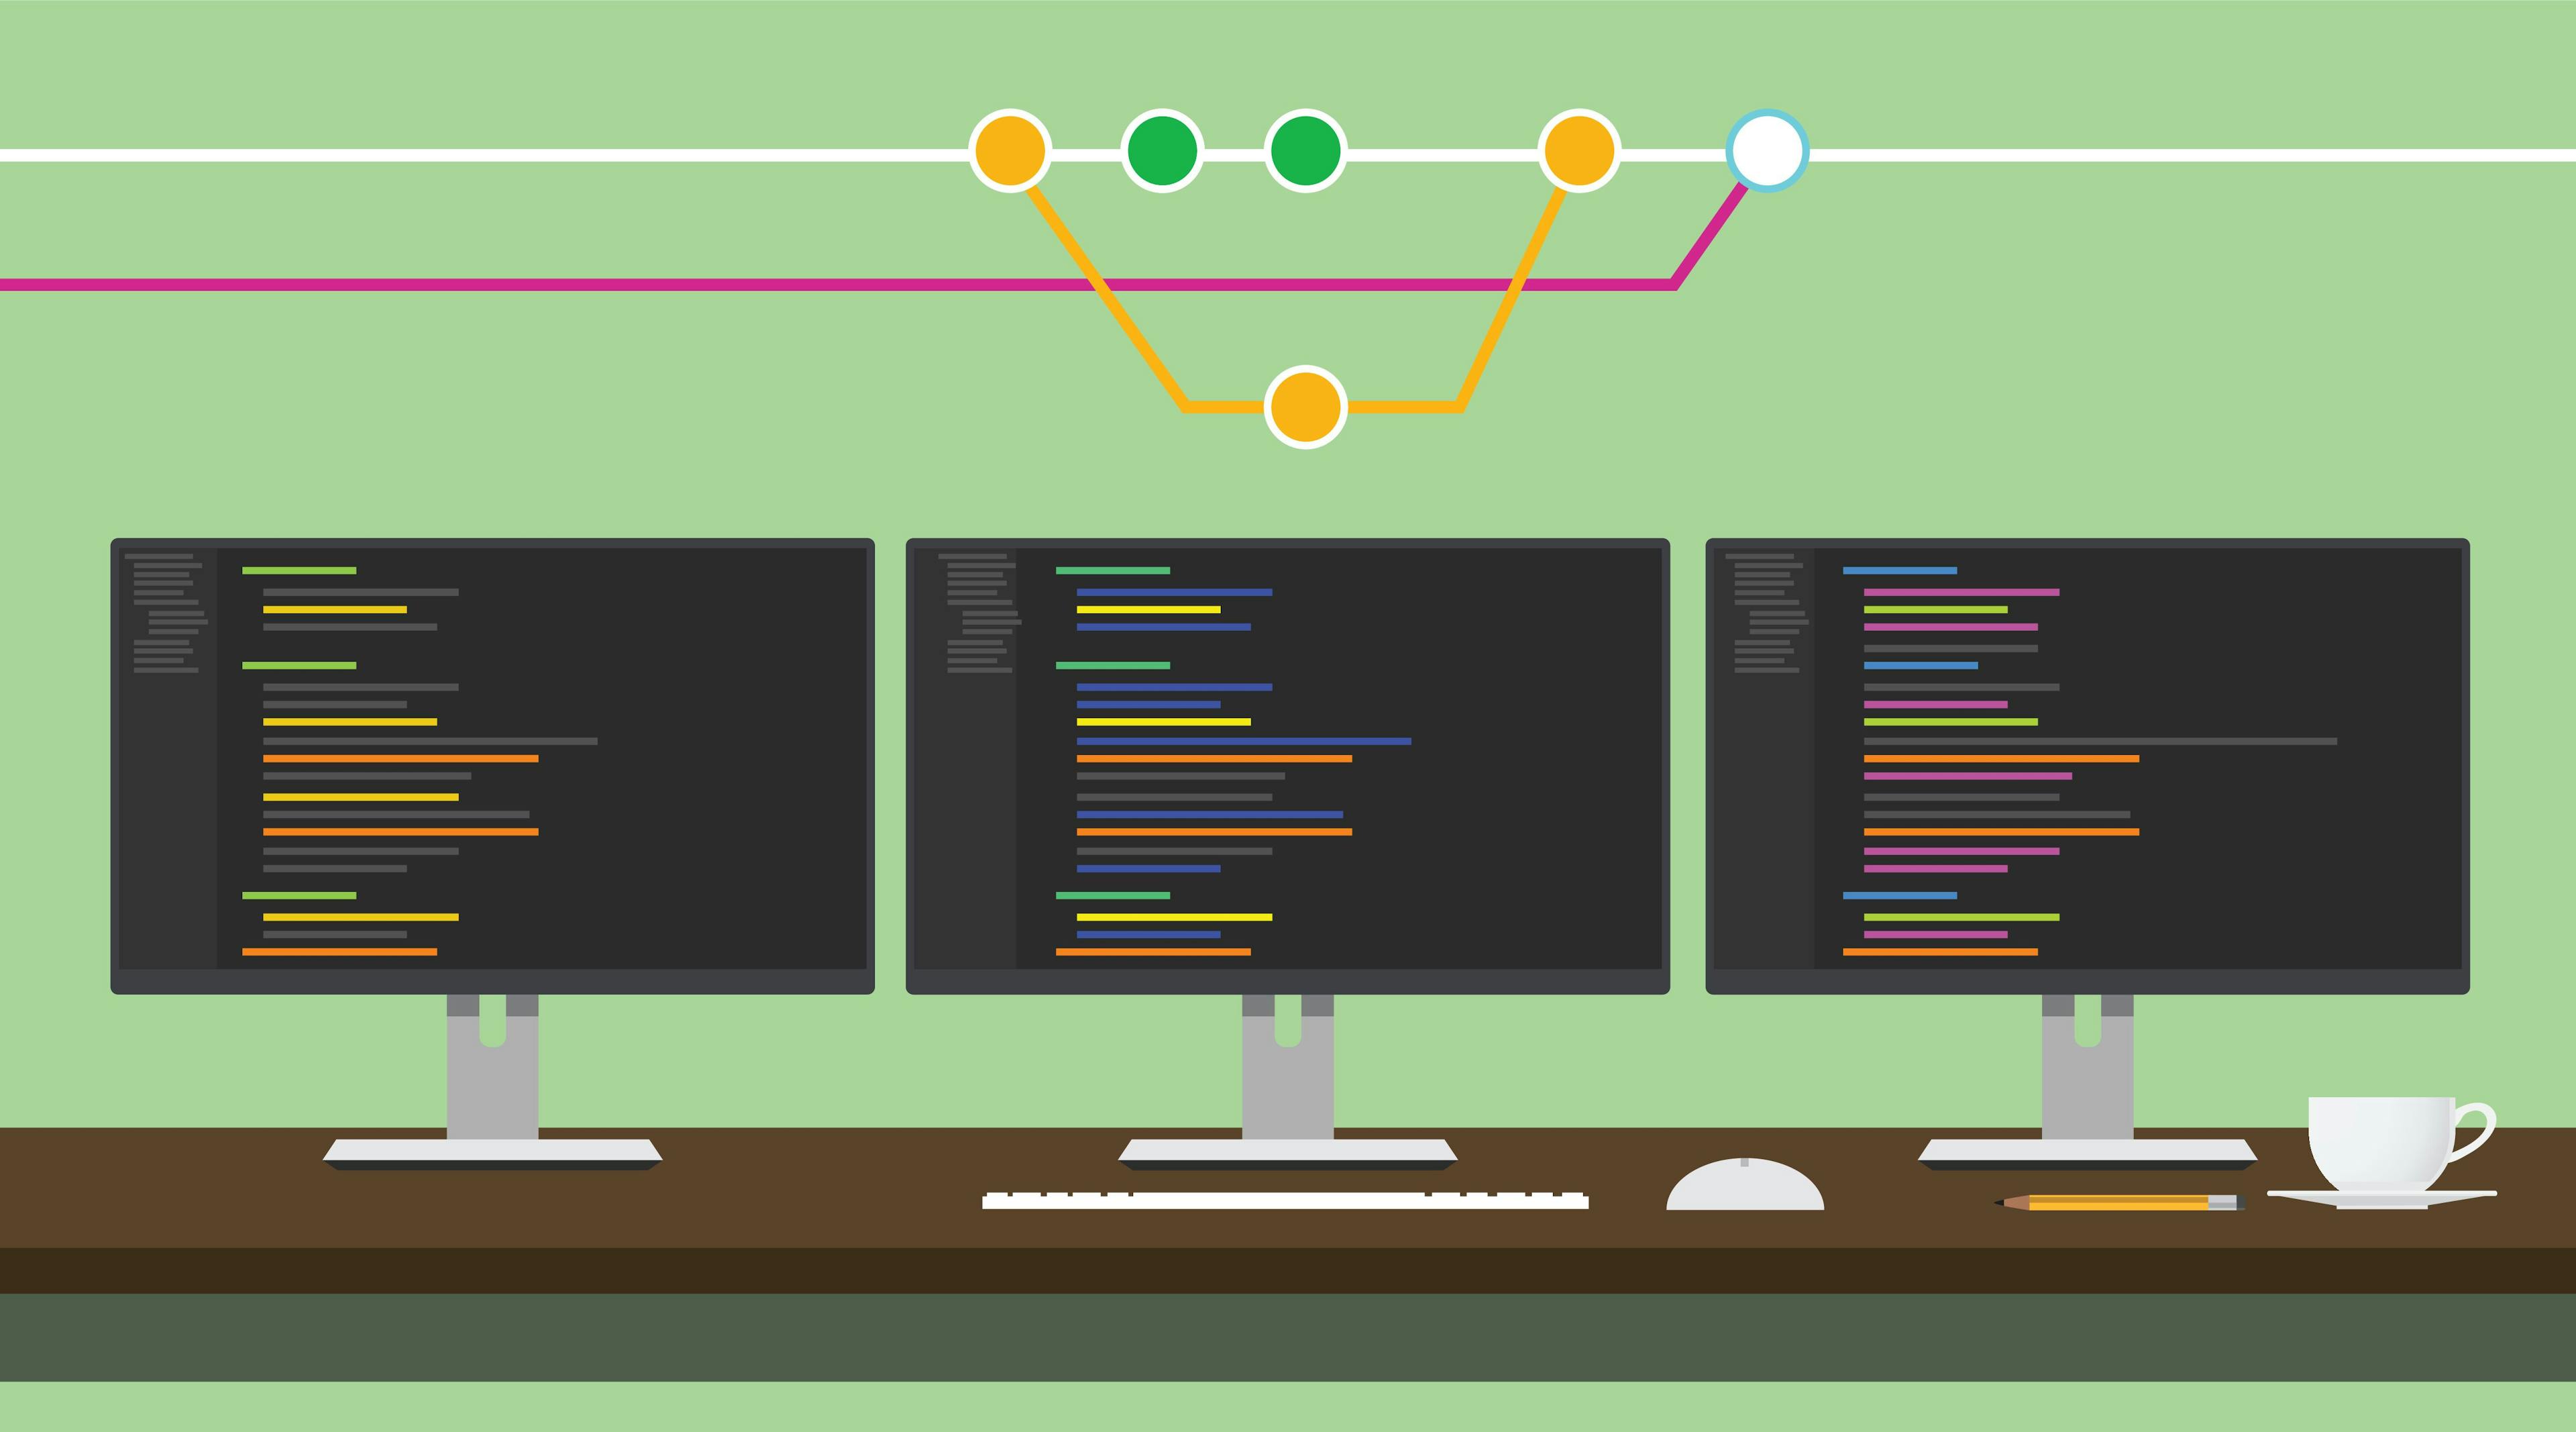
Learn the mindset and process behind Trunk Based Dev! Through my consulting business, I equip technology organizations with the latest and greatest in DevOps tooling to increase the velocity of their development teams. Part of this means abandoning outdated workflows like “GitFlow” and replacing them with more streamlined processes - Trunk Based Development and Continuous Deployment. We’ll get more into “Trunk Based Development” soon - but it’s important for this conversation to define what “trunk” is, as I’ve seen this misused as well. The “trunk” is the or branch of your repository. Trunk is a constant. In trunk based development, you either commit to the trunk branch, or make branches and pull requests against the trunk branch. There are no long lived alternative branches to merge against such as . main master development I’ve seen teams create a new branch and call it the new “trunk” every few weeks. Although I applaud the effort, it was missing the mark by quite a lot. We’ll get more into what this process looks like end-to-end later on… First, let me spend a minute backing up my claims of GitFlow being outdated, and explain the goals of moving to a different approach. Some of the best programming advice you’ll ever receive is from Eric Evan’s required reading, . Domain Driven Design, for the uninitiated, is a methodology for modeling business domains in code. The advice is the following: Domain Driven Design “Make implicit concepts explicit” - Eric Evans, Domain Driven Design What exactly does this mean? Also, how does this apply to Git or GitFlow? First, let’s define what an “implicit concept” means. An implicit concept is something that happens as a side effect of something else. For example, a side effect of committing to the using GitFlow is often to tie that to deploying a version of that service to an environment such as staging. development The explicit action taken is committing to a branch. The implicit action caused by that action is running a deployment process. We didn’t explicitly change our staging environment - we changed our application’s codebase on a specific branch and it updated the environment as a side effect. We then often see the same thing committing against the “trunk” ( ) branch. The explicit action is committing to - the implicit action is tying some sort of deployment process to this explicit action. Expand that to several repositories and now you’ve got yourself a real headache. main/master master So, ask yourself - how can we make the currently implicit concepts of releasing new versions of our software, explicit? The answer: by making those concepts a part of our model. The reason for the awkwardness we are feeling is because the model doesn’t actually model our environments. Our environments in this model are entirely implicit - and as you can imagine, things like production environments are quite important pieces - one that should be modeled explicitly, for sure. To do so, we can create repositories that explicitly model each of our environments. Meaning instead of tying the implicit concept of releasing and deploying code to our commits, we can instead explicitly define the requirements of such a release and deployment in a codebase. For example, our environment’s repository might look something like this: staging dependencies: - name: content repository: http://bucketrepo/bucketrepo/charts/ version: 0.0 .75 - name: mongodb-replicaset repository: https://kubernetes-charts.storage.googleapis.com/ version: 3.15 .1 - name: person-model repository: http://bucketrepo/bucketrepo/charts/ version: 0.0 .20 - name: www repository: http://bucketrepo/bucketrepo/charts/ version: 0.0 .55 What version of each application is in staging? The answer is no longer “whatever is in the branch for each project”. It’s , , , and . It’s explicitly defined in . development 0.0.75 3.15.1 0.0.20 0.0.55 an environment repository Meanwhile your production environment might be on version and on . Also explicitly defined in code. www 0.0.50 content 0.0.74 Much better than “whatever is in trunk of each project? 🤷♂️” To accomplish this we’ll need to approach things a bit differently than you’re probably used to. We’ll still want to tie some actions to commits, but not so many different concepts - we only want to do things that are related to the codebase we are working on. Instead we can limit that action to releasing a new versioned artifact of the project we are working on. More explicitly, this means the first commit to the trunk branch will release version of that project, bundled and ready to go – finalized and immutable. The second commit to trunk will result in release , and the third , etc. We can also run some automated tests as part of that release process, so if commit four failed those tests for example, would not be released until the 5th commit which makes the tests pass again. 0.0.1 0.0.2 0.0.3 0.0.4 What exactly those versioned artifacts are will vary by the type of project you are working on, but are usually Docker images, chart repositories, or various language specific packages like NPM or Maven releases. Next, we can hook into the release process and with each new release, caused by each verified commit to Trunk, to explicitly . update the staging environment Then, once the explicit combination of versioned artifacts are verified in the running staging an environment, they can all be moved into production in . a single explicit commit So that’s pretty much modern Trunk Based Development in a nutshell. Not so bad, right? You can use a tool like Jenkins X to get this set up for you out of the box. Using JX can be a bit overwhelming as it is based on Kubernetes and several tools in the Kubernetes ecosystem. In my course, , I walk through setting up a system like this end to end, as well as get into other topics like SSO, load testing, and more! Check it out if you’re interested! DevOps Bliss What exactly is in history? git With our Trunk Based Development workflow defined, it’s worth taking a moment to explain how to think about what your project’s history really is. git The history of your repository is a series of commits in an ordered list. To move to different spots in that history, pointers are used. These pointers are called and . branches tags Check out this image pulled from the documentation. Git - Branches in a Nutshell It’s helpful to remember this as you are working with Git. This whole structure, the commits, the pointers, etc, are all copied to your machine when you clone a repo. They are not kept up to date automatically though. You are probably used to using at this point to get the changes from the . git pull origin Instead, I want to show you a few alternative commands to help you with your Trunk Based Development workflow. General Workflow In this next section I want to capture the “day in the life” decision making and git workflows you’ll need to employ when working on a project that follows Trunk Based Development. First of all, whether you are working directly against the Trunk branch (yes, this is ok), or on a branch that will be merged to the trunk branch, you’ll need to know what’s happening back on Github – information like, have other developers changed the code since I’ve last checked? I’m assuming you are familiar with the basic git workflow of , , , and , and here is where you might think . I want to give you a more granular way of thinking about it instead. add commit push pull pull To do that, we’ll start with a . git fetch git fetch As you are working away on your next fix or feature, either directly on the Trunk branch, or on a short-lived branch that will eventually be merged into the trunk branch, so are other developers. They are pushing and pulling from the same on Github named as you are. Adding new commits to the log, and new pointers in the form of branches and tags. remote origin The command simply fetches the information about these changes. It does not update your local copy with the remote changes, it simply makes aware that those changes exist. git fetch git So, as you’re busy working, every once in awhile, run: git fetch --all -p The flag tells git to fetch from any you’ve added, or otherwise. The flag stands for which tells git it can cleanup deleted branch pointers and etc. --all remote origin -p prune Then you’ll know if there are any updates you need to bring into your local copy. Here is an example of what that looks like: > git fetch --all -p Fetching origin From github.com:servicebus/kafkabus - [deleted] (none) -> origin/renovate/mocha-7.x remote: Enumerating objects: 150, . remote: Counting objects: 100% (150/150), . remote: Compressing objects: 100% (58/58), . remote: Total 198 (delta 125), reused 97 (delta 92), pack-reused 48 Receiving objects: 100% (198/198), 362.90 KiB | 1.31 MiB/s, . Resolving deltas: 100% (144/144), completed with 6 objects. 98169c3..6b4ca35 master -> origin/master * [new branch] renovate/commitizen-4.x -> origin/renovate/commitizen-4.x * [new branch] renovate/kafkajs-1.x -> origin/renovate/kafkajs-1.x * [new tag] v2.0.1 -> v2.0.1 * [new tag] v2.0.2 -> v2.0.2 * [new tag] v2.0.3 -> v2.0.3 * [new tag] v2.0.4 -> v2.0.4 done done done done local In response to the call, I can see that has been updated on compared to my local version of git history: . There are also a few new branches and tags. Running will verify I am still on the commit locally. git fetch master origin 98169c3..6b4ca35 git log 98169c3 > git commit 98169c3fabf3052dd89fe0c6900bc3c11a0252a4 (HEAD -> master, tag: v2.0.3) Author: Patrick Lee Scott <pat@patscott.io> Date: Sat May 23 13:48:00 2020 -0400 fix: high throughput already uses no transactions log test # ... more commits ... In the parenthesis we can see a few pointers for this commit: , , and . HEAD master tag: v2.0.3 With that information in mind, we’ll want to our changes on to the version of history pointed to by , which was the latter, , from the info about the fetch ( ). That is to say, the changes in Github made it to Github first, before our changes, so our changes should be moved on top of it. rebase origin/master 6b4ca35 98169c3..6b4ca35 Depending on our situation, we’ll either want to use a regular, or an interactive rebase. Working on a fix directly against the Trunk branch If you are working on a fix that can be done easily, there is no issue, in my opinion, with committing directly against the trunk branch. I’ve worked on teams with 20 engineers doing this, and I promise you, it’s fine, so long as you have a solid CI/CD process. If this process fails, the worse that happens is nothing. The build is marked as failing, nothing is released or promoted. The only rule is if you break the build it’s now your job to fix it, and that’s the top priority! If you’re afraid of this, it’s ok to use a branch, and I’ll cover that workflow next. So, when you are working directly on the trunk, you’ve fetched info from Github and there are new commits to incorporate, it’s now time to . rebase git rebase To our changes on top of we run the command: rebase origin/master git rebase origin/master This only works AFTER a fetch, otherwise, git doesn’t know the information about new commits and branches from the named . Make sense? Use to get info, and to then use that info. remote origin fetch rebase All of the commits you’ve made after the initial commit, which is in this case, will be picked up, placed to the side, and then your history will be updated to match . This means your log of history will match the version of history - ending in in our example. Then your commits that were placed aside, will be placed on the end of the log. 98169c3 origin/master origin 6b4ca35 > git rebase origin/master First, rewinding head to replay your work on top of it... Fast-forwarded master to origin/master. Now, when I run you’ll see the latest commit has been updated to the latter commit identified by earlier ( ). git log fetch 98169c3..6b4ca35 > git commit 6b4ca353091a7d6a9eeba8ee5b1978112a81cabf (HEAD -> master, origin/master, origin/HEAD) Author: Renovate Bot <bot@renovateapp.com> Date: Wed Nov 4 06:34:00 2020 +0000 chore(deps): update dependency jest to v26.6.3 log # ... your commits ... If there are no conflicts, this will be a pretty simple command. If there are conflicts, they must be resolved first. To resolve conflicts, in your IDE, fix the conflicts, and when you are ready, save the changes, add them to git’s staging area, and then run . git rebase --continue To learn more about , make sure you read the Git’s docs - . rebase Git - Rebasing To learn more about resolving conflicts, I recommend learning the VSCode Merge tool: . Version Control in Visual Studio Code Working on a branch that will be merged into Trunk via a Pull Request If you are doing something more than a quick fix, such as working on a new feature, you’ll likely want a branch to work on. git rebase -i origin/master The above works well when we are on working on a single commit for a fix. When we are on a branch, preparing for a change to be merged into via a Pull Request, it’s often expected that we make things nice and clean. Maintainers of open source projects will ask you to “squash and rebase” your commits into a single commit to be merged. git rebase master master This keeps the history of the master branch clean and rollback’s easy to perform. People will debate on the merits of doing this vs. not doing so, but let’s put all those reasons aside for now, and just focus on how to do it. If you specify the flag or when you run the rebase command, instead of a regular rebase, you will be performing an “interactive rebase”. -i --interactive This allows you to commits in your little segment of history, or multiple commits into a single commit. reword squash Doing so drops you into an editor in your Terminal called , and for this reason, knowing the basics of VIM are required in order to perform the interactive rebase. (Press A to enter edit mode, edit it, press Esc, then type , and press Enter). If you aren't familiar with VIM, take some time to read up on the basics. vim :wq Here’s an example from the git documentation ( ): Git - Rewriting History pick f7f3f6d Change my name a bit pick 310154e Update README formatting and add blame pick a5f4a0d Add cat-file # Rebase 710f0f8..a5f4a0d onto 710f0f8 # # Commands: # p, pick <commit> = use commit # r, reword <commit> = use commit, but edit the commit message # e, edit <commit> = use commit, but stop for amending # s, squash <commit> = use commit, but meld into previous commit # f, fixup <commit> = like "squash", but discard this commit's log message # x, exec <command> = run command (the rest of the line) using shell # b, break = stop here (continue rebase later with 'git rebase --continue') # d, drop <commit> = remove commit # l, label <label> = label current HEAD with a name # t, reset <label> = reset HEAD to a label # m, merge [-C <commit> | -c <commit>] <label> [# <oneline>] # . create a merge commit using the original merge commit's # . message (or the oneline, if no original merge commit was # . specified). Use -c <commit> to reword the commit message. # # These lines can be re-ordered; they are executed from top to bottom. # # If you remove a line here THAT COMMIT WILL BE LOST. # # However, if you remove everything, the rebase will be aborted. # # Note that empty commits are commented out In order to squash all of the commits, use VIM to edit the messages that say to say or for the 2nd and 3rd commits: pick s squash pick f7f3f6d Change my name a bit squash 310154e Update README formatting and add blame s a5f4a0d Add cat-file This will result in a single commit, , that consists of the changes from all three commits. Change my name a bit Say you wanted to change the commit message as well, instead you might edit the commits like this: r f7f3f6d Change my name a bit s 310154e Update README formatting and add blame s a5f4a0d Add cat-file Saving this change would then prompt you with another VIM window that allows you to type a new commit message for the or flag. r reword git push origin/<branch> --force After a , you’ve essentially modified the history of commits in the log. If you try to push these changes to you will get an error! This is expected. rebase origin You need to tell git that you have intended to change the history by using the flag. This will replace origin’s log of commits with your new rebased log of commits. --force WARNING: You should not be force pushing to master, just branches! Rebasing when you have unsaved changes Need to rebase but have uncommitted changes? If you try to do this, you will receive an error saying you must commit or stash your changes in order to rebase! > git rebase origin/master error: cannot rebase: You have unstaged changes. error: Please commit or stash them. If you are ready to commit them go ahead and do so. If not, you can stash them, perform the rebase, and then retrieve your changes from the stash again. git stash To put all of your changes aside in a temporary space, run: git stash Then, you can complete the rebase: git fetch --all -p git rebase origin/master After the rebase is complete, you can bring back all of the changes you were working on from your stash: git stash pop --autostash The workflow above is common enough that rebase actually supports a flag, that combines all the steps into one! --autostash git rebase origin/master --autostash Conclusion Although it can be more steps than , sometimes pulling results in unexpected merge commits - using , and gives you more explicit control when working with git, which is very helpful when working with Trunk Based Development! git pull fetch stash rebase Hopefully you understand the benefits of making our previously implicit operations explicit and how you can use a few new git commands to ease that process! If you’re looking to implement Continuous Deployment in your organization and are looking for help, reach out to me through my website . If you’re a DIY-type of engineer like me, then check out my course instead! patscott.io DevOps Bliss Previously published at https://www.cloudnativeentrepreneur.com/blog/a-guide-to-git-with-trunk-based-development