paint-brush
Flutter Performance Optimization: 6 Hacks for a Faster Appby@saadahsan
1,774 reads
1,774 reads

Flutter Performance Optimization: 6 Hacks for a Faster App

by Saad AhsanJuly 26th, 2023
Read on Terminal Reader
Read this story w/o Javascript
tldt arrow

Too Long; Didn't Read

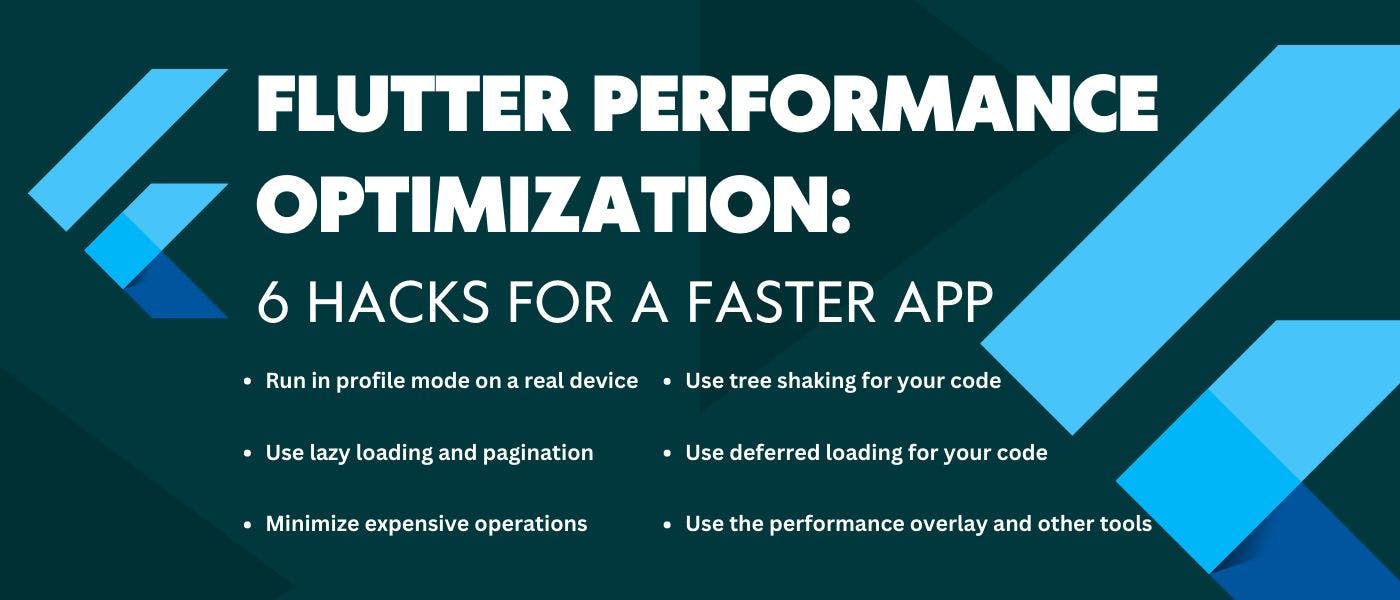
Flutter Performance Optimization: 6 Hacks for a Faster AppIn this article, the author provides hacks and best practices for optimizing Flutter app performance to avoid jank, stutter, or lag. The first hack is to run the app in profile mode on a real device to identify potential performance issues and measure the impact of optimizations. The second hack is to use the performance overlay and other tools like Flutter DevTools and Dart DevTools to diagnose performance problems. The third hack is to minimize expensive operations, such as layout and rendering, animation, image loading, and intrinsic operations. The fourth hack is to use lazy loading and pagination to reduce data fetching and improve memory usage. The fifth hack is to use tree shaking to remove unused code from the app's binary file and improve startup time. The sixth hack is to use deferred loading to load parts of the code on demand and reduce initial download size and memory usage. By implementing these hacks, developers can ensure their Flutter apps run smoothly and provide a better user experience.
featured image - Flutter Performance Optimization: 6 Hacks for a Faster App
Saad Ahsan HackerNoon profile picture


Flutter is a cross-platform framework that lets you create fast and beautiful app for mobile, web, and desktop. Flutter aims to provide 60 frames per second (fps) performance, or 120 fps performance on devices capable of 120Hz updates. However, sometimes your app might not run as smoothly as you expect, and you might encounter jank, stutter, or lag.


Jank occurs when the UI doesn’t render smoothly, and animations appear frozen. Every once in a while, a frame takes 10 times longer to render, so it is dropped. Jank can ruin the user experience and make your app look unprofessional.


How do you avoid jank and optimize your Flutter app’s performance? Where do you start? What tools can you use? In this article, we will explore some Hacks and best practices for Flutter performance optimization, based on the official documentation and other resources.


Hack 1: Run in profile mode on a real device

The first Hack for Flutter performance optimization is to run your app in profile mode on a real device. Profile mode is a special mode that runs your app with optimizations similar to release mode, but also enables some performance measurement tools. Profile mode helps you identify potential performance issues and measure the impact of your optimizations.


To run your app in profile mode, use the flutter run --profile command or select the profile option in your IDE. You can also use the flutter build --profile command to create a profile build for your app.


Running your app on an actual device is important because simulators and emulators don’t use the same hardware as real devices, which leads to differences in their performance. Compared to real devices, some simulator operations are faster, while others are slower. Also, debug mode enables additional checks (such as asserts) that don’t run in profile or release builds, and these checks can be expensive.


You should consider checking performance on the slowest device that your users might reasonably use. This way, you can ensure that your app runs smoothly on all devices.


Hack 2: Use the performance overlay and other tools

The second Hack for Flutter performance optimization is to use the performance overlay and other tools to diagnose performance problems. The performance overlay is a widget that displays two graphs on top of your app’s UI. The graphs show how much time each frame takes to render on the UI thread (top graph) and the raster thread (bottom graph). The raster thread was previously known as the GPU thread.


To enable the performance overlay, use the flutter run --profile --show-performance-overlay command or press P while running your app in profile mode. You can also enable it programmatically using the PerformanceOverlay widget or from the command line using the showPerformanceOverlay parameter.


The performance overlay helps you identify janky frames by showing spikes in the graphs. Ideally, each frame should take less than 16 ms to render for 60 fps performance. If a frame takes longer than 16 ms, it means that it missed the deadline and caused a jank.


You can also use other tools to analyze your app’s performance, such as:


  • Flutter DevTools: A suite of web-based tools that help you inspect, debug, and optimize your Flutter app. You can use DevTools to view various aspects of your app’s performance, such as CPU usage, memory usage, network traffic, widget rebuilds, rendering layers, and more. You can launch DevTools from your IDE or from the command line using the flutter pub global run dev-tools command.


  • Dart DevTools: A suite of web-based tools that help you inspect, debug, and optimize your Dart code. You can use Dart DevTools to view various aspects of your code’s performance, such as CPU profiles, memory snapshots, allocation profiles, call trees, flame charts, and more. You can launch Dart DevTools from your IDE or from the command line using the Dart dev-tools command.


  • Timeline View: A tool that shows a detailed view of all the events that occur when your app renders a frame. You can use Timeline View to see how much time each event takes and how they relate to each other. You can access Timeline View from Flutter DevTools or Dart DevTools.


  • Tracing: A technique that allows you to add custom events to Timeline View to measure specific parts of your code. You can use tracing to see how long certain functions or operations take and how they affect the overall performance of your app. You can add tracing events using the Timeline class in Dart code or platform-specific APIs in native code.


Hack 3: Minimize expensive operations

The third Hack for Flutter performance optimization is to minimize expensive operations in your code. Expensive operations are those that consume a lot of resources, such as CPU, memory, or network. Some examples of expensive operations are:


  • Layout and rendering: Layout and rendering are the processes of calculating the size and position of each widget on the screen and drawing them to the display. Layout and rendering can be expensive if you have complex or nested widgets, large or dynamic widgets, or widgets that change frequently. To optimize layout and rendering, you should use simple and flat widgets, avoid unnecessary rebuilds, cache or reuse widgets, and avoid offscreen layers.


  • Animation: Animation is the process of changing the appearance or position of a widget over time. Animation can be expensive if you have too many or too complex animations, or if you use non-optimized animation techniques. To optimize animation, you should use built-in animation widgets, avoid animating large or expensive widgets, use opacity and clipping sparingly, and use the TransitionBuilder pattern to avoid rebuilding descendants.


  • Image loading: Image loading is the process of fetching and decoding image files from the network or device storage. Image loading can be expensive if you have too many or too large images, or if you don’t cache or resize them properly. To optimize image loading, you should use compressed image formats, cache images in memory or disk, resize images to fit the display size, and use placeholders or precaching to improve perceived performance.


  • Intrinsic operations: Intrinsic operations are those that depend on the intrinsic size of a widget, such as its natural width or height. Intrinsic operations can be expensive because they require an extra layout pass to calculate the size of the widget before rendering it. Some examples of intrinsic operations are using IntrinsicWidth or IntrinsicHeight widgets, using Row or Column widgets with MainAxisSize.min, or using Text widgets with softWrap: true. To optimize intrinsic operations, you should avoid them whenever possible, use fixed sizes instead of intrinsic sizes, or use alternative widgets that don’t require intrinsic operations.


Hack 4: Use lazy loading and pagination

The fourth Hack for Flutter performance optimization is to use lazy loading and pagination for your data. Lazy loading is a technique that loads data only when it is needed, instead of loading it all at once. Pagination is a technique that divides data into smaller chunks or pages and loads them one by one as the user scrolls.


Lazy loading and pagination can improve your app’s performance by reducing the amount of data that needs to be fetched from the network or the device storage, reducing the memory usage of your app, and reducing the UI complexity of your app.


To implement lazy loading and pagination in Flutter, you can use various widgets and plugins, such as:


  • ListView: A widget that displays a scrollable list of items. You can use ListView with the builder constructor to create items lazily as they are scrolled into view. You can also use ListView with the controller property to listen to scroll events and load more data when the user reaches the end of the list.


  • GridView: A widget that displays a scrollable grid of items. You can use GridView with the same techniques as ListView to create items lazily and load more data on scroll.


  • PaginatedDataTable: A widget that displays a table of data with pagination controls. You can use PaginatedDataTable with a custom source property to fetch data from a remote or local source in pages.


  • Infinite Scroll Pagination: A plugin that provides a widget and a controller for implementing infinite scrolling pagination with ListView or GridView. You can use Infinite Scroll Pagination with a custom pagingController property to fetch data from a remote or local source in pages.


Hack 5: Use tree shaking for your code

The fifth Hack for Flutter performance optimization is to use tree shaking for your code. Tree shaking is a technique that removes unused code from your app’s binary file, reducing its size and improving its startup time.


Tree shaking works by analyzing your code and determining which parts are reachable and which parts are not. Only the reachable parts are included in the final output, while the unreachable parts are discarded. This way, you can avoid shipping unnecessary code that never gets executed.


Tree shaking can be useful when you have large or optional features in your app that are not needed by all users. For example, you can use tree shaking for:


  • Localization: You can remove the language files irrelevant to the user’s locale, instead of including all the supported languages.


  • Themes: You can remove the theme files that are not relevant to the user’s preference, instead of including all the available themes.


  • Features: You can remove the feature modules that are not relevant to the user’s action, instead of including all the possible features.


To enable tree shaking in Flutter, you don’t need to do anything special. Flutter automatically performs tree shaking when building your app in release mode. However, you can help tree shaking by following some best practices, such as:


  • Avoid using dynamic imports (import 'package:foo/foo.dart' as foo;) because they prevent tree shaking from analyzing your code.


  • Avoid using reflection (dart:mirrors) because it prevents tree shaking from removing unused code.


  • Avoid using dart:io because it prevents tree shaking from removing platform-specific code.


  • Use conditional imports (import 'package:foo/foo.dart' if (dart.library.io) 'package:foo/foo_io.dart';) to import different libraries based on the platform.


Learn more about tree shaking in Flutter here.


Hack 6: Use deferred loading for your code

The sixth Hack for Flutter performance optimization is to use deferred loading for your code. Deferred loading (also called lazy loading) is a technique that allows you to load parts of your code on demand, instead of loading them all at once. This can reduce the initial download size and memory usage of your app, and improve its startup time.


To use deferred loading in Flutter, you need to use the deferred keyword after the import statement and specify an alias for the imported library. Then, you need to call the loadLibrary() method on the alias to load the library when you need it. For example:


// Import a library lazily

import 'package:foo/foo.dart' deferred as foo;

// Load the library when needed

await foo.loadLibrary();


// Use the library

foo.bar();


Deferred loading can be useful when you have large or optional features in your app that are not needed at startup or by all users. For example, you can use deferred loading for:


  • Localization: You can load only the language files that are relevant to the user’s locale, instead of loading all the supported languages.


  • Themes: You can load only the theme files that are relevant to the user’s preference, instead of loading all the available themes.


  • Features: You can load only the feature modules that are relevant to the user’s action, instead of loading all the possible features.


However, deferred loading also has some limitations and challenges, such as:

  • Platform support: Deferred loading is currently only supported on Android, using dynamic feature modules. Other platforms still load all the code at once.


  • Code splitting: Deferred loading requires you to manually split your code into separate libraries and import them lazily. This can be tedious and error-prone, especially if you have complex dependencies or circular imports.


  • Testing and debugging: Deferred loading can make testing and debugging more difficult, as you need to ensure that the libraries are loaded correctly and handle any errors or exceptions.


To learn more about deferred loading in Flutter, see Deferred Components in the official documentation.


That’s it!


I hope you enjoyed this article and learned something new. If you have any questions or feedback, feel free to leave a comment below.