
663 reads
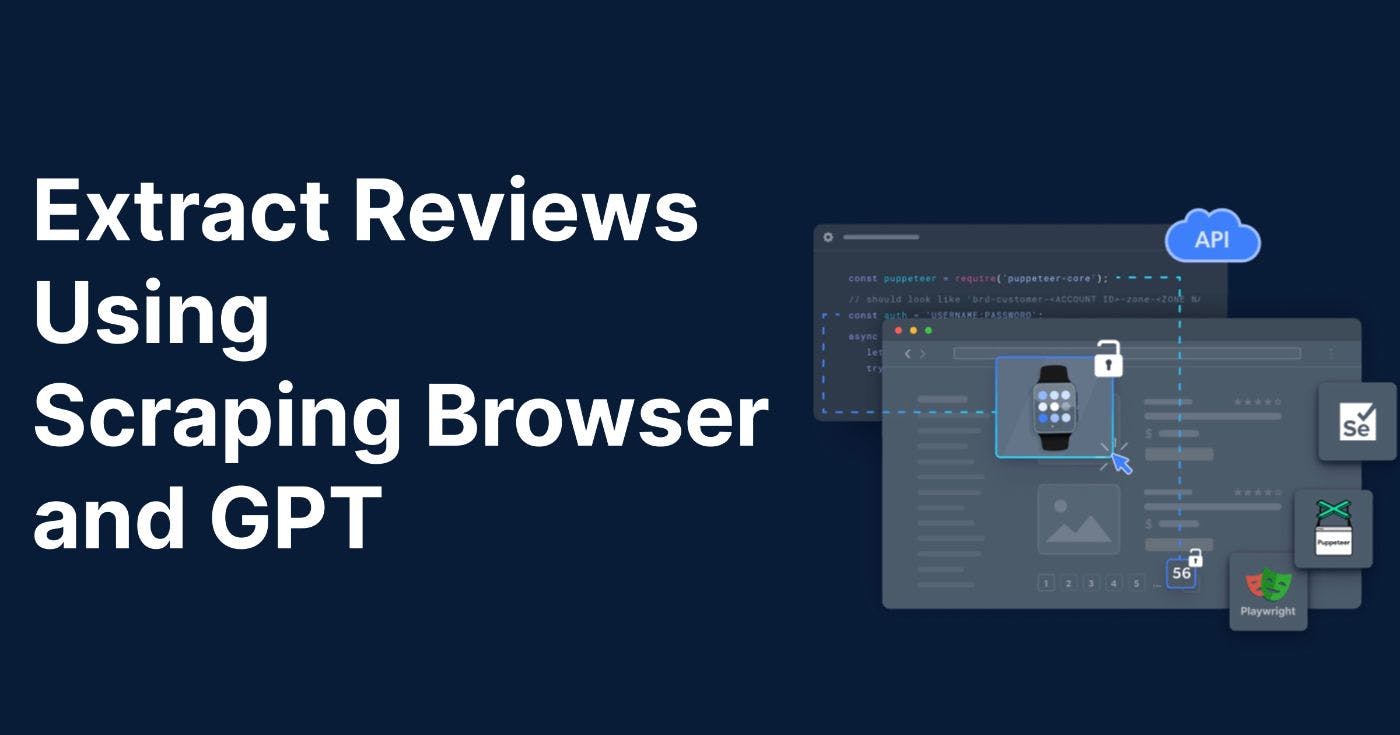
Using Scraping Browser and GPT for Actionable Product Insights
by byTeri@terieyenike
I am a software developer focused on creating content through technical writing and documentation.
July 11th, 2023


Audio Presented by
I am a software developer focused on creating content through technical writing and documentation.


I am a software developer focused on creating content through technical writing and documentation.
About Author

I am a software developer focused on creating content through technical writing and documentation.
Comments

TOPICS


Related Stories


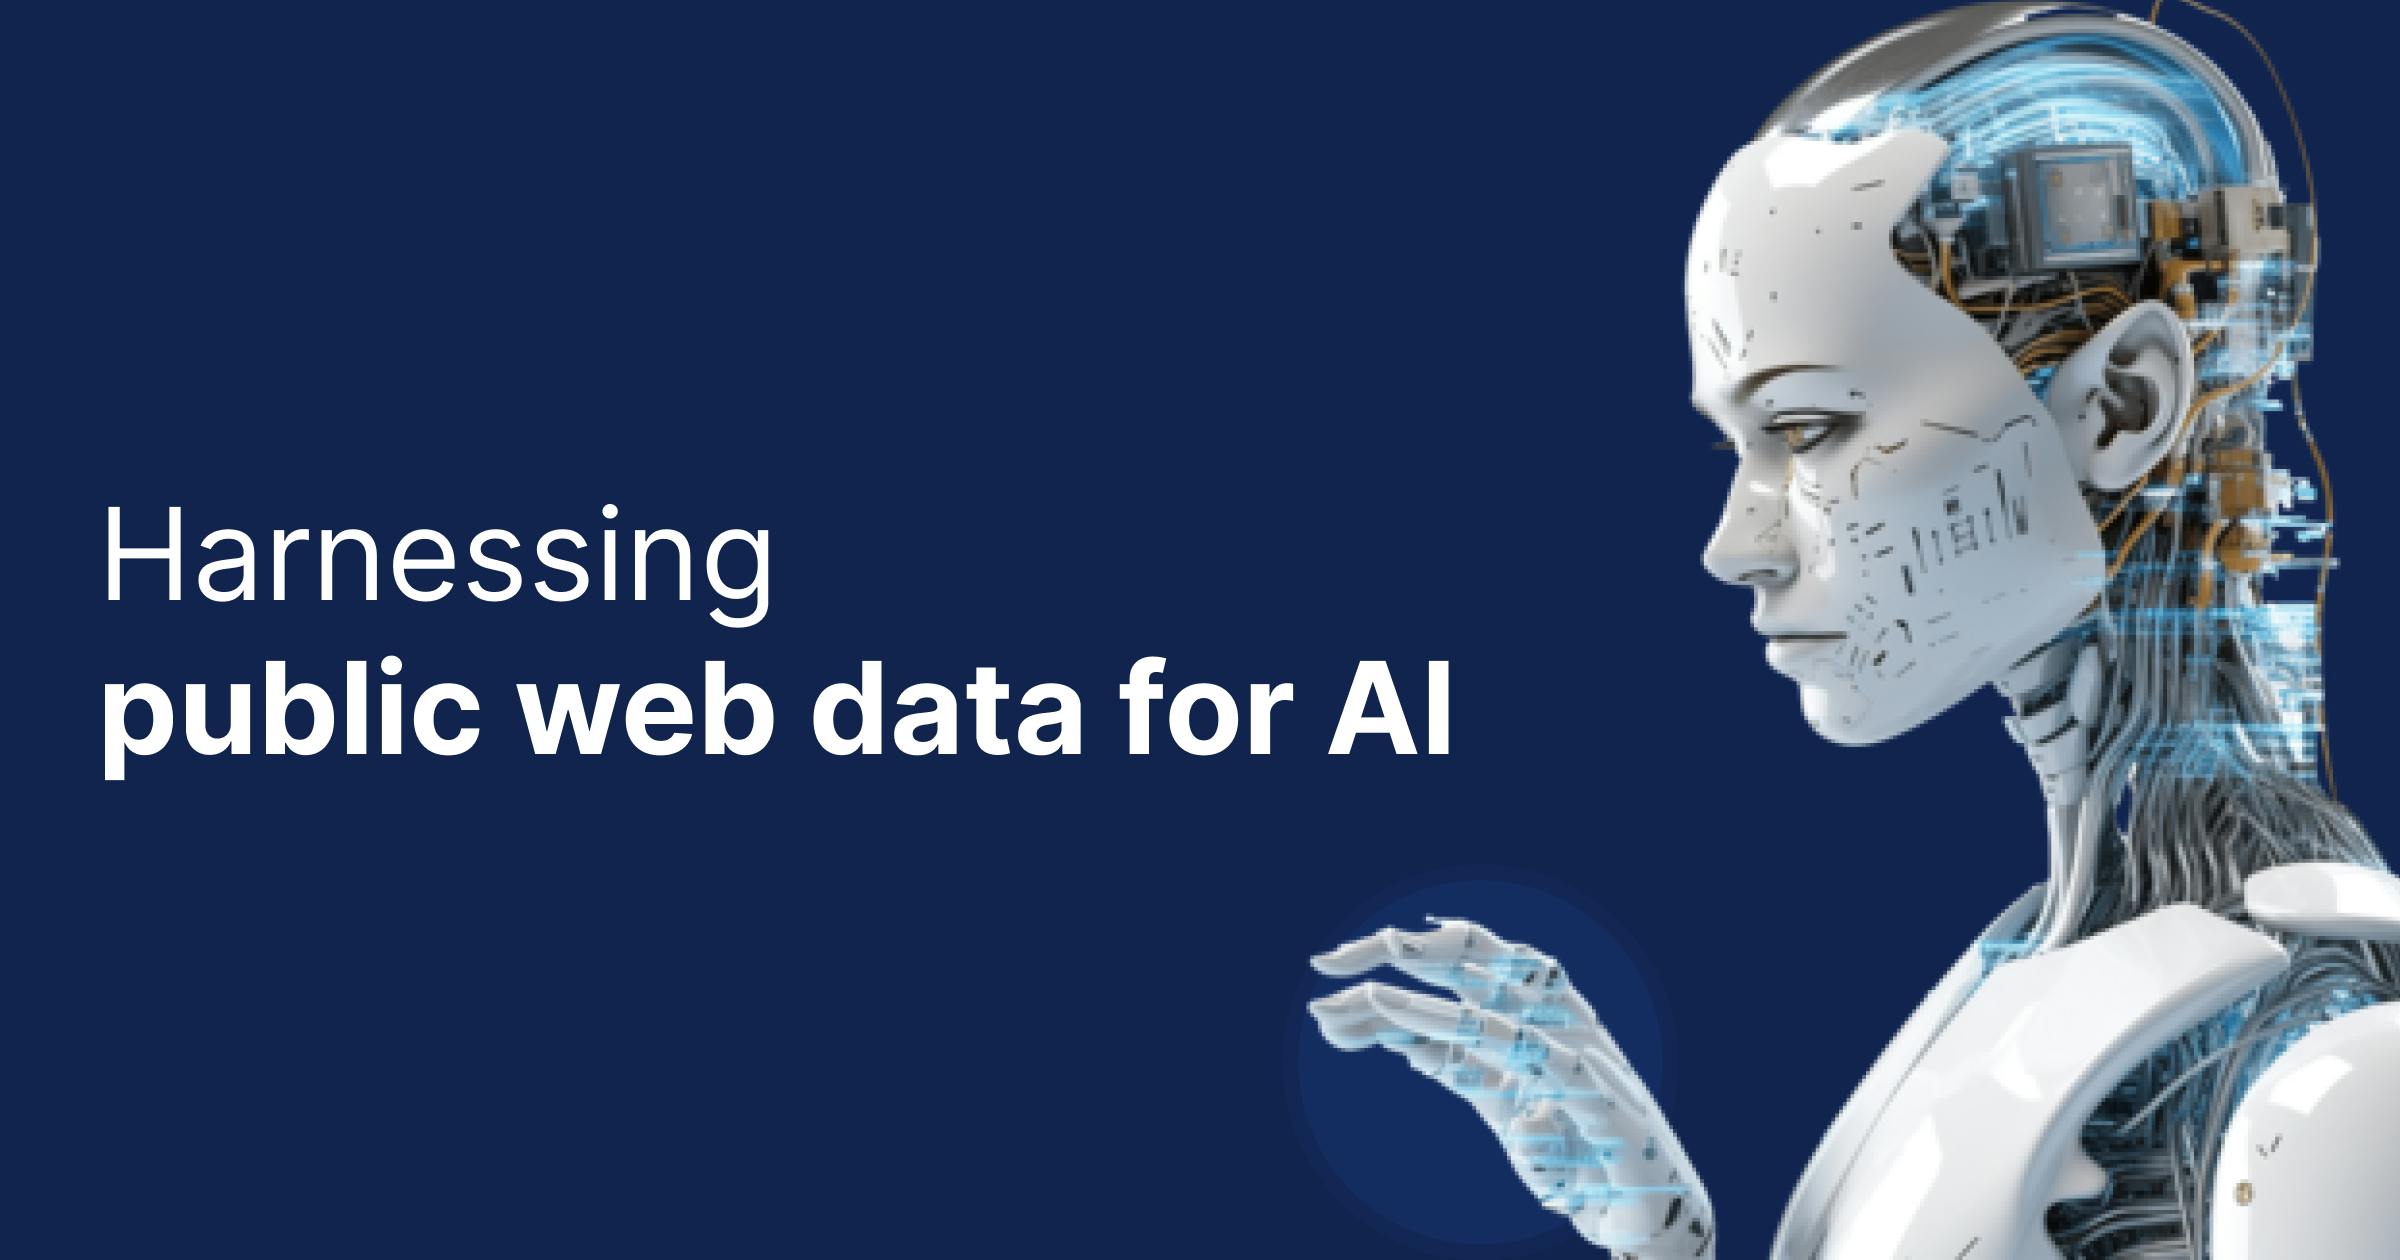
Harnessing Public Web Data for AI
Jul 31, 2024
Harnessing Public Web Data for AI
Jul 31, 2024