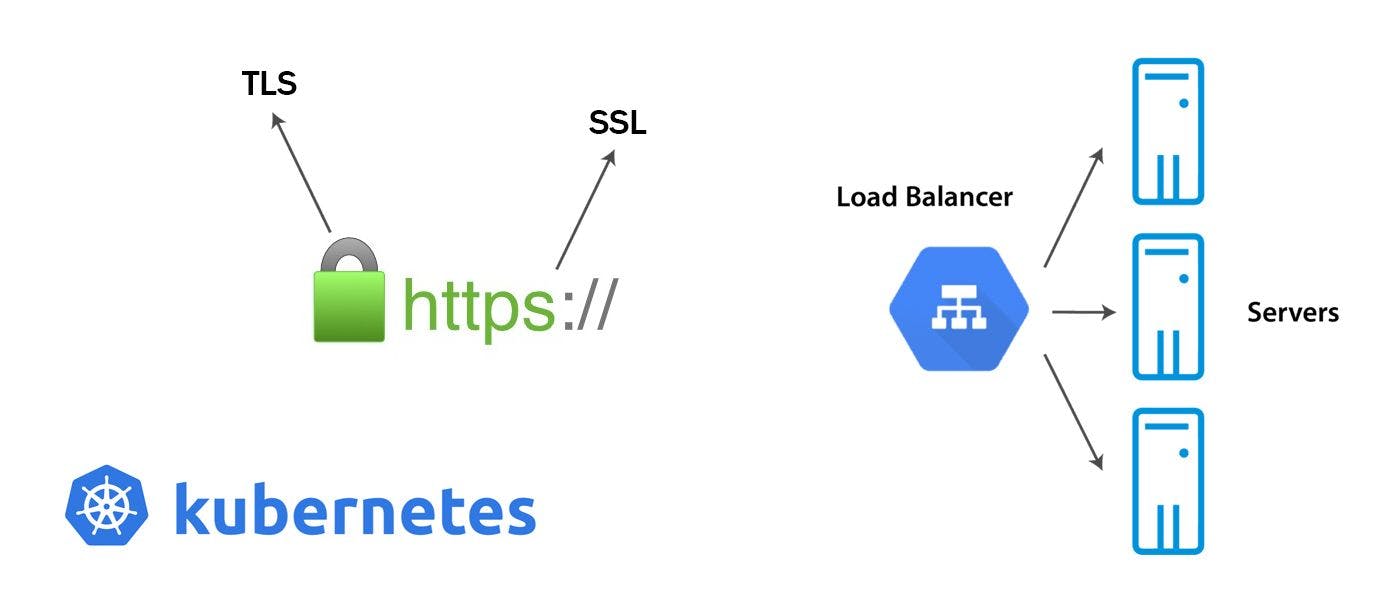
We use Ingress resources to map different URLs into different services or applications in our cluster, but we can use them also to configure TLS and SSL. In this blog, Java developers have described how to secure your applications using a search manager, which could be installed inside our cluster and that will connect to the letsencrypt to manage the certificates and then associate the certificate to our applications.
The certificate manager is an open-source project available on GitHub, and it could be installed inside our Kubernetes cluster as an application, and then it can connect to the letsencrypt authority to issue certificates and use them for our services.
In Kubernetes, we can expose publicly our services by specifying the type of load balancer. That will create a public IP address for each one of my services, but I don't want to have many IP addresses as I want to make some cost savings, and in addition to that, I want to use a fully qualified domain name like aegis, and when I go from /app one then that will route me to my-service one and then my service one will go to my application one in Kubernetes.
And when I turn to go to slash/app2, that will route me to a different deployment in my cluster. That could achieve using the ingress controller. An Ingress resource will get the traffic coming from the load balancer, and it will go to route this traffic into the different services or the different applications in our Kubernetes cluster.
In Kubernetes, for an Ingress resource, the [Kubernetes API] Improve your backend services with python services) exposes the interface but not the implementation. As a result, you must comprehend it for yourself. Nginx controller, HA proxy Ingress Controller, Citrix Ingress Controller, API gateways like Ambassador API gateway or service meshes like Istio, and cloud managers; Ingress controllers like Azure Application Gateway Ingress controller or Aws ALB Ingress controller are all available and well supported by java application development for Kubernetes.
Here, the Java application development team explains how to set up an Ingress controller in Kubernetes with both HTTP and HTTPS ways. Then we create two demo applications, and then we'll create an Ingress resource to map the traffic into those two different applications.
Just using Ingress as a layer 7 load balancer built into a Kubernetes cluster as an example, it can be configured using native Kubernetes primitives, just like every other object we've worked within Kubernetes. Remember that even with Ingress, you must expose it to make it available outside of the cluster. So you'll still need to broadcast it as a node port or use a cloud-native load balancer, but that's a one-time setup.
Here to note that: All load balancing of TLS/SSL and URL-based routing setups will be done on the ingress controller in the future. So, how does it function? What exactly is it, where can you find it, how can you see it, configure it, and how does it load balance? What method does it use to implement SSL? These are the points I've covered in this blog.
The worth thing to note here is that How would you do all of this if you didn't have Ingress? We'll utilize Nginx, HA proxy, or Traefik as a reverse proxy or load balancing solution. They can be installed on our Kubernetes cluster and configured to send traffic to other services. Configuration includes things like defining URL routes, installing SSL certificates, and so on.
Ingress is like it has been implemented similarly by Kubernetes. To configure Ingress, you must first deploy a supported solution, which in our case is Nginx, and then specify a set of rules. The solution you install is known as an Ingress controller, and the rules you set up are known as ingress resources.
The definition files used to build pods, deployments, and services are used to create Ingress resources. Remember that by default, a Kubernetes cluster does not include an ingress controller. If you follow the instructions in this blog, your cluster will not include an ingress controller. As a result, if you merely construct ingress resources and expect them to work, you will be disappointed.
So, you know, as previously stated, you do not have an ingress controller installed by default with Kubernetes; thus, you must install one. Then there's the issue of deciding what to use. There are a variety of ingress solutions available, including GCE, Google's layer 7 HTTP load balancer, Nginx, HA Proxy, Traefik, and others. GCE and Nginx are now supported and maintained by the Kubernetes project, and I used Nginx as an example in this blog.
These ingress controllers aren't the same as a load balancer or an Nginx server. The components of the load balancer are only a part of it. Ingress controllers feature built-in intelligence that monitors the Kubernetes cluster for new definitions or ingress resources and adjusts the Nginx server accordingly. In Kubernetes, an Nginx controller is deployed as another deployment with the kind= deployment parameter.
Here, we have explained how to create and use the SSL TLS certificate for our application on the Ingress controller in Kubernetes. The user would be able to access our application over HTTPS.
In the below sections, we have described how to create certificates for our application from the server itself, and it would be a self-signed certificate, and then we can access our application through HTTPS. But if you now know the basics of Kubernetes then you can visit our other Kubernetes Basics blog to understand more about Pods, Services, Deployment, and Ingress Controller. Then it would be easy for you to understand the TLS/SSL part that we have explained in this blog.
Create a deployment using the sample web application container image, which listens on port 8080 of an HTTP server. Let’s use aegiss-deployment.yaml as shown below:
Once we have created this deployment file, we have to run the deployment file with the following command: You can see that our deployment is done.
To find out whether our deployment happened or not, then you have to run the below commands for fetching all the deployments using kubectl command as below screenshot:
Internally, expose your deployment as a service. To make the web deployment accessible within your container cluster, create a service resource.
Here we have created aegis-service.yaml to construct the service, as shown below.
The next step is that we have to run this service by using the apply command and then verify whether the services ran or not as below:
Now, let’s see on which port our services run and what is the cluster IP of the running services along with its name, etc. using the below kubectl command. The web service's NodePort is 32640 in the preceding example output. This service does not have an external IP address assigned to it. Create an Ingress resource to make your HTTP(S) web server application publicly accessible.
The next steps are we have to configure an Ingress resource:
Create a source for Ingress. Ingress is a Kubernetes source that encapsulates a set of controls and configurations as routing HTTP(S) traffic from outside sources to internal services. The Ingress resource that routes traffic to your web service is defined in the following config file(aegis-ingress.yaml):
The next step is to run this ingress file using the apply command, and then our ingress resource will be configuring for the service name “aegis-service.” You can refer to the below image to see where I have configured the service name:
We can verify now whether the Ingress runs successfully or not by the below command referring to our ingress name “ingress-basic-demo.”
You can see now that our ingress resource is created, and now the final step is to test our service whether we can access our service or not. Look at your application. Run the following command to get the load balancer's external IP address that is serving your application by running the below command:
Now to configure for TLS support, we have to add the TLS properties under spec inside our aegis-ingress yaml file. We have to give the list of domain names with the host options whichever are going to use this specific certificate. And then specify the secret name. Under the hosts, we can define multiple hostnames. As we have used only one host, so let’s use that same host inside this spec. Then apply the changes using the kubectl apply command.
The next step is to create our certificate for our domain “aegis.learning.com.” By default, we have openssl through which we can generate our self-signed certificate. Let’s use the below command:
“openssl req -x509 -nodes -days 365 -newkey rsa:2048 -out aegis-ingress-tls.crt -keyout aegis-ingress-tls.key -subj "/CN=aegis.learning.com/O=aegis-ingress-tls"
Out specifies here the name of the file and the format is crt, and the keyout file will be the private key of that certificate and then subject We have given the company hostname. So, post-execution you should see two files generated: aegis-ingress-tls.crt and aegis-ingress-tls.key.
The next step is to create a secret yaml file with the TLS cert and key configuration. I have given an example below with creating “aegis-secret.yaml” file where We have added the configuration of tls.cert and tls.key. These values should be taken from the already generated: aegis-ingress-tls.crt and aegis-ingress-tls.key files. Please refer to the below screenshot:
And then, you can run kubectl apply the command to apply this secret file as you do for other service and deployment files. But you can directly create a secret by using kubectl command itself without creating a secret yaml file. This is the direct command, and very easy to apply TLS configuration without creating the secret file, as I showed above.
Here, I will be using the default namespace and need to pass a key file with the option “- -key,” and for passing the cert file, We have used “- - cert.” For the cert and key file, you have to give the same name that already we have created using openssl command. That’s it, and we do not need to pass anything here. Just see the below command.
And then you can use “kubectl get secret” to list out the secrets.
Now, you can use the same curl but with https and should see the result. Just try to verify the certificate in the browser, and you will find the certificate the same as what we created with the name aegis.learning.com. So, like this, you can use your own TLS certificate, or you can create a new TLS certificate and use this cert in your application and make your application work with HTTPS protocol.