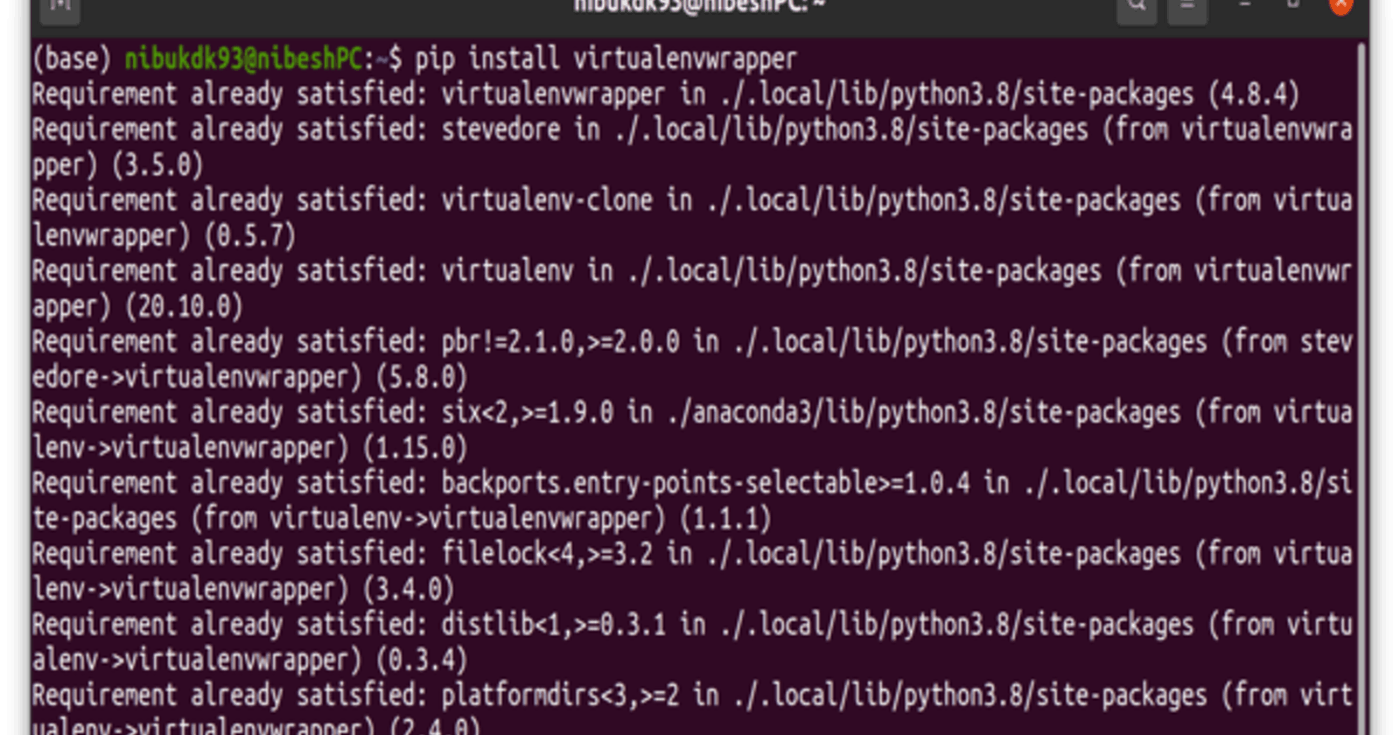
a short hands-on introduction Virtual environments are a tool used to separate different python environments, on the same computer. Traditionally, each computer has one installation of the python programming language with its respective set of modules> Those modules as well had one running version. This set-up is not flexible enough for projects that require specific versions of some of those modules or even of python itself. Therefore, we can make use of Virtual Environments to save an environments’ configuration. This way, we can make sure that our projects run on other systems identically as they did on our computers on which we developed them. Thus, using virtual environments is a great way of making sure that your project runs identically on some other computer than the one you worked on. There are other advantages as well: you can try out your project on multiple python versions and different configurations. For example, if you use certain modules on your project, you wouldn’t want a sneaky versioni update to break parts of your application, would you? Traditionally, developers would use virtual machines… but that solution is quite costly and time-consuming. Nowadays, a faster and less costly (in computer resources) option for python-based projects is to use a tool like . venv …Which stands for irtual ironment. V ENV To install we will use , which is a package manager for python. It is used to install python plugins basically and keep them up-to-date. It’s very easy to use: you just have to give it the name of the plugin (called module) you need. venv pip Short Developer Tutorial In this short practical introduction to venv, we will go together through the following steps: install the venv modulecreate a virtual environmentactivate & deactivate the virtual environmentcustomise itsave its configurationcreate a second virtual environment & import configurations So, to start using venv, open your terminal. (I use cmder on a windows machine). The requirements is to have python installed and its package manager as well. If you’re not sure if you have them installed type into your terminal pip python --version and pip --version Next step is to install venv. The pip module is actually named “virtualenv”, so the console command you need to use is “ ”: pip install virtualenv , make sure that pip is updated. Run this command: If you get any errors pip install --upgrade pip …and then try again ! OK, now that we have venv set up on our python environment, let’s go ahead and spin up our first actual python virtual environment. The command to run is: virtualenv environment-1 where we named our first environment “environment-1”. You can, of course, name it whatever you want. if you type “ “ you will see that a new folder has been created. ls The next step is to activate the environment that we have just created. to do that, into the the “environment-1” folder. Inside there, we have a “Scripts” folder which contains some handy scripts. One of those scripts is “activate” which we will run like in the following screenshot: cd The prompt that mentions the active environment, informs us what environment our machine is currently running. to deactivate it, simply run this command: deactivate What we have here: python which pip which and you can check which modules you have installed by running: pip list Let’s install a few modules: pip install numpy pytz psutil now let’s check them in our module list: As we can see, we are have customised our python instance. environment-1 Exporting/Importing a configuration while the environment is active, we can save its configuration in an external file, which we can later import. To generate the config file type this command: pip freeze -local > requirements.txt now, if we we can see that our config file has been generated: ls We can even check the contents of the file (using the command) to verify it: cat It contains, indeed, our modules that we previously installed. Importing configurations Let’s create a new virtual environment: virtualenv environment-2 now we have to activate it: ./environment-2/Scripts/activate and finally, we can import the configuration file: pip install -r requirements.txt If we check our installed modules using “pip list” we can see that our second environment is now identical to the previous one. Conclusion So today, we learned how to use virtual environments: how to create them, activate & deactivate them, export & import their configurations. The virtual environments are meant to be separated bundles of your packages (and their versions) that you use in your projects. When activated, the environment affects the system globally. i.e. You don’t need to build your projects within the virtual environments folders. . Your project can be placed anywhere on your computer Originally published on Cheeky Robots Bonus Cheat Sheet use this in the future:


![featured image - How to Create Virtual Environments with Python [Tutorial]](https://hackernoon.imgix.net/drafts/8r1o3vuf.png?auto=format&fit=max&w=3840)