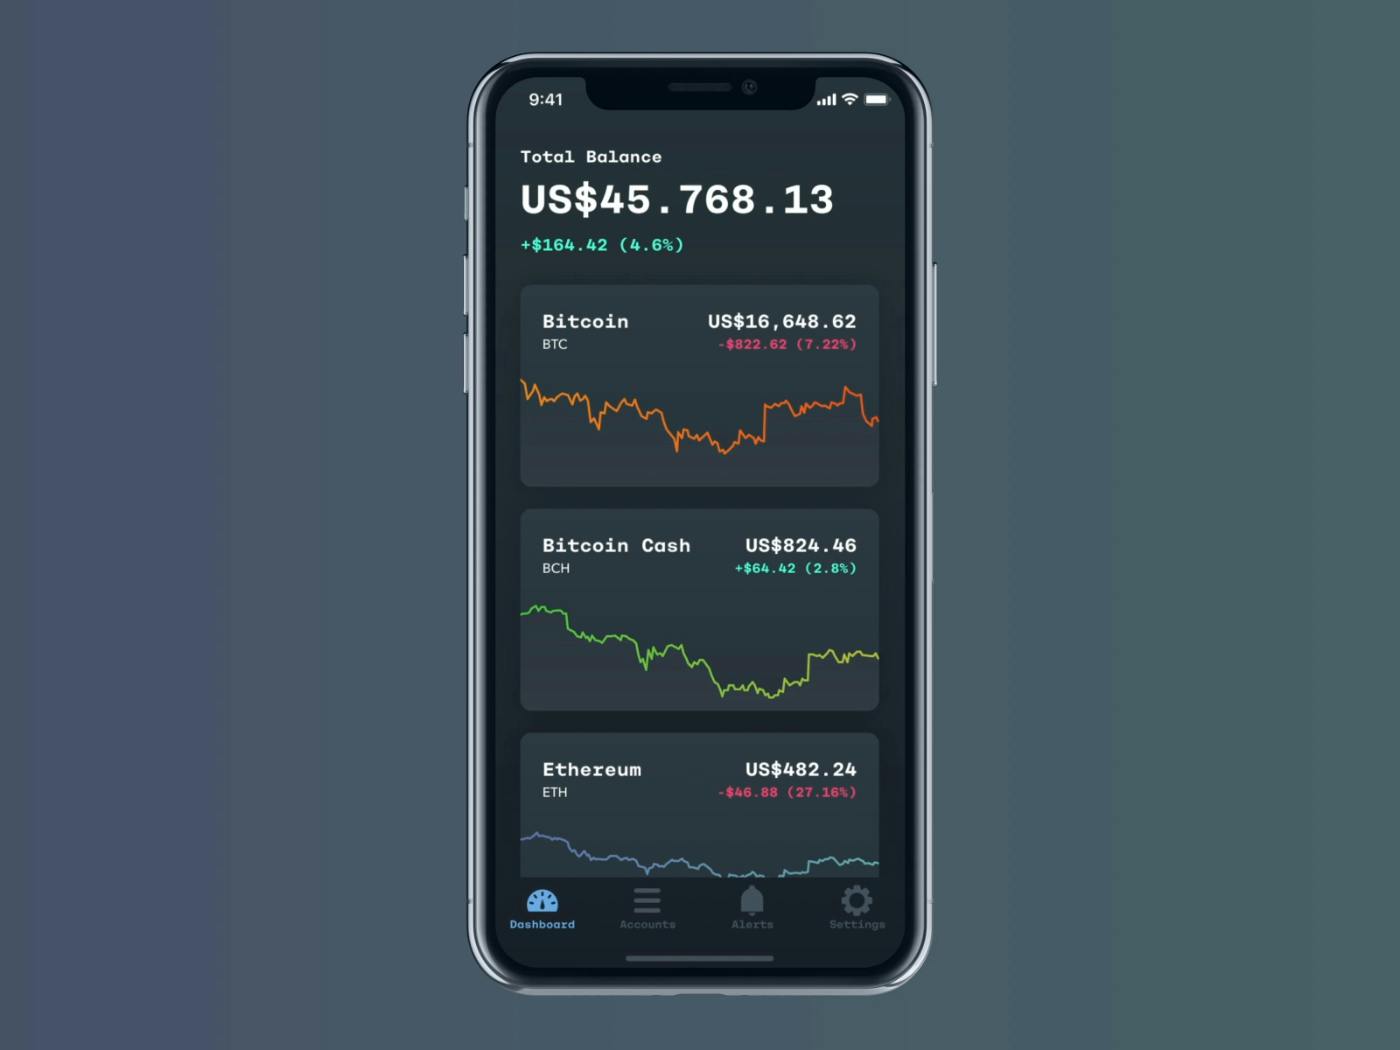
Crypto trading is a popular and lucrative activity that involves buying and selling different cryptocurrencies on various platforms. Crypto trading apps are applications that allow users to access the crypto market and execute trades from their mobile devices. Crypto trading apps can offer various features, such as market analysis, portfolio management, price alerts, news updates, and more.
If you are interested in creating your own crypto trading app, you will need to follow some steps and use some tools to make it happen. In this tutorial, we will guide you through the process of building a basic crypto trading app that can connect to a crypto exchange, display real-time prices, and execute buy and sell orders.
The cost of developing a crypto trading app depends on various factors, such as the type and complexity of your app, the features and technologies you choose, the size and experience of your development team, the location and rates of your developers, etc. However, as a rough estimate, you can expect to pay between $25,000 and $100,000 for a basic crypto trading app and between $100,000 and $500,000 for a complex crypto trading app.
The first step is to choose a crypto exchange API that will provide the data and functionality for your app. A crypto exchange API is a set of endpoints that allow you to interact with a crypto exchange platform programmatically. You can use a crypto exchange API to get market data, such as prices, volumes, order books, and more. You can also use a crypto exchange API to place and cancel orders, check your balance, and manage your account.
There are many crypto exchange APIs available, such as [Binance], [Coinbase], [Kraken], and more. Each crypto exchange API has its own documentation, features, limitations, and fees. You will need to choose a crypto exchange API that suits your needs and preferences. For this tutorial, we will use the [Binance API] as an example, but you can use any other crypto exchange API that you like.
To use the Binance API, you will need to create an account on [Binance] and generate an API key and a secret key. You will use these keys to authenticate your requests to the Binance API. You can find the instructions on how to create and manage your API keys on the [Binance API documentation].
The next step is to choose a programming language and a framework that you will use to develop your app. A programming language is a set that you will use to develop your app. A programming language is a set of rules and syntax that allow you to write instructions for a computer to execute. A framework is a collection of libraries and tools that provide common functionality and structure for your app.
There are many programming languages and frameworks that you can use to create a crypto trading app, such as [Python], [JavaScript], [Java], [Swift], and more. Each programming language and framework has its own advantages, disadvantages, and learning curve. You will need to choose a programming language and a framework that you are familiar with or willing to learn.
For this tutorial, we will use [Python] as the programming language and [Flask] as the framework. Python is a high-level, interpreted, and general-purpose programming language that is easy to read and write. Flask is a lightweight and flexible web framework that allows you to create web applications with minimal code.
To use Python and Flask, you will need to install them on your computer. You can find the instructions on how to install Python on the [Python website] and how to install Flask on the [Flask website].
The third step is to create a Flask app and connect it to the Binance API. A Flask app is a web application that consists of one or more Python files that define the routes, views, and logic of your app. A route is a URL pattern that maps to a view function. A view function is a Python function that handles a request and returns a response. A request is an HTTP message that contains information about the user’s action, such as the URL, the method, the headers, and the data. A response is an HTTP message that contains information about the app’s action, such as the status code, the headers, and the data.
To create a Flask app, you will need to create a Python file, such as app.py, and import the Flask module. You will also need to create an instance of the Flask class and assign it to a variable, such as app. You can then use the app variable to define your routes and views. For example, you can create a route for the home page of your app and a view function that returns a simple message:
# Import the Flask module
from flask import Flask
# Create an instance of the Flask class
app = Flask(__name__)
# Define a route for the home page
@app.route("/")
# Define a view function for the home page
def home():
# Return a simple message
return "Hello, world!"
To connect your Flask app to the Binance API, you will need to use a Python library that can handle HTTP requests, such as [Requests]. Requests is a simple and elegant library that allows you to send and receive HTTP requests with Python. You can install Requests on your computer by using the pip command:
pip install requests
You will also need to import the Requests module in your Python file and use it to make requests to the Binance API. You will need to provide the URL of the Binance API endpoint, the HTTP method, the headers, and the parameters for each request. You will also need to use your API key and secret key to sign your requests. You can find the details on how to use the Binance API on the [Binance API documentation].
For example, you can create a function that gets the current price of a specific cryptocurrency pair, such as BTC/USDT, from the Binance API and returns it as a JSON object:
# Import the Requests module
import requests
# Define a function that gets the current price of a cryptocurrency pair
def get_price(pair):
# Define the URL of the Binance API endpoint
url = "https://api.binance.com/api/v3/ticker/price"
# Define the HTTP method
method = "GET"
# Define the headers
headers = {
# Provide your API key
"X-MBX-APIKEY": "your_api_key"
}
# Define the parameters
params = {
# Provide the cryptocurrency pair
"symbol": pair
}
# Make the request to the Binance API
response = requests.request(method, url, headers=headers, params=params)
# Return the response as a JSON object
return response.json()
You can then use this function in your view function to display the current price of BTC/USDT on your home page:
# Import the Flask module
from flask import Flask
# Create an instance of the Flask class
app = Flask(__name__)
# Define a route for the home page
@app.route("/")
# Define a view function for the home page
def home():
# Get the current price of BTC/USDT
price = get_price("BTCUSDT")
# Return the price as a message
return f"The current price of BTC/USDT is {price['price']}"
The fifth step is to create a user interface and a database for your app. A user interface is a graphical or textual element that allows the user to interact with your app. A database is a collection of data that is organized and stored in a structured way.
To create a user interface for your app, you will need to use HTML, CSS, and JavaScript.
For the database, you have many options to choose from; you can use a relational database management system (RDBMS) like SQLite, MySQL, or PostgreSQL. You can use SQLAlchemy, an ORM (object-relational mapping) library for Python, to interact with your database using Python objects and queries. You can use your database to store user information, such as username, password, email, balance, etc., as well as transaction history, such as buy and sell orders, fees, profits, etc.
You can use Flask-login, a Flask extension, to manage user sessions and authentication. You can use Flask-WTF, another Flask extension, to create and validate web forms for user input. You can use Flask-Mail, yet another Flask extension, to send email notifications to your users. To use Flask-login, you need to do the following steps:
**Define a User model that inherits from flask_login.UserMixin, which provides default implementations for properties and methods that Flask-login expects from a user object, such as is_authenticated, is_active, get_id, etc. You also need to define a unique identifier for each user, such as an id or a username
from flask_login import UserMixin
class User(UserMixin):
def __init__(self, id, username, password):
self.id = id
self.username = username
self. Password = password
To test your app, you can use unit test, a Python module, to write and run unit tests for your code. You can use pytest, a Python framework, to write and run more advanced tests for your code. You can use coverage, another Python module, to measure the code coverage of your tests. You can also use debugging tools, such as PDB, a Python module, or PyCharm, an IDE (integrated development environment), to find and fix errors and bugs in your code.
To deploy your app, you can use a cloud service provider, such as AWS, Google Cloud, or Heroku, to host your app on a server. You can use Docker, a software platform, to create and run your app in a container, which is an isolated and portable environment. You can use Git, a version control system, to manage your code and track changes. You can use GitHub, a web-based platform, to store and share your code online. You can also use CI/CD (continuous integration and continuous delivery) tools, such as Travis CI, Jenkins, or GitHub Actions, to automate the testing and deployment of your app.
I’m going to show you a possible way to deploy your Flask crypto trading app using Docker and GitHub.
# Use an official Python runtime as a base image
FROM python:3.9
# Set the working directory to /app
WORKDIR /app
# Copy the current directory contents into the container at /app
COPY . /app
# Install any needed packages specified in requirements.txt
RUN pip install --trusted-host pypi.python.org -r requirements.txt
# Make port 80 available to the world outside this container
EXPOSE 80
# Define environment variable
ENV NAME World
# Run app.py when the container launches
CMD ["python", "app.py"]
git add .
git commit -m "Initial commit"
git push origin main
# This workflow will deploy your Flask app using Docker and GitHub Actions
name: Deploy
# Controls when the workflow will run
on:
# Triggers the workflow on push or pull request events but only for the main branch
push:
branches: [ main ]
pull_request:
branches: [ main ]
# Allows you to run this workflow manually from the Actions tab
workflow_dispatch:
# A workflow run is made up of one or more jobs that can run sequentially or in parallel
jobs:
# This job will deploy your app to a cloud service provider of your choice
deploy:
# The type of runner that the job will run on
runs-on: ubuntu-latest
# Steps represent a sequence of tasks that will be executed as part of the job
steps:
# Checks-out your repository under $GITHUB_WORKSPACE, so your job can access it
- uses: actions/checkout@v2
# Sets up Docker
- name: Set up Docker
uses: docker/setup-buildx-action@v1
# Logs in to the Docker registry
- name: Log in to Docker registry
uses: docker/login-action@v1
with:
# Replace this with the registry name and your username, such as docker.io/username or ghcr.io/username
registry: docker.io/username
# Replace this with the name of the secret that contains your registry password, such as DOCKER_PASSWORD or GHCR_TOKEN
username: ${{ github.actor }}
password: ${{ secrets.DOCKER_PASSWORD }}
# Builds and pushes the Docker image
- name: Build and push Docker image
uses: docker/build-push-action@v2
with:
# Replace this with the name and tag of your image, such as docker.io/username/flask-app:latest or ghcr.io/username/flask-app:latest
push: true
tags: docker.io/username/flask-app:latest
# Deploys the app to the cloud service provider
- name: Deploy app to cloud service provider
# Replace this with the action that deploys your app to the cloud service provider of your choice, such as AWS, Google Cloud, or Heroku
# You may need to provide additional arguments or environment variables for the action, such as the app name, the region, the credentials, etc.
# You can find more actions in the GitHub Marketplace: https://github.com/marketplace?type=actions
uses: actions/example-action@v1
with:
# Replace this with the arguments for the action
arg1: value1
arg2: value2
env:
# Replace this with the environment variables for the action
ENV1: value1
ENV2: value2
git add .github/workflows/deploy.yml
git commit -m "Add deploy workflow"
git push origin main
The last step of creating a crypto trading app is to monetize your app and generate revenue from it. There are various ways to monetize a crypto trading app, such as:
In Conclusion: creating a crypto-Trading app can be a profiting venture although it can be very complex as you will be considering a lot a business aspect to it.