paint-brush
How to Build a Masonry Layout Using CSSby@abhigyanritiz
27,385 reads
27,385 reads

How to Build a Masonry Layout Using CSS

by AbhigyanMay 29th, 2023
Read on Terminal Reader
Read this story w/o Javascript

Too Long; Didn't Read

Masonry layout is when items of varying sizes are laid out so there aren't any uneven gaps. In a masonry layout, even if there is a shorter element in a row or column, the next element will take up the space. There are many ways to achieve this, but one of the best ways is to use the grid-template-columns function.
featured image - How to Build a Masonry Layout Using CSS
Abhigyan HackerNoon profile picture

What is Masonry Layout?

Masonry layout is when items of varying sizes are laid out so there aren't any uneven gaps. Usually, when items are in a grid view, they are either aligned row-wise, column-wise, or both. But in a masonry layout, even if there is a shorter element in a row or column, the next element will take up the space.


How to achieve Masonry Layout?

There are many ways to achieve this, but one of the best ways is to use grid-template-columns and use the repeat() function. So let’s get started.


The grid-template-columns property

In addition to explicit column sizing, one of the most valuable and practical aspects of CSS Grid is the ability to repeat columns until they are filled and then automatically place items in them. In particular, the option to specify the number of columns we want in the grid and then give the browser control of those columns' responsiveness results in fewer columns being displayed on smaller viewport sizes and more columns being displayed as the screen width increases.


This is achieved by using the repeat() function and the auto-placement keywords. To summarize, the repeat() function allows us to repeat columns as many times as needed. For example, if we are creating a 12-columns grid, we can write the following:


.grid {
   display: grid;

  /* define the number of grid columns */
  grid-template-columns: repeat(12, 1fr);
}


By using the 1fr directive, the browser is instructed to divide the available space among the columns so that each one receives an equal share. That is, regardless of how large it is, the grid in this example will always have 12 columns. However, this is not good enough because the content will be too squeezed on smaller viewports.


So we need to specify a minimum width for the columns, making sure they don’t get too narrow. We can do that by using the minmax() function.


grid-template-columns: repeat(12, minmax(300px, 1fr));


But because of the way CSS Grid functions, the row will overflow. We're explicitly instructing the browser to repeat the columns 12 times per row, so even if the viewport width is too small to fit them all with the new minimum width requirement, the column won't wrap into new rows.


To achieve wrapping, we can use the auto-fit or auto-fill keywords.


grid-template-columns: repeat(auto-fit, minmax(300px,1fr));


By using these keywords, we instruct the browser to take care of element wrapping and column sizing for us, causing elements that would otherwise overflow to wrap into rows.


This is how the grid looks now:


But this is not the masonry layout. So how to achieve it? Let’s see.


The grid-column and grid-row property


The grid-column and grid-row properties specify the grid item's size and location within a grid layout. Thus, we are able to specify the width or height of a single grid item within the grid. And to do that, we can use the span keyword.


To increase the width of the first grid item we can write:


.grid-item: nth-child(1)
    {
        grid-column: span 2;
        grid-row: span 1;
    }


The first grid cell will therefore span two columns and have the following appearance:


Similarly, if we want to increase the height of the second grid item, we can write:


.grid-item: nth-child(2)
    {
        grid-column: span 1;
        grid-row: span 2;
    }


The second grid cell will therefore span two rows and have the following appearance:


In a similar manner, if we span every grid item in the desired manner, we will obtain the following:


#So this is a Masonry Layout.


However, if the number of grid items is excessive, it won't be possible to specify a precise height and width for each grid item. So instead, we can assign the values dynamically:


.grid-item: nth-child(7n+1) {
        grid-column: span 2;
        grid-row: span 1;
    }

.grid-item: nth-child(7n+2) {
        grid-column: span 1;
        grid-row: span 2;
    }

.grid-item: nth-child(7n+4) {
        grid-column: span 1;
        grid-row: span 2;
    }

.grid-item: nth-child(7n+5) {
        grid-column: span 3;
        grid-row: span 1;
    }


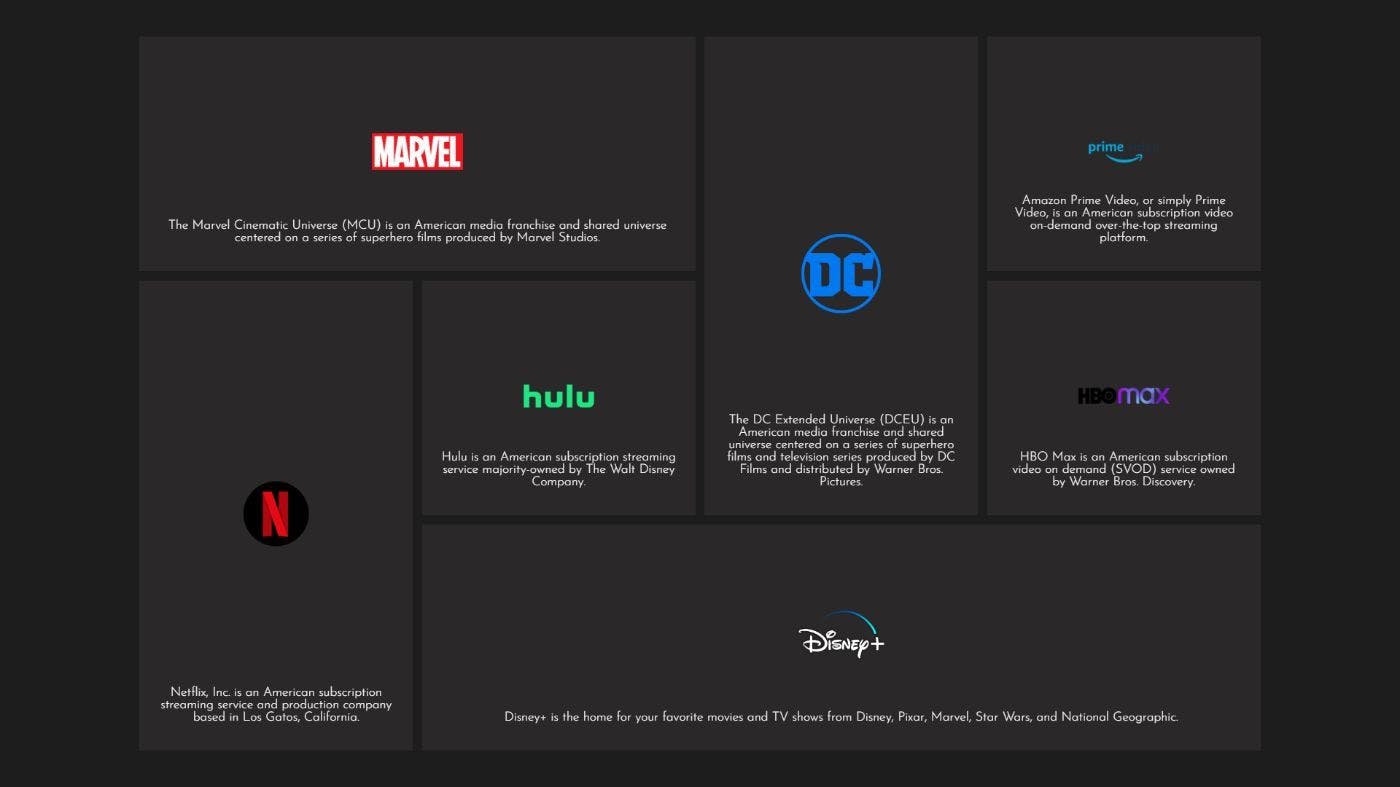
And here is the output:


But is this enough? Let’s take it to the next level by adding some perspective.

We can achieve this by adding perspective() and using the transform() property:


.active
{
    transform: perspective(18cm) rotate(20deg);
    transform-style: preserve-3d; 
    transform-origin: left;
}


Additionally, we have a menu bar that, when selected, switches the grid from a regular grid to one with perspective. We can use JavaScript for that:


menu.onclick=()=>{
 grid.classList.toggle('active');
}


And the final output is:


Did you like this article? Let me know in the comments below!


Want to know which is the most versatile JavaScript solution for data visualization? Read here: https://techvariable.com/blogs/the-most-versatile-js-solution-to-data-visualization-d3-js/