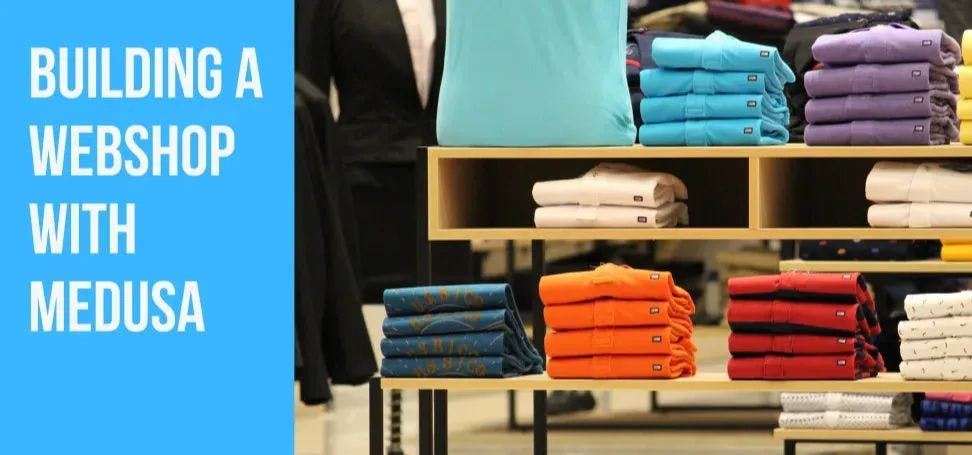
Introduction With the growth of the internet and the evolution of technology, there is a need for businesses dealing in the e-commerce sector to remain competitive by keeping up with the latest trends in the area. Medusa is a popular open-source headless e-commerce solution developed recently, scalable, and flexible, making it one of the best choices for building an e-commerce website. It comes with two storefronts NextJs and Gatsby from which you can choose one, or use a different stack for your storefront since Medusa has a composable architecture allowing you to use different technologies for your front and backend; hence, giving you the possibility to fully customize your store and creating a store that will fit your needs. In this article, you will get started with Medusa by building your first headless store with a single command. Why Medusa? Medusa is an user and developer-friendly platform for building incredible webshops. open-source With over , its architecture allows you to build your online commerce shop with any framework of your choice, that is, developers have full control over their tech stack and the logic behind the commerce features. 17.8k stars on GitHub Besides that, it offers multi-regional support, advanced features for promotion and RMA flows, a user-friendly admin interface, and a community to support users. How to Build a Medusa Webshop You will learn how to build your first webshop with just a single Medusa command. However, make sure you have the following elements installed and working properly: version 16 or latest. To check your Node.js version, open your terminal or command line and run If you don’t have Node installed, then head to the , and follow the instructions to get it running on your OS. Node.js node -v. official website Git A package Manager( or ) Yarn Npm Medusa CLI Now, let’s get started. The first step will be to install the . You can’t use Medusa without installing its command line. Run the following command to get it set up: Medusa CLI yarn global add @medusajs/medusa-cli Or npm install @medusajs/medusa-cli -g Upon installing the CLI, check the version by running the following command in your terminal: medusa -v If you ever encounter errors installing the CLI, then visit this Medusa to get everything up. troubleshooting guide Creating Your Webshop With Create-Medusa-App Medusa is divided into three main parts: Backend — It’s the commerce engine Storefront — The actual webshop Admin Dashboard — An application to manage your store(add/remove products, collections, payment methods, manage customers…) Step 1: Install Your Webshop With Create-Medusa-App Open a terminal in your desired directory, and run the following command: npx create-medusa-app NB: When you install your project with this command, it comes with . Tailwind CSS Step 2: Specify the Project Name You need to specify the name of your webshop or leave the default value . Here we will name the store . my-medusa-store my-headless-store ? Where should you project be installed? . my-headless-store Step 3: Choose a Backend Starter Once you have named your store, the next step is to choose a . Here, we will be using Medusa starter medusa-starter-default ? Which Medusa starter would you like to install? … ❯ medusa-starter-default This Medusa starter contains admin plugins, which will allow you to later access the admin dashboard. All the resources for the backend will be installed in the backend directory. Step 4: Choose a Storefront Starter The next consists of choosing the Medusa starter for your storefront. Here, we will be using the NextJS starter: ? Which storefront starter would you like to install? ❯ Next.js Starter Your will be installed in the storefront directory. storefront Now, you need to wait until your project sets up completely before testing your store. Step 5: Test Your Store Upon installing all components of your project, you will see find three folders in your project directory. Admin Backend Storefront To start each component of your project, navigate to each component root and run the commands as follows: Your project is ready. The available commands are: // Medusa API cd my-headless-store/backend yarn start // Medusa Admin cd my-headless-store/admin yarn start // Storefront cd my-headless/storefront yarn dev To view your store and , open your favorite browser and type and in the address bar respectively. admin dashboard localhost:7000 localhoat:8000 Your store should look like the image below: And your dashboard: To access the dashboard, use as the email. admin@medusa-test.com as the password. supersecret Well, if you have reached this stage that means you have successfully set up a basic web shop with Medusa, however, if you run into any trouble, reach out on this website or reach out to the for further assistance. Medusa Discord channel Conclusion Hopefully, you have learned how to build a basic store with Medusa; now you need to customize your store and add plugins and services like: Payment methods with , , or . Klarna Paypal Stripe Notification services with , , or Twilio SMS. SendGrid Mailchimp Search functionality with Algolia or MeiliSearch. File upload Services with S3, Space, or MinIO. Shipping method. Gift cards. Just head to the full to get the necessary instructions to fulfill each task. Equally, feel free to sign up for our newsletter in order to get the latest e-commerce-related content. Medusa Documentation First published here