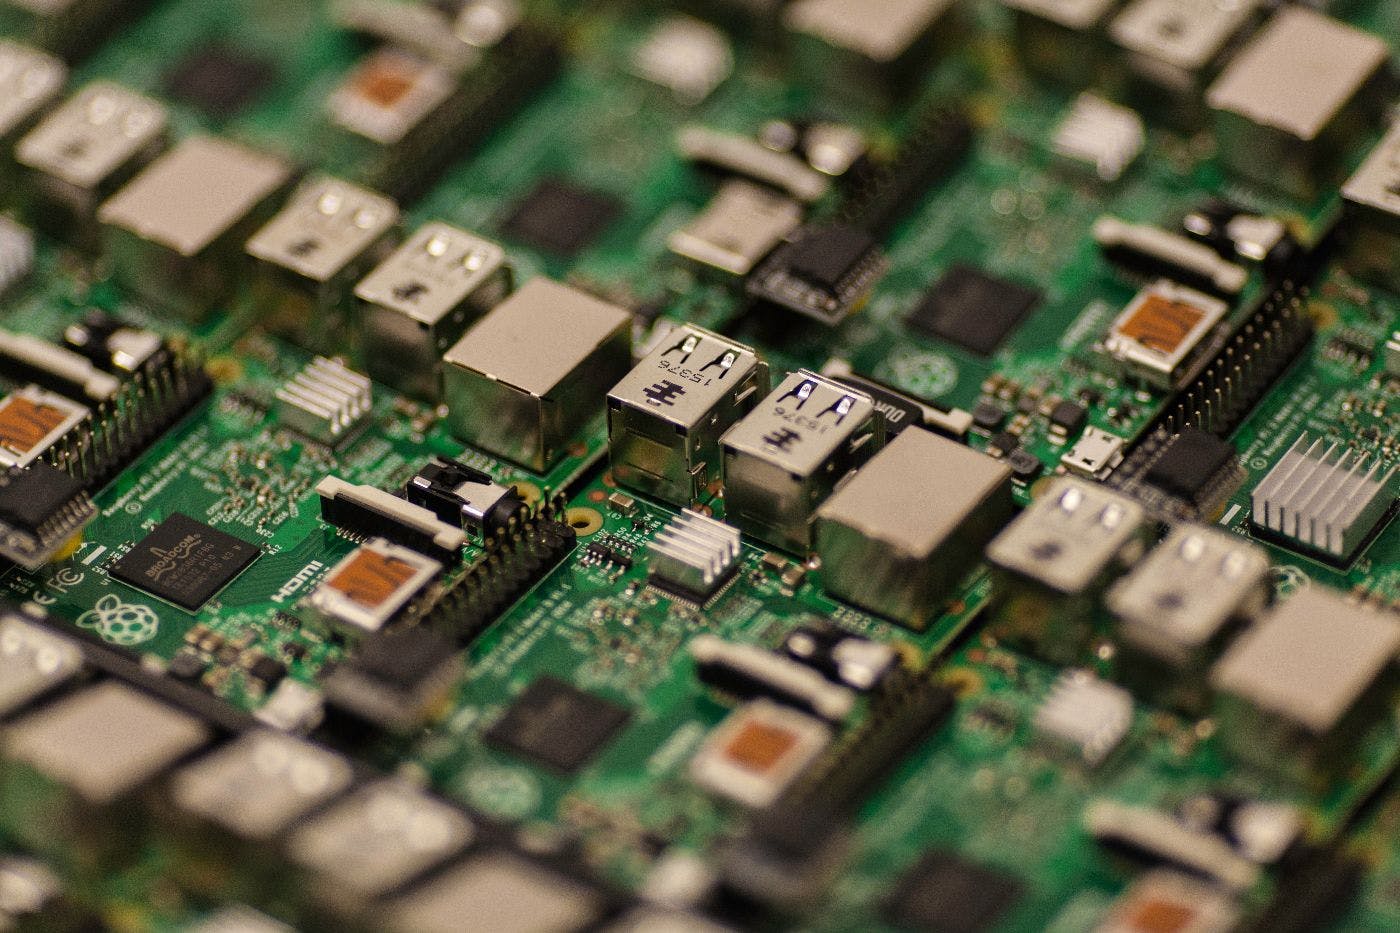
This guide shows how to set up a local of your Favorites, or any other playlist. It includes a method for automatically updating your backup database using cron jobs. backup YouTube Nothing like a fresh hard drive & Raspberry Pi There’s 2 parts to this guide. In the first we set up the Pi from scratch. Then we see how to install the library and set up the cron job to automatically download new videos in the playlists. I used an external hard drive, so there’s instructions for setting up that as well. Note: the following has been tested on a Raspberry Pi 3 Setting up the Pi from Scratch 1. Format a mini SD card and mount the Raspbian image This can be done with Etcher: _Burn images to SD cards & USB drives, safely and easily._etcher.io Etcher by resin.io After you’ve downloaded that software, . This is the “Foundation’s official supported operating system”. I used Raspbian Stretch Lite: grab a version of Raspbian https://www.raspberrypi.org/downloads/raspbian/ Burn the image to the SD card using Etcher. This will format the disk also, so anything on there will be destroyed at this step. Note: if your SD card is corrupted or not working properly somehow, it may help to format the SD card using a different tool prior to this process. https://etcher.io/ 2. Put the SD card into the Raspberry Pi, attach it to a monitor with HDMI, and plug it in It’s alive! 3. Log in, configure and enable SSH Use the default login credentials: username = pipassword = raspberry Once in the terminal, bring up the config dialog by typing sudo raspi-config Here you should do the following: change the password configure WiFi network enable SSH (in “Interfacing Options”) change keyboard layout (in “Localisation Options”) If the keyboard layout is giving you issues, then try changing it by adding to XKBLAYOUT="us" /etc/default/keyboard The WiFi network is giving you issues, try adding these lines to the end of : /etc/wpa_supplicant/wpa_supplicant.conf network={ssid="WiFi network name"psk="WiFi network password"} and then run . wpa_cli -i wlan0 reconfigure 4. Do some basic upgrades Update the OS and download vim. sudo apt-get updatesudo apt-get upgradesudo apt-get install vim Note: for my setup, I installed Python 3.6 using this distribution: . Anaconda is a great python distribution that makes it easy to install data science libraries like pandas and matplotlib. https://github.com/jjhelmus/berryconda Backing up YouTube playlists to HDD Now we’re going to install the tools and set up an automated job to back up some YouTube playlist. All you’ll need is the playlist URL. The videos are downloaded to the device. Since I have a lot of favorites, I opted to save the files to an external HDD. This added complication caused me some grief, so I’ve included detailed steps for using a HDD in this process. 1. Install youtube-dl This can be installed with: open source tool sudo curl -L https://yt-dl.org/downloads/latest/youtube-dl -o /usr/local/bin/youtube-dlsudo chmod a+rx /usr/local/bin/youtube-dl Type to see a list of options: youtube-dl --help There are a lot more… try for yourself to see 2. Connect and mount the HDD This step will only apply if you’re using an external hard disk drive to store the videos on. If you’re just using the SD card, skip to the next section now. For me I had to install a package to allow write access for my NTFS drive. I did that with the following: sudo apt-get install ntfs-3g Then plug in the drive and find it’s path. You should be able to see this with the command: sudo blkid Mine was at , so wherever you see that in the following text, please replace it with your value. /dev/sda1 I then made a mount point for the drive as follows: sudo mkdir /mnt/hdd-1 and mounted the disk with: sudo mount /dev/sda1 /mnt/hdd-1 At this point you should be able to read from the drive e.g. and also write to the drive e.g. sudo ls /mnt/hdd-1 sudo echo "hello world!" > /mnt/hdd-1/test-note.txt 3. Make a script to download the videos Now let’s build a simple shell script that can download the videos. I’m going to save the files in (or on the HDD). /home/pi/alex-videos /mnt/hdd-1/alex-videos Go to the home folder and make the new directory: sudo mkdir alex-videos Now make the script: >>> cat > youtube-playlist-backup.shcd /home/pi/alex-videos/usr/local/bin/youtube-dl -w -i --max-downloads 2 --write-info-json {{your playlist url}} Make sure to replace with the URL. {{your playlist url}} Normally you can get away with using just as the command, but it could lead to issues later when using cron jobs so here we use the actual path to the executable. youtube-dl Give the standard permissions to the script with the following: chmod +x youtube-playlist-backup.sh Then run it to test. It should download just the most recent 2 additions to the playlist: ./youtube-playlist-backup.sh If that worked then you are pretty much done. You just need to backup the rest of your videos and then set up the automatic update. Keep in mind that backing up the entire playlist will take a while and use a lot of bandwidth. To do this, open up the shell script and increase the max-downloads option. For example: /usr/local/bin/youtube-dl -w -i --max-downloads 2000 --write-info-json {{your playlist url}} Then re-run the shell script to perform the backup. 4. Set up the automatic update using cron My favorite part about this set up is that my Pi will automatically perform the backups daily. To set this up, you can use a cron job to run the shell script you’ve set up. Note that since we are using the option in the youtube-dl call, the script will know to skip videos that have already been downloaded. -w First, make sure the value. This is to avoid spending a lot of time double checking the videos that have already been downloaded. Make sure to set it high enough that you don’t miss any new videos e.g. if you add a bunch in one setting. Your value will depend on how often you are updating the backup and how many videos you tend to add in a given setting. Since I’m backup up my Favorites playlist daily, I opted to set max-downloads to 20. max-downloads parameter is set to a reasonably low Then set up the cron job. Open cron with: crontab -e Use whatever editor you’re most comfortable with, as long as it’s vim ;) Add the following line: 0 11 * * * /home/pi/youtube-playlist-backup.sh > /home/pi/cron.youtube-playlist-backup.log 2>&1 This will run the update every day at 11. Make sure to leave at least one empty line after this command (it’s a weird cron rule / gotcha) and then save and exit the file. If you’re using the HDD setup, I would suggest something more complicated, that allows you to leave the drive unmounted for most of the day while the script is not running. I used the following for my shell script: sudo mount /dev/sda1 /mnt/hdd-1cd /mnt/hdd-1/alex-videos//usr/local/bin/youtube-dl -w -i --max-downloads 20 --write-info-json cd /sudo umount /mnt/hdd-1 https://www.youtube.com/playlist?list=FLHfRYuzfDERvdP5eVz2jupQ Finally, wait for the cron job to run and make sure the log output ( ) looks normal. cron.youtube-playlist-backup.log If all went well then ! 💥 BOOM! you are done Thanks for reading 👏, and congrats if you worked through the full set up 🎉 If you want to chat, you can get in touch with me here on Twitter: _The latest Tweets from Alex Galea (@agalea91). Data Analyst and self-proclaimed Script Monkey at @Ayima 📊 M.Sc…_twitter.com Alex Galea (@agalea91) | Twitter