


The keystroke dynamics that are used in this article’s machine learning models for user recognition are behavioral biometrics. Keystroke dynamics uses the distinctive way that each person types to confirm their identity. This is accomplished by analyzing the 2 keystroke events on Key-Press and Key-Release — that make up a keystroke on computer keyboards to extract typing patterns. The article will examine how these ML Models can be used in real-life situations to predict an user.
The previous article described how we can train 3 ML models, on a set of +880 keyboard inputs from 100 users that were asked to write the same text 12 times.
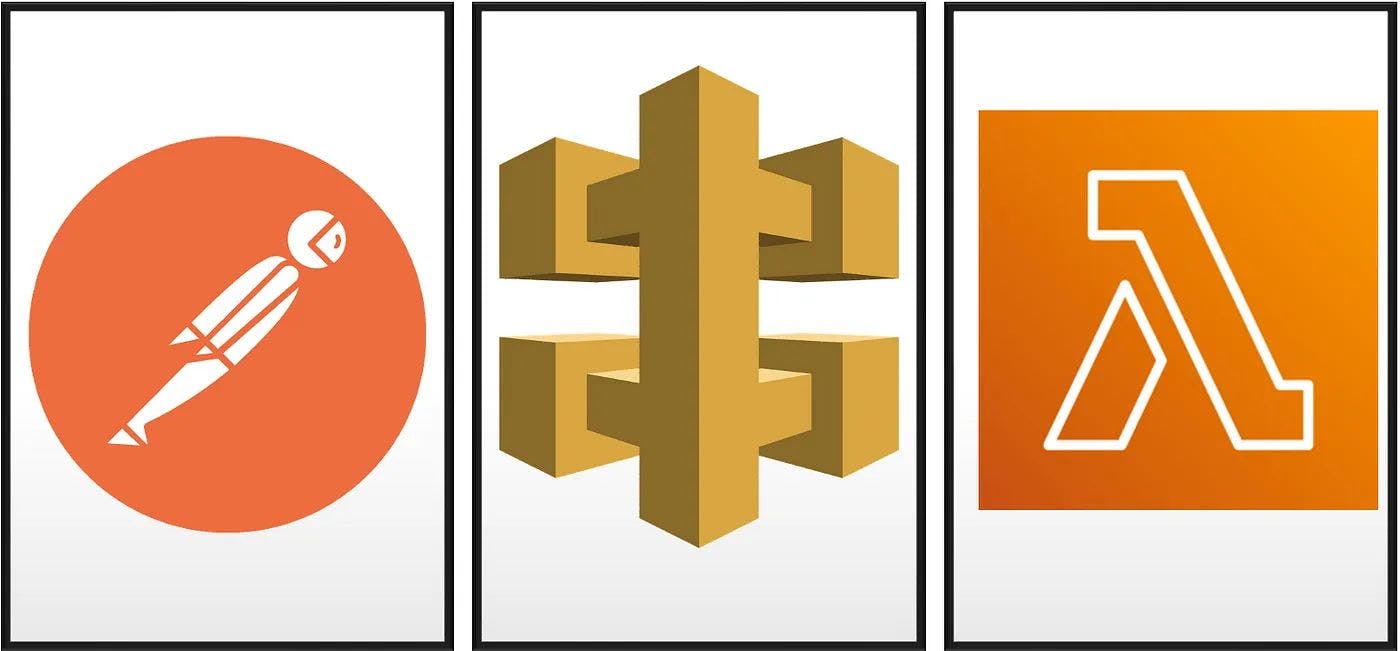
The apps that we’ll be using to simulate a real life situation.

The Architecture
Sandbox: In order to test real life scenarios we will use
Production: When we want to move this application into production we can simply replace the bits of the Flask code with code for an
Flask is a web-framework we can use to replicate the Lambda + API Gateway.
The Lambda is an serverless web-service hosted in AWS, that can run event driven code written in various languages, however for this app we will use python.
The data flow is:
- We load the header with identification data and the model we want to use, this is basically our json payload. In the header we will also add the authorization key (Prod only)
- We do HTTP POST method request to Flask App/API Gateway
- API Gateway checks the authorizaiton key (api key) and if it accepts the request, sends the payload to the Lambda for processing
- The FlaskApp/Lambda runs the underlying code
- What we get in the return body is the ID of the predicted user if event is successful, else we get an error message


As previously mentioned all the code you can find on the Github project page:
https://github.com/BogdanAlinTudorache/KeystrokeDynamics
The Postman request
Raw
{
 "info": {
  "_postman_id": "c62ddbda-e487-432f-998a-4dfc9313f0fa",
  "name": "BogdanTudorache",
  "schema": "https://schema.getpostman.com/json/collection/v2.1.0/collection.json"
 },
 "item": [
  {
   "name": "predict_user",
   "request": {
    "method": "POST",
    "header": [],
    "body": {
     "mode": "raw",
     "raw": "{\n    \"Model\": \"RF\",\n   \"HT\": {\n        \"Mean\": 48.43,\n        \"STD\": 23.34\n    },\n    \"PPT\": {\n        \"Mean\": 120.43,\n        \"STD\": 37.41\n    },\n    \"RRT\": {\n        \"Mean\": 124.43,\n        \"STD\": 45.34\n    },\n    \"RPT\": {\n        \"Mean\": 132.56,\n        \"STD\": 47.12\n    }\n}",
     "options": {
      "raw": {
       "language": "json"
      }
     }
    },
    "url": {
     "raw": "http://127.0.0.1:5000",
     "protocol": "http",
     "host": [
      "127",
      "0",
      "0",
      "1"
     ],
     "port": "5000"
    }
   },
   "response": []
  }
 ]
}
You can download the file from GitHub.
Body
{
    "Model": "RF",
   "HT": {
        "Mean": 48.43,
        "STD": 23.34
    },
    "PPT": {
        "Mean": 120.43,
        "STD": 37.41
    },
    "RRT": {
        "Mean": 124.43,
        "STD": 45.34
    },
    "RPT": {
        "Mean": 132.56,
        "STD": 47.12
    }
}
The Flask App / Lambda App
If we want to sandbox test the process before moving everything to AWS we must replicate an end-to-end call using Flask.
How to start the Flask App?
In the GitHub, you will find the full version of flask_lambda_function.py and in any IDE you just need to run the script as it will automatically start the flask app.
In my case, I am using IntelliJ Idea so I simply run the script (click right → run):


Testing a real-life scenario
Once the script is started in the bottom part of the IDE you will see the python console informing that the webservice has started on localhost and port 5000 (i think this is default however this can also be configured).


Now every time we do a HTTP request POST , we will have trigger the flask app, simulating a real life scenario.
POST request:


Python console reply:


Postman response:


Code DeepDive
@app.route('/', methods=['GET', 'POST'])
def index():
    # Bellow code should be uncommented when running in AWS:Lambda
    # above should be commented as well as flask import + app definition
# def lambda_handler(event, context):
    """
     Lambda handler: When a request hits the API gateway linked to this lambda_function this is the function that gets
     called.
     The request data is passed as the event variable which is a dictionary object, in this case it the json of
     the POST request from which we extract the body details
    """

    # Parses the details from the POST request: extracts model and input data
    # Based on model it imports the trained model from local
    # Outputs the predicted user based on input data
    try:
        prediction = functions.predict_user(request.get_json())
        # Below code should be uncommented when running from AWS, above should be commented.
        # prediction = functions.predict_user(event)
        return jsonify({'statuscode': 200,
                        'status': 'success',
                        'predicted user': str(prediction)
                        })
    except Exception as e:
        return jsonify({'statuscode': 400,
                        'status': 'error',
                        'message': str(e)})
The above code is set to flask-app however by commenting and uncommenting certain lines, you can easily switch to Lambda.
The structure is very simple, we’re simply calling another function, which is predict_user() and providing as input the json body from the POST request.
predict_user()
def predict_user(event):
    """ Gets the input details from the body of the POST request and returns the predicted user
    """
    # Print the event for debugging purposes
    print(event)

    # Check if the message has the correct body structure
    if ['Model', 'HT', 'PPT', 'RRT', 'RPT'] == list(event.keys()):
        print(f"Model is:", event['Model'])

        if event["Model"] == "SVM":
            # Load the trained SVM model from the joblib file
            model_path = os.path.join(basedir, 'models', 'svm_model.joblib')
            model = joblib.load(model_path)

        elif event["Model"] == "RF":
            # Load the trained Random Forest model from the joblib file
            model_path = os.path.join(basedir, 'models', 'rf_model.joblib')
            model = joblib.load(model_path)

        elif event["Model"] == "XGBoost":
            # Load the trained XGBoost model from the joblib file
            model_path = os.path.join(basedir, 'models', 'xgb_model.joblib')
            model = joblib.load('model_path')

        # Extract the features from the event dictionary
        features = [
            event['HT']['Mean'],
            event['HT']['STD'],
            event['PPT']['Mean'],
            event['PPT']['STD'],
            event['RRT']['Mean'],
            event['RRT']['STD'],
            event['RPT']['Mean'],
            event['RPT']['STD']
        ]

        # Make a prediction using the loaded model and the extracted features
        prediction = model.predict([features])

        # Return the predicted user
        return prediction[0]
This function is simplistically written, depending on the model parameter we decide to load the specific pre-trained ML model.
With the pre-trained model we do the user prediction and return it to the requester. (see last Postman response photo)
The training of the models has been done in part I of this article, see above link.
If you like the article and would like to support me, make sure to:
🔔 Follow me Bogdan Tudorache